How Much Food Can One Small Garden Grow?

In 2022 we grew nearly 300 pounds of food + cut flowers + maple syrup from our in town 1/4 acre urban homestead. And in 2023 we grew even more by just adding a few more container gardens and planting flowers in new places. We grew it all completely organically without a ton of work. This article shows how much of each kind of veggie we harvested in 2022 and three easy changes we made to bump the harvest.

These results really show that you do not need a huge acreage or a homestead to grow a large amount of food for your family. And it doesn’t take a ton of work (as long as you’re willing to live with a few weeds!)

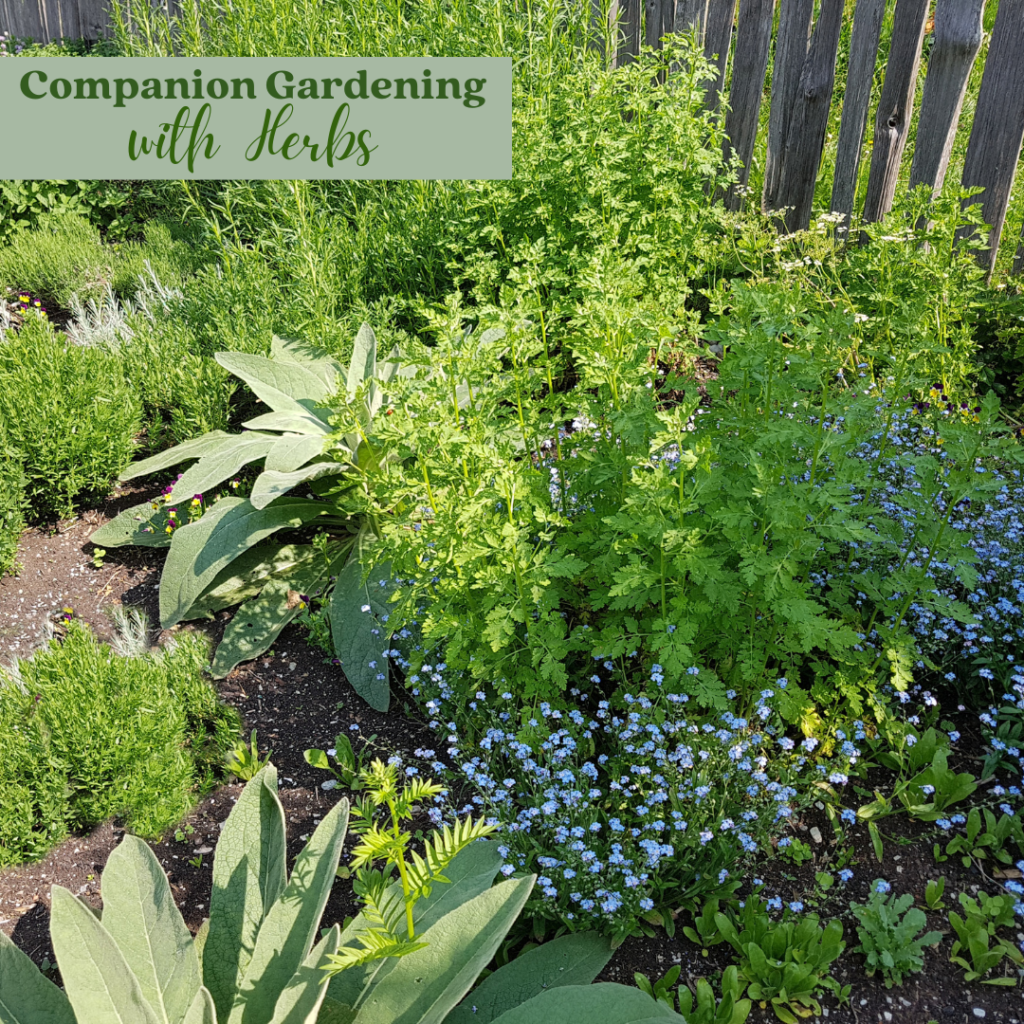
We do not have a big garden! In total, the raised beds are around 600 square feet, we have two Haralson apple trees, 6 neighborhood maple trees, two rhubarb plants, and six deck pots (in 2023 we upped this to 12 pots). Plus every corner I can find is planted with perennial or annual flowers.

We live right in town with neighbors on all sides. We have busy work schedules and are gone a lot so we don’t spend a lot of time on maintenance or replanting (so this garden could have probably grown even more!). This harvest is more than enough for our small family and we ended up sharing with neighbors and taking a lot to the food shelf.

Three things we added that made a huge difference:

  1. I put a water filter on my hose – this is normally attached to RVs to filter the water coming into the camper. I have treated city water and I’ve always wondered if that affected the plants. I can say it does and I think this change is one factor in such a great garden season. These are not inexpensive and can be found online, just search “RV/Marine inline water filter”
  2. I added soaker hoses to my vegetable garden and put it on a timer. Highly recommend the timer because you will forget you turned it on! This kept everything at a much more consistent moisture level and it protected tomatoes from soil splash which causes blight. And side note: I did not have blight on my tomatoes this year for the first time in 10 years!
  3. I let volunteers grow and did not till in the spring. Last fall I decided to leave garden debris in my garden to build up the soil quality and give critters food and habitat. I also didn’t till the garden up before planting. Wow, did I have volunteer plants! Sunflowers, tomatoes, lettuce, broccoli, and parsley. The sunflowers produced a lot of seeds and both the tomatoes and cucumbers used the sporadically-spaced sunflowers at trellises. (You have to be willing to love non-straight rows and haphazard planting to like this kind of garden!)

Here’s what we harvested in one season:

Maple syrup: the first harvest of the year, we made 2 gallons of pure maple syrup

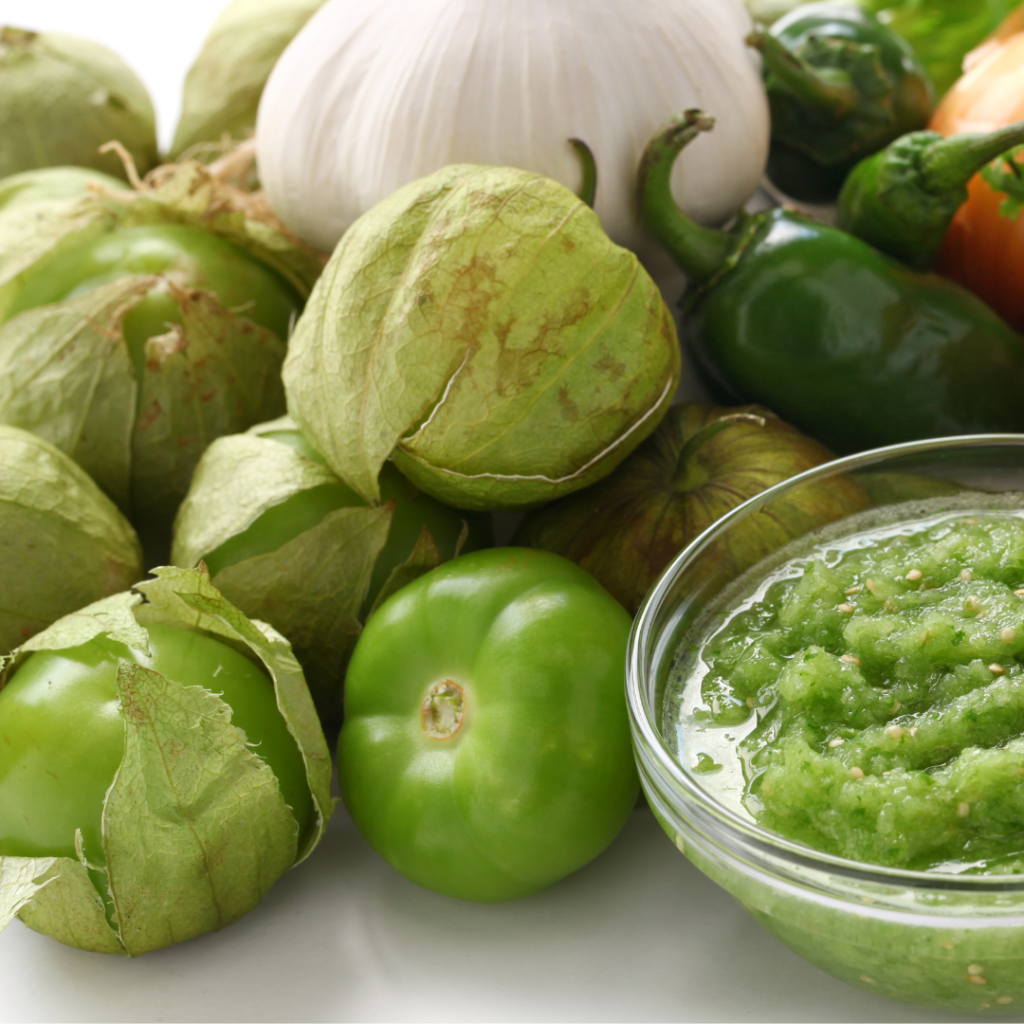
Rhubarb: enough to make two large rhubarb crisps and 8 pints of jam. Also made a few pints of hot pepper rhubarb jam (recipe here)

Lettuce, Spinach, Kale, Swiss Chard: 15 gallon bags

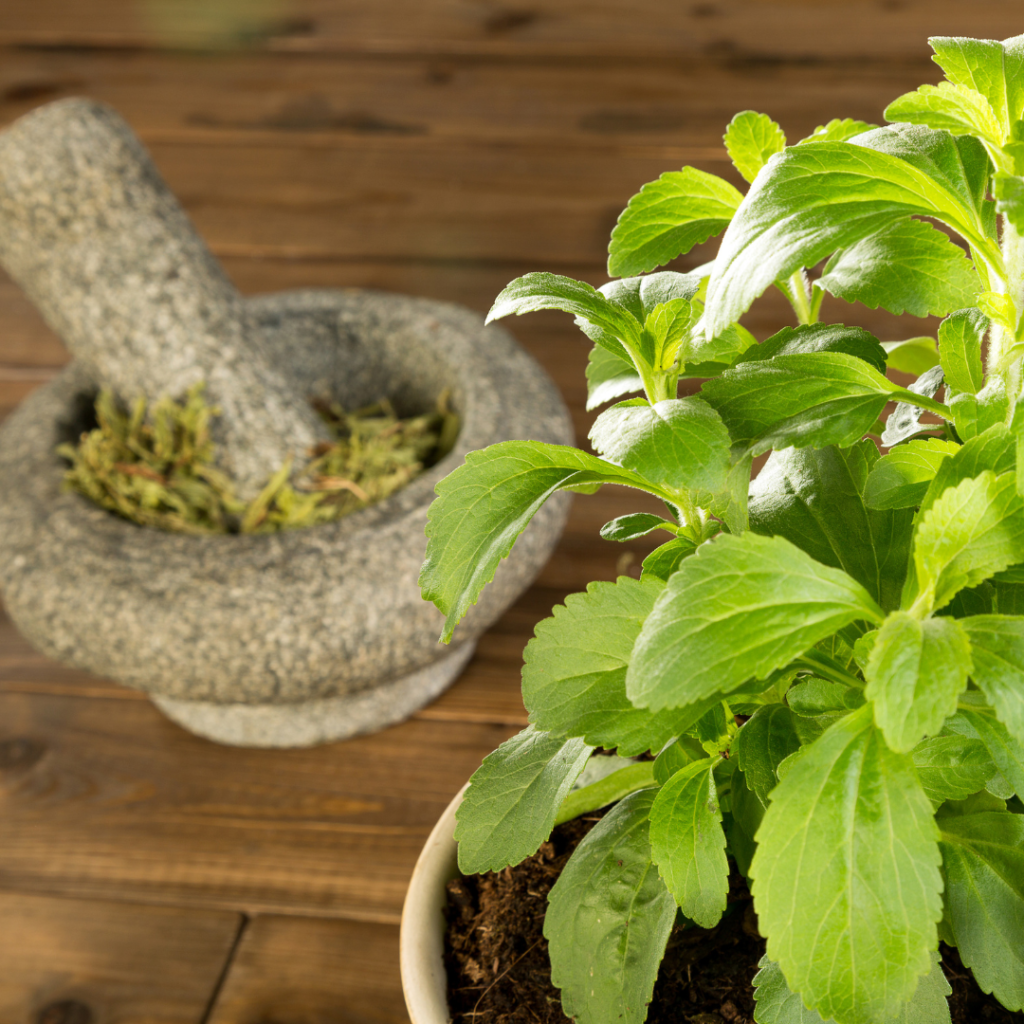
Parsley: made 1 quart of chimichurri and used all summer fresh

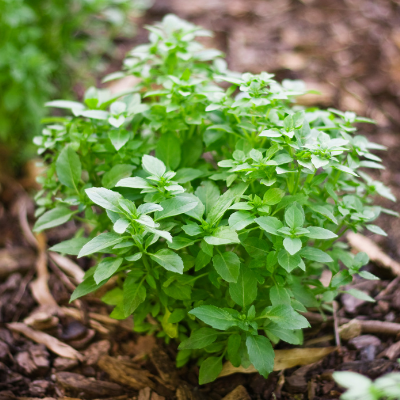
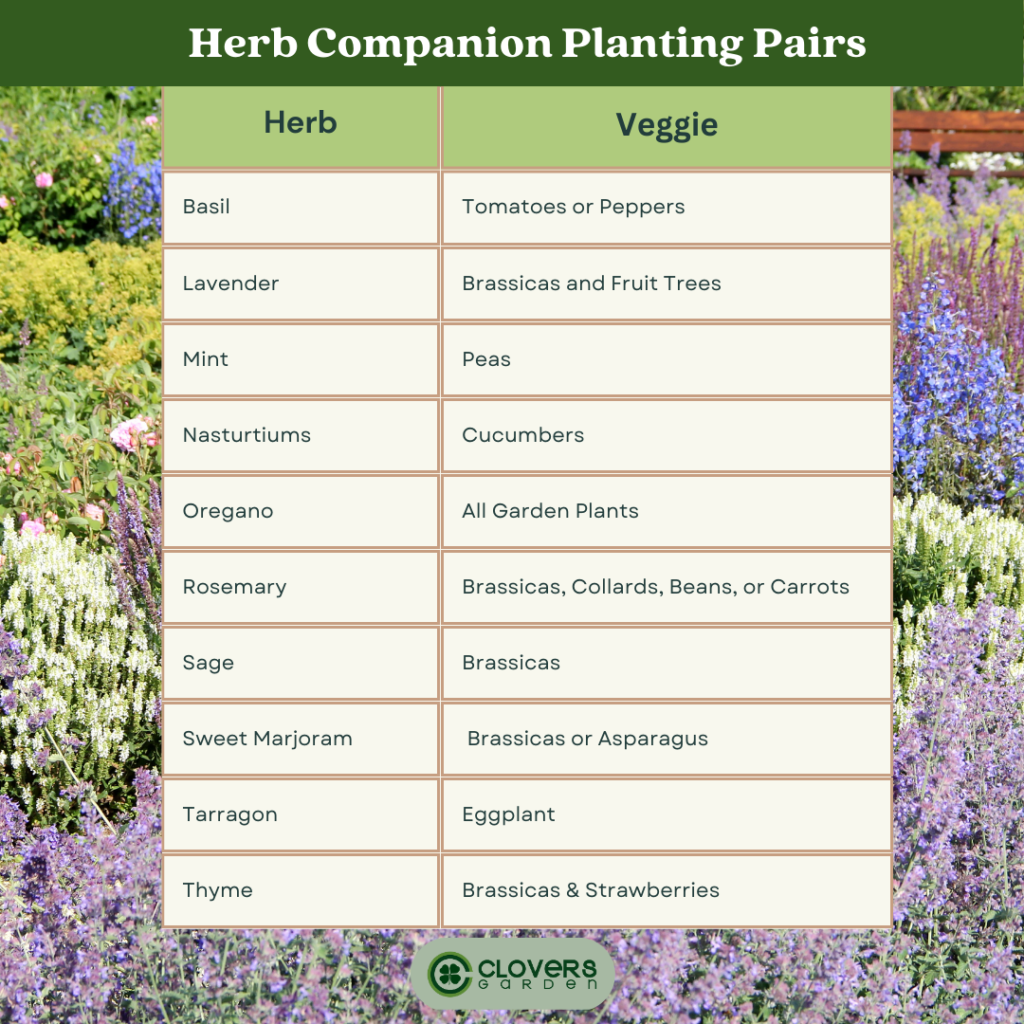
Basil: made 2 quarts of pesto and used all summer fresh

Mint: made 5 batches of mojitos, made 2 quarts infused tincture for sore throats

Dill: picked multiple batches for pickles and dried herbs

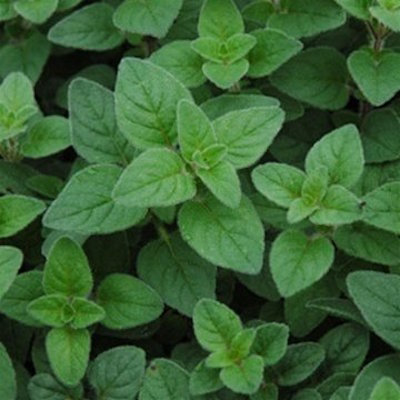
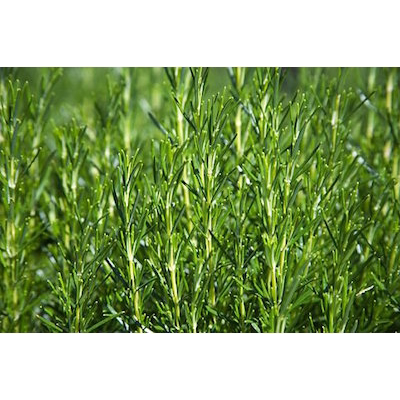
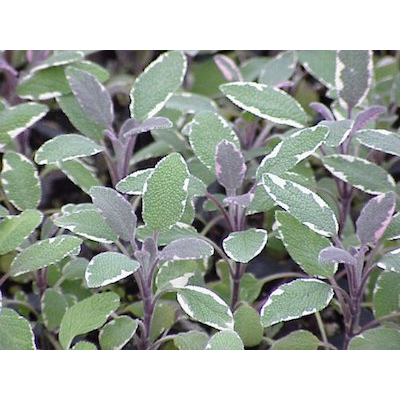
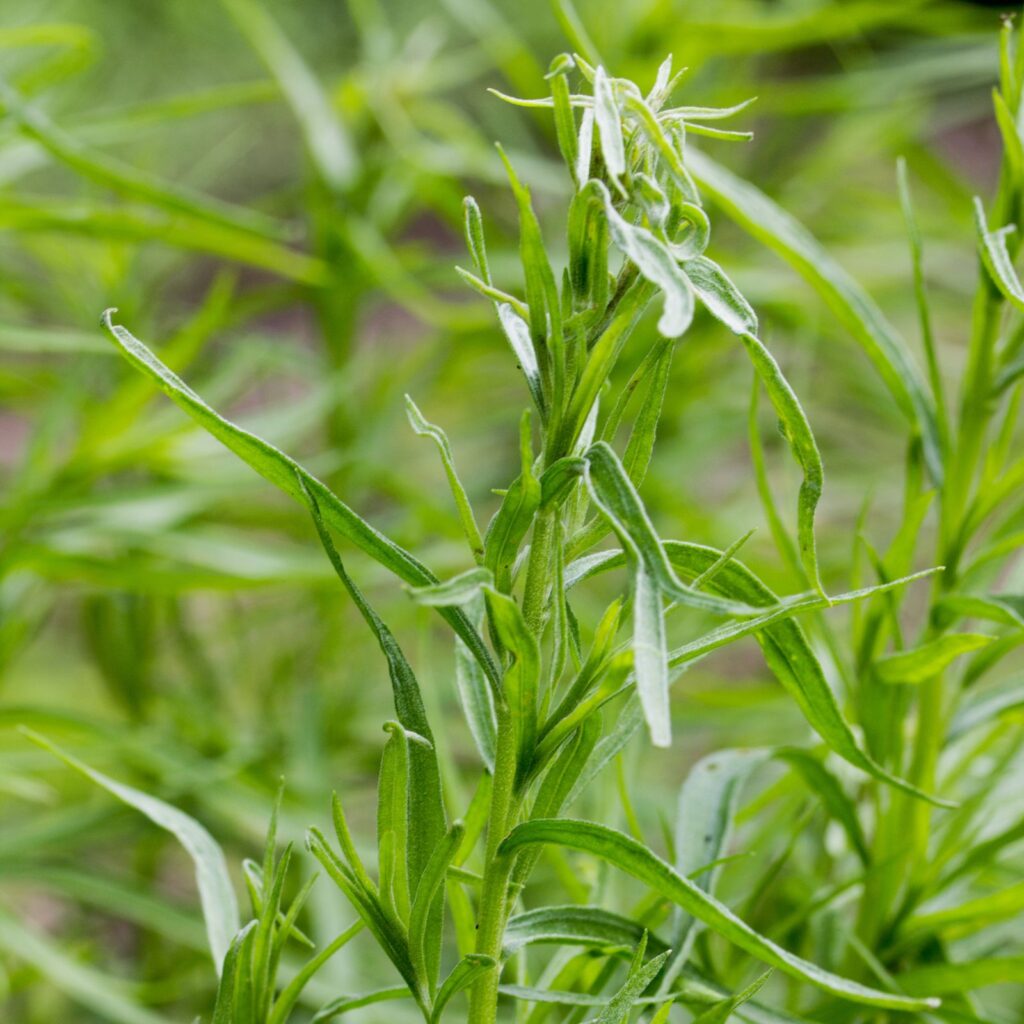
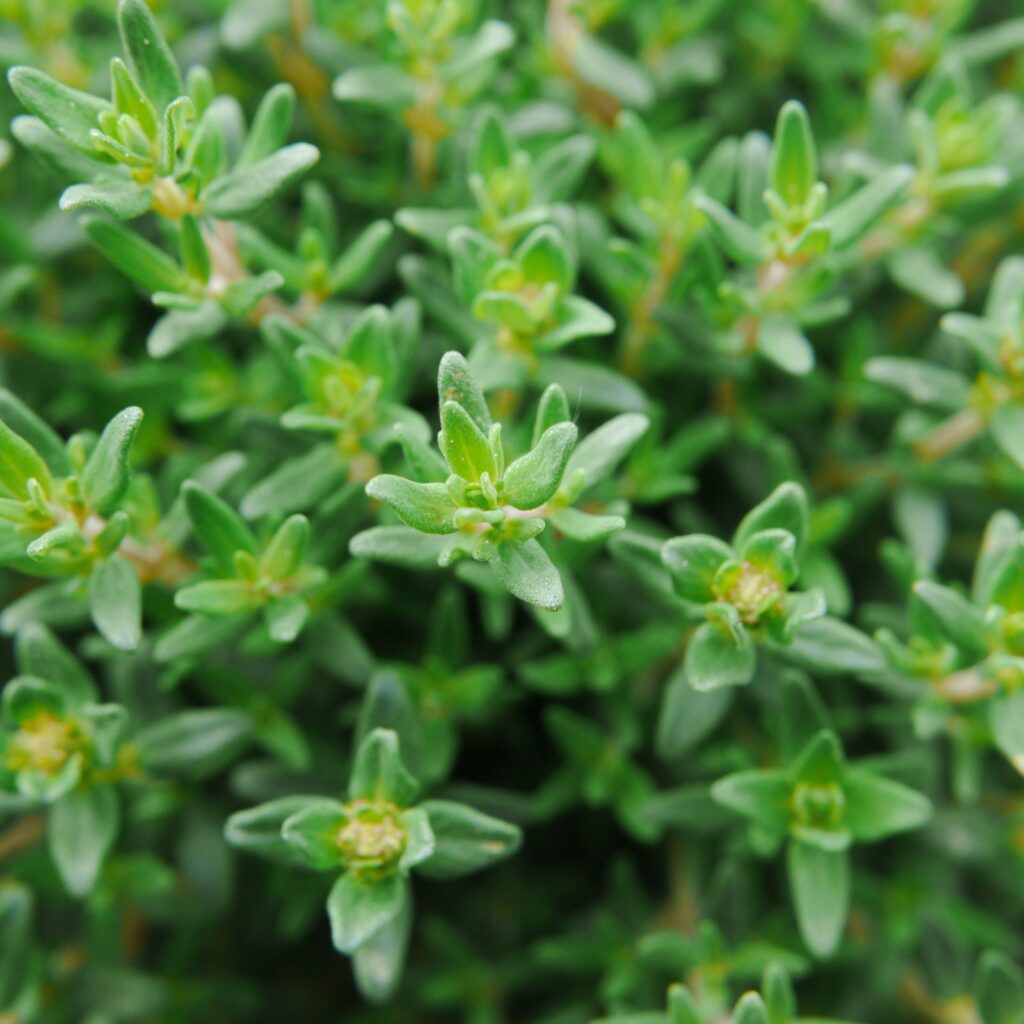
Thyme, Rosemary, Sage: Used all summer and made 3 pounds of herb infused butter (just mix fresh herbs with softened butter and roll into a log. Wrap in wax paper and freeze. Then just slice off as needed.

Kohlrabi: 10 plants, ate raw and roasted and sauteed the greens

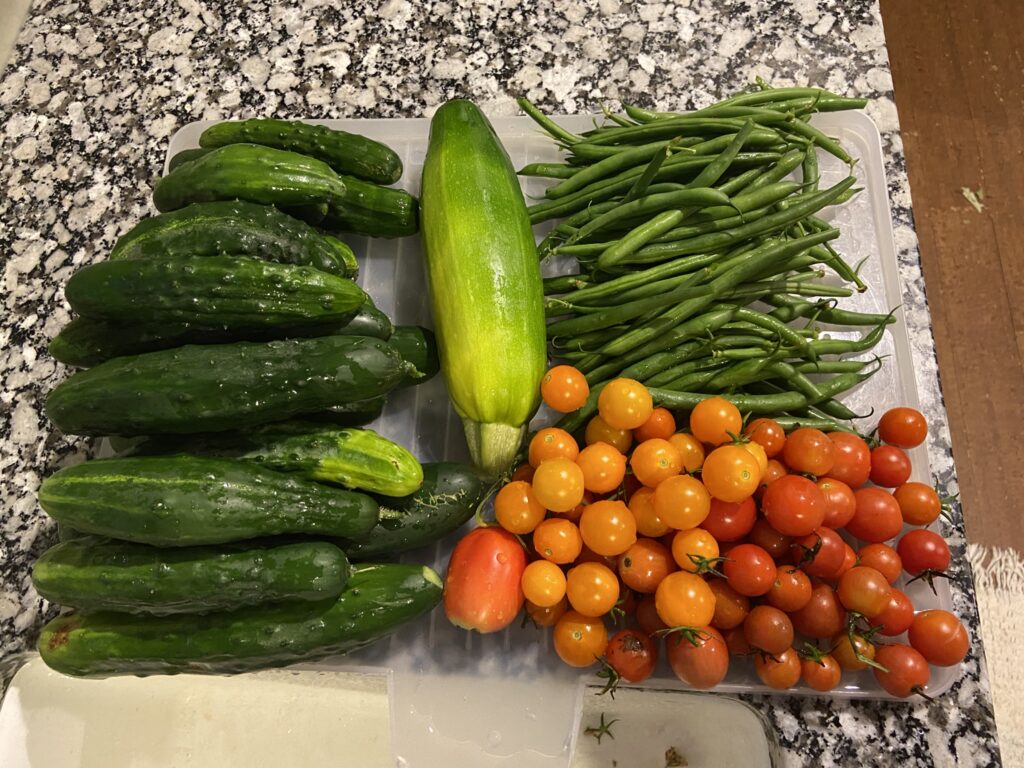
Zucchini: harvested 47 zucchini, most about 8″ long

Cucumbers: harvested 212 cucumbers (!)

Green beans: harvested 7 gallon bags

Peas: harvested 3 gallon bags

Roma and Beefsteak Tomatoes: picked 38 tomatoes from 4 plants, made 8 quarts of tomato sauce plus lots of fresh slices and salsa.

Cherry Tomatoes: picked 4 gallon bags from 3 plants. One cherry tomato plant grew as tall as the sunflower using it as a trellis.

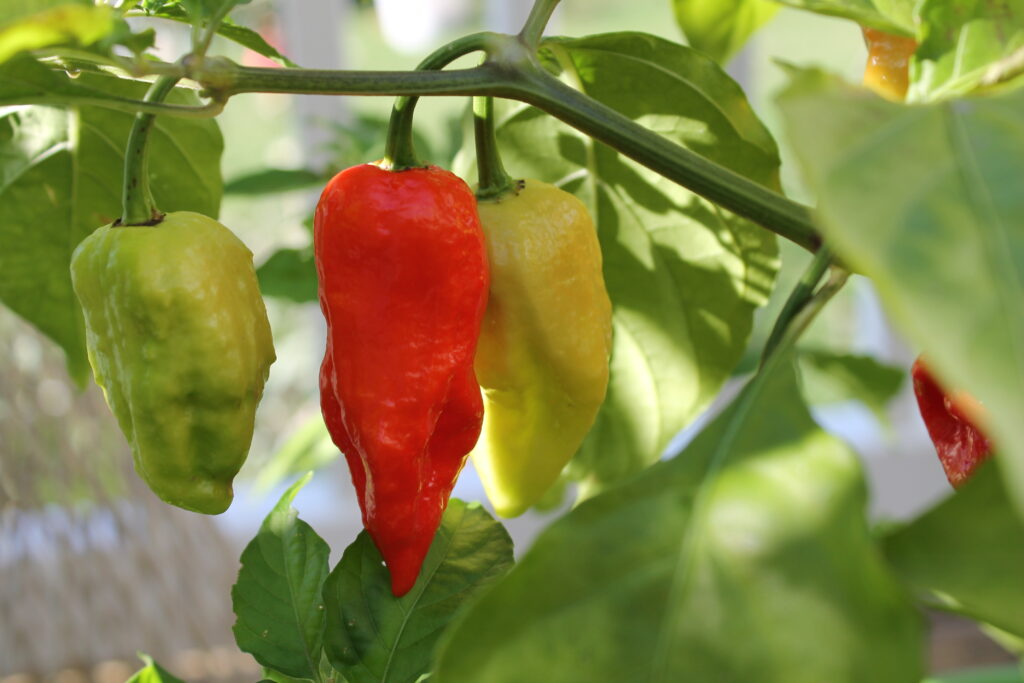
Peppers: harvested 15 peppers off 2 plants.

Carrots: 25 carrots, largest one was 2” in diameter

Apples: grew almost 2 bushels of apples but the bees and ladybugs got at about ½ bushel before we picked them.

Sunflowers: All my sunflowers were volunteer this year and each stalk grew at least 5 heads, some grew 12! I let them dry in the garden and a lot of the seeds got eaten by the birds. After picking this week and shucking, we ended up with about 1 gallon of seeds. We’ll feed these to the birds and save some for planting next year.

Cut flowers: I had fresh bouquets in the house from May until this past week! And I harvested zinnia, daisy, cosmos, and salvia seeds from the dried flowers for planting next year.

How to Make Herb Infused Simple Syrup

Herb Infused Simple Syrup

Delicious addition to cocktails, iced tea, or mixed with club soda. Preserve the fresh taste of summer with the easy recipes that freezes well.
Course Drinks

Ingredients
  

  • 1/2 cup fresh herb leaves (stems removed)
  • 1 cup white sugar
  • 1 cup water

Instructions
 

  • Bring to boil and let simmer for 1 minute. Gently muddle leaves to release flavor. Cover and let steep for 30 minutes. Strain leaves and refrigerate or freeze. Use in cocktails or add to sparkling water or iced tea.

How to Plant a Perennial Flower Garden in Any Zone

perennial flower garden with birdbath surrounded by purple coneflowers, yellow rudbeckia, milkweed, purple phlox, blue fescue grass, and other green plants.

Perennial flowers and plants bring beauty, scent, and pollinators to your landscape. They only get bigger and better with each year; they’re naturally hardy and resistant to pests and critters; and eventually they can be divided to create even more gardens. Best of all, perennials require little to no maintenance after the first year of planting. This article will help you choose the best perennial plants for your garden and give tips on how to plant and care for them in the first season.

Step One: Choose your Location

While we don’t generally believe in gardening rules, you must follow this one rule when choosing perennials: pick plants suitable to your USDA Planting Zone. These plants can survive the coldest temperatures that come your way in the winter and the highest heat in the summer. (Find your zone here by zipcode.) Perennials can be planted outside of these zones – some people even plant them in containers – but the chances of survival to next year will be low.

In addition, if you’re planting perennials to support pollinators, choose plants that are native to your zone. Bees, butterflies, and birds will dine on just about any plant you put out but they also will come back looking for more. If their trusted food source from last season isn’t there, they have to use valuable energy searching for more.

Once you’ve found your zone, you’ll need to map out the area where you’ll be planting. You’ll need these three pieces of info to help choose plants:

  1. What kind of sunshine does this area get? Many perennials prefer full sun but can tolerate some shade (see the chart below). As you place your plants in your plan consider the mature height of each plant and plant the shortest at the front so taller plants will not shade them.
  2. How big is the garden space? This will help you space plants so they have the proper room to grow and spread with time.
  3. Water and drainage. Most perennials are not picky about water but all require good drainage and will not do well sitting in always-wet soils. For your own enjoyment, make sure you plant near enough a water source so you’re able to keep plants watered in the first season. Subsequent years you will be able water less.

Bonus points if you can locate your new perennial bed near your vegetable garden or fruit trees! Pollinators will flock to these flowers and will naturally do their work on your veggies, berries, and fruit blossoms too.

Step Two: Decide on Design

This is where the “no rules” in gardening comes into play! You can plant your flowers however you like. Maybe you want all one color or every color possible. Maybe you want neat rows along your foundation or an entire front yard prairie look. If you like it, you can plant it. The only guideline here is to give each plant the room they need to grow and to combine plants with the same growing needs. For instance, you can’t put a sun-loving plant and a shade-loving plant together in the same garden!

If this is your first time planting a large flower bed, remember this: when you first plant your flowers, the bed will look not full enough. You will be tempted to plant your plants closer together. Resist this urge! These plants will quickly double in size (or more) and fill out your beds. And the more room you give them to grow, the healthier they’ll be in coming years.

As you plot out your garden, consider the blooming time of each flower – some will bloom in early spring, others in mid-summer and some all season long. Combine these so you’ll have blossoms from spring through fall. And don’t be afraid to pick flowers frequently during the season, they will only bloom more!

Step Three: Planting

Perennials can be planted from spring through early fall – as long as the plant has enough time to establish roots before winter. The first season of planting will be a growth year so don’t expect a lot of flowers. This first year, too, your plants need a little extra care in watering and fertilizer so they can put down good roots. Follow the planting instructions on depth and space included with each plant. After planting, give the plant a good drink of water and mulch around the base of the plant (keep mulch away from the stem) so moisture will stay around the roots. Mulching is helpful but not essential in following years.

Right after planting, your plants may look wilted. This is transplant shock and happens to most plants. Just keep watering on a normal schedule and the plant will quickly perk up as it adjusts to its new home. Be sure to put markers by each plant for the first season so you know what’s a plant and what’s a weed.

Journal Tip: Document the locations of each plant in your garden journal and take pictures of the new plants. This will help you identify next year as new leaves emerge. Keeping a journal of perennials is also helpful to future generations who enjoy your garden and is very much appreciated by potential owners if you ever sell.

Step Four: Fall and Winter Care

If you’ve chosen plants appropriate to your Zone, you do not need to do much when the season ends. Most plants can be left unpruned through fall and winter and many actually provide interesting winter structure and hibernation support for pollinators. They can be cut back in early spring before new growth emerges.

Do not cover your perennials with mulch or straw for the winter, this can lead to mold or rot of the plant and root crown. However, in years with no snow cover, plants can sustain wind damage if they are exposed. This will not kill the plant but it can damage branches – winterkill from wind is more common in large bushes such as spirea. If you have a dry fall, be sure to give them a good drink before the ground freezes. Refer to the specific plant you’re putting in, though, for detailed winter care.

Shop Our Large Collection of Perennials Here.

Cowboy Caviar (Black Bean Salsa)

Cowboy Caviar

Fresh summer flavor with black beans and jalapeno peppers
Course Appetizer
Cuisine Mexican

Ingredients
  

  • 45 oz black beans (canned) — drain and rinse thoroughly
  • 11 oz Mexicorn (canned) — frozen or fresh cooked corn can be substituted
  • 20 oz Rotel
  • 2 tomatoes, preferably Roma — diced into small pieces
  • 2 bunches green onions — diced into small pieces
  • 1 hot pepper (jalapeno, serrano, anaheim chili) — optional to your taste, diced into small pieces
  • 2 tbsp freshly squeezed lime juice
  • 1/4 tsp cumin
  • 1 bunch cilantro — optional, rinsed, drained, chopped for garnish

Instructions
 

  • Mix everything but cilantro together and let sit overnight. Garnish with cilantro (if desired) and serve with tortilla chips or whole grain crackers. Also good as a topping for hot dogs or tacos.

Notes

You’ll want to make a double batch because this goes fast!
Keyword black bean salsa, cowboy caviar recipe

10 Best Herbs to Plant with Veggies

Companion planting is a great way to maximize garden space and promote natural, healthy growth of your vegetables. When planted strategically together, plants will protect each other from pests and insects; nurture the soils; enhance the flavor; and even provide a support structure and shelter from wind or sun.

Using herbs as your companion plants also brings the added bonuses of a ready supply of fresh herbs that also look beautiful in your garden. Many of these herbs on this list also attract pollinators which benefits every plant, tree, and bush growing in your yard. And some (basil, mint, thyme, and lavender) naturally repel mosquitoes! Table is included at the end of this blog post. (Brassicas include: Cabbage, Broccoli, Cauliflower, Kohlrabi, Brussels Sprouts.)

Basil + Tomatoes or Peppers: Basil repels repel whiteflies, mosquitoes, spider mites, and aphids and improve the flavor of the fruit. Avoid planting near chamomile or mint.

Lavender + Brassicas and Fruit Trees: Lavender will repel cabbage moths and codling moths that are drawn to apple trees.

Mint + Peas: Deters white cabbage moths, aphids, and flea beetles. Do not plant near parsley and beware because Mint is a vigorous spreader.

Nasturtiums + Cucumbers: Nasturtiums are edible and also attract aphids, cucumber beetles, and squash bugs.

Oregano + Almost Anything: Oregano is a great garden buddy for most plants that are affected by insects like aphids.

Rosemary + Brassicas, Collards, Beans, or Carrots: Repels mosquitoes, cabbage moths, Japanese beetles, and carrot flies.

Sage + Brassicas: Sage repels cabbage moths, cabbage worms, and black flea beetles. Avoid planting with fennel or cucumbers.

Sweet Marjoram + Brassicas or Asparagus: Marjoram is good at repelling cabbage moths and fit well between rows for good coverage.

Tarragon + Eggplant: Tarragon pairs well with most plants but provides the best partner with eggplant. Do not plant with parsley or dill.

Thyme + Brassicas and Strawberries: Deters cabbageworm, whiteflies, and cabbage maggots.

How to Grow Your Own Natural Sweetener: Stevia Plants

Stevia is an annual herb that, when dried and ground into powder, can be used as a natural sugar replacement. This compact plant is easy to grow and has lovely green foliage that pairs well in container with other herbs and flowering annuals. This article will explain how to grow Stevia, harvest it, and preserve for use in your kitchen.

Order Stevia Plants Here.

Stevia Growing Conditions

In its natural habitat, Stevia is a sub-tropical plant and can only be grown as a tender annual in most US Zones. The plant prefers warm temperatures and does best in full sun or partial shade, with at least six hours of direct sunlight per day but will benefit from mid-day shade to prevent leaves from wilting and drying out.

Stevia needs loamy, organic soil with good drainage and consistent watering but will not do well in overly-wet soils. This plant also benefits from regular fertilizing with a 10-10-10 plant food.

Space each plant at least 10” apart if planting in ground, they can be planted closer together in containers. When planting, make sure to dig a hole that is twice the size of the root ball to give the plants enough room to grow. Add compost to the bottom of the hole before planting and water thoroughly.

Stevia is generally resistant to pests and diseases, but like any plant, it can be affected by a few common problems. Aphids and whiteflies are the most common. To prevent these pests, use insecticidal soap or neem oil.

Stevia can be planted with a variety of other herbs and vegetables, including basil, mint, tomatoes, and peppers. These plants can help to deter pests and improve soil fertility. However, avoid planting stevia with plants that require heavy fertilization, such as corn or cabbage, as they can compete for nutrients and water.

How to Harvest Stevia

This plant will flower in early autumn with crisp, white blossoms which can be picked for a pretty bouquet. To promote leaf growth, though, blossoms should be snipped when buds first emerge. If flowers are allowed to mature, the plant’s leaves will take on a bitter flavor.

Stevia leaves can be picked throughout the season but leaves will be at peak sweetness in late summer and early fall. For single use, or to encourage bushier growth, pick a few leaves but leave at least 2/3 of the plant intact. If you’re planning to dry leaves, pick all of the plant’s leaves at once in early autumn. Harvest leaves in the morning to ensure peak sugar content. This plant can also be grown indoors in a sunny window but requires a large pot for root growth.

How to Use and Preserve Stevia Leaves

Freshly picked leaves can be used to sweeten hot beverages, just snip a few leaves and steep for a few minutes in hot water, tea, or coffee. Leaves can also be frozen and used in the same way throughout the year. The leaf itself can have a licorice-like aftertaste but once ground, the taste is similar to white sugar.

To use in baking and cooking, the leaves must be dried and ground into a powder. To dry leaves, use a dehydrator. Once complete dry and cool, run through a small food processor or use a mortar and pestle to crush into a finely ground powder. Store in an airtight container. Stevia powder is much sweeter (by volume) than refined white sugar! Experiment with your recipes to get the right sweetness, typically 2 tablespoons of ground stevia is equal to one cup of white sugar.

How to Grow Tomatillo Plants in Your Backyard Garden

Order your Tomatillo Plants Here.

A must-have for Mexican cooking, Tomatillos are one of the most versatile plants you can grow in your garden. They are a member of the nightshade family and grow just like regular tomatoes. Unlike classic tomatoes, the fruit is typically smaller, stays green, and grows inside a thin, papery husk that turns brown when ready to harvest.

The tomatillo plant is a profuse producer and will put out hundreds of tangy, tart, citrusy-flavored fruits. Tomatillos are both low in calories and high in nutrients like vitamin C, vitamin K, and potassium and a good source of fiber and niacin.

Tomatillo Plant Care

Like tomatoes, tomatillos can be planted deep and, in fact, the plant itself will be stronger and more productive if you plant the majority of the stem underground. Just leave the top section of leaves above ground. Plant each plant 2’ apart but you must plant at least two plants together – tomatillos are not self-pollinating.

They prefer full sun at least six hours per day and grow best in well-drained, loamy, and slightly acidic soil. Plant after all danger of frost and protect in the fall from extra chilly nights. Keep consistently well-watered and avoid splashing water on leaves.

Plants will benefit from staking or caging as they can become quite heavy with fruit. With care, tomatillos can be trained to grow up a trellis. They can be planted in a container with good drainage (one per plant per pot). To encourage bushier growth, snip off the tips of branches with a clean garden shears.

Tomatillo Harvesting Guide

Tomatillos are ready to harvest around 60 days after planting the seedling. The more you pick, the more they will produce! Fruit is ready to pick when the fruit feels firm and the husks are papery and dry. Simply twist the fruit off the vine and remove the husk before cooking (just rub gently with your fingertips and it will fall right off). Most tomatillo plants are indeterminate which means they will continue producing fruit all season until the first hard freeze.

Like tomatoes, they do not need to be refrigerated and, if stored in a cool, dark place (with the husks on) will keep for up to two weeks. They can be eaten fresh as a salad or taco topping; frozen (after blanching) or canned; roasted or grilled; added to soups and stews; or cooked into salsa verde or enchilada sauce.

How to Grow Hot Peppers in Containers.

Hot peppers are the perfect deck and balcony plant! As long as you have a sunny spot, they love the conditions in containers and will put out great yields right at your back door. By moving your peppers to pots, you’ll free up space in the garden and you can extend your season by bringing pots indoors when it gets colder. Read on for the best tips on successfully growing peppers in pots.

Shop the full pepper collection here.

Start with Live Plants.

You can grow from seed but (unless you live in Zone 9 or warmer) you’ll need to start indoors under grow lights for at least 8 weeks. Nursery grown peppers give you the fastest head start and they are generally more robust plants that can handle transplanting. In very warm areas, peppers will grow as perennials but in most US Zones with frost, peppers only last outside for six to seven months. To harvest as soon as possible, start with the biggest plants you can find.

Container

Choose a pot that is at least 12” in diameter. Be sure the container has plenty of drainage holes and fill the bottom with clean rock or gravel to give the pot weight and provide a little extra drainage.

Soil

Peppers prefer slightly acidic to neutral, loamy soil that drains well – regular bagged soil or compost works well for peppers. When using containers, it’s important to replace the soil each year or mix well with compost to replenish nutrients. Fill the pot almost to the rim, leaving about 1” so water won’t spill over the edges when watering.

Sun

Peppers need full sun so be sure you can put your potted pepper in a spot that gets full sun all day. Also make sure the pots can be spaced so they get good air flow and do not shade each other.

Water

Peppers like moderate water but containers tend to dry out faster than in-ground gardens. So, on really hot days, you might need to water twice. Be sure to water at the soil level – not overhead or so that the soil splashes up on the leaves. Water until it comes out the drain holes on the bottom – if your soil is really dry, water for a bit until soil is moistened, let it sit for a minute, then come back and water some more.

Nutrients

Container peppers need extra fertilizer (compared to in-ground gardens) so feed weekly according to the instructions on your favorite garden feed. They do not need any extra nutrients but will benefit from an addition of compost at the beginning of the year.

WARNING: All parts of the really hot pepper plants are hot. Wear gloves when handling stem, fruits, and leaves. Wash your hands thoroughly before touching eyes, nose, or mouth.

How to Plant

Harden off your plants before planting. Nursery grown plants need a few days to adjust to outside weather conditions. Start by sitting them in a shady spot without a lot of wind and then slowly move them into the sun for longer and longer each day. Be sure to keep well-watered. Once they’ve been in the sun all day, let them sit out overnight (protect from critters) and then they should be ready to plant.

In your container dig a hole that is the same size (width and depth) of the pot the pepper plant is in. Only put one pepper per pot because they will grow quite large and do not like to be crowded or compete for water and nutrients. Tip the plant over, gently cradling the stem between your fingers. Carefully loosen the root ball and place the plant in your hole. Scoop the soil back in to cover the plant – when done the pepper should be buried at the same depth it was in the pot. Water well and move to a shady spot for the first day or so. Then move into the sun, keep watered, and feed once or twice a month.

Care & Pruning

Some gardeners like to pinch off or prune the “growing point” of pepper plants but we do not agree with that method. It can increase the bushiness and sturdiness of the plant but it does not increase yield. We recommend instead carefully staking your peppers (use a wire tomato cage or string trellis system). This prevents the plant from tipping over and supports the branches when the fruit is heaviest. It also preserves the canopy which is important to protect the fruit from sun scald.

The only exception to this rule is late in the season when you know you only have a few weeks until frost or freeze. This is a good time to top the plant off – just cut the top portion of leaves. This will stop the plant from growing and it will instead put all its energy into ripening the remaining fruit.

Harvesting

Peppers are one of the few garden plants that you can harvest fruit at nearly all stages. Most plants start out with green peppers and the longer they stay on the vine, the sweeter or hotter they become and the colors will change from yellow to orange to red (or purple depending on the variety). The more peppers you pick off your plant in the early season, the more they will produce! One thing to note: the longer you leave on the vine, the more chances for critters to get at them.

End of Season

Once temps get below freezing, your peppers are done. If you’re only expecting frost that will be followed by warmer days, cover up your plants with a light blanket at nighttime or move indoors. You can try keeping your pepper alive indoors but it will still need a lot of sunlight to thrive. Once the plant dies back, remove it and throw in the compost pile for next year’s soil.

Shop the Pepper Collection here.

Hardening Off Garden Plants

This one simple gardening step guarantees healthy, hardy plants that will thrive all summer long. So what exactly does hardening off mean and how do you do it properly?

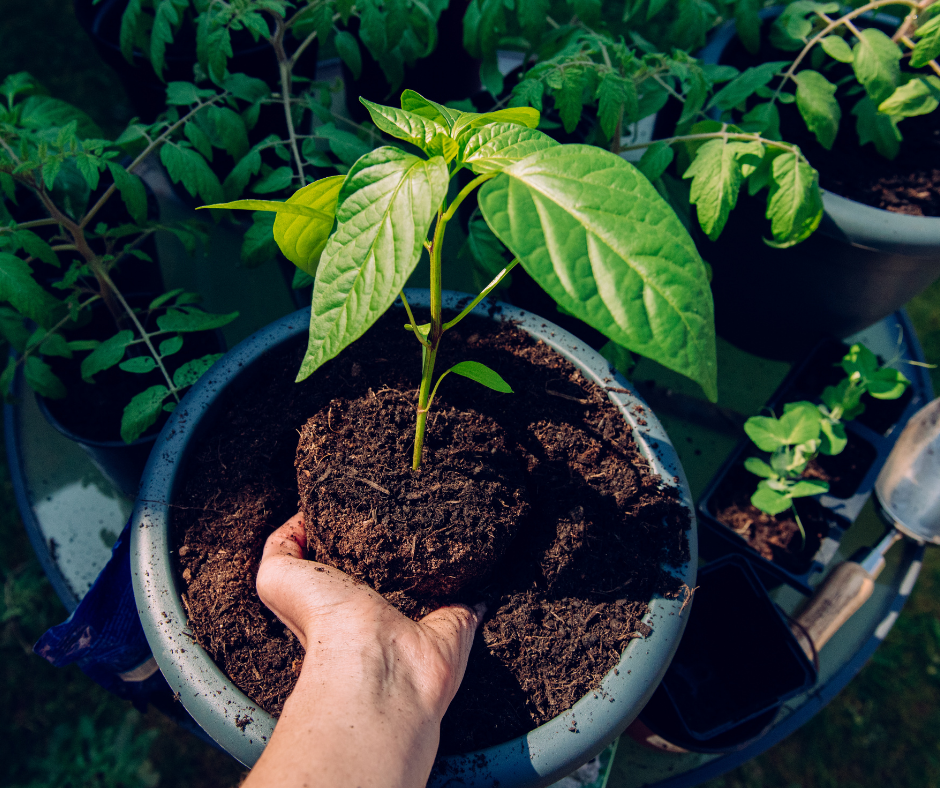
Whether you’ve grown plants from seed, bought a flat at your local nursery, or plan to move your indoor plants outside for the summer, this change of environment is a shock to their system. They’ve been living in a fairly cushy atmosphere where every condition from wind to rain to light is controlled by you, their doting parent. So you just can’t plop them into the garden and leave them on their own! Hardening off is a gradual process that allows plants to successfully make the switch to outdoor living.

Timing is important when choosing to start out. Count back from the date when you can expect adequate and consistent warmth both day and night. If you’re working with nursery-grown or indoor plants, plan on about five days. Tender annuals (such as impatiens) or baby seedlings need about one week. Refer to the plant tag or a plant-specific gardening guide for more information on the plants you’re using. Do not rush this step as it’s essential to a successful transition! A few too many hours in the sun could be just enough to ruin all your hard work and permanently damage your tender plants.

cucumber seedlings growing in cocofiber pots with wooden tagsFirst set plants in the shade and out of the wind for a few hours on a warm afternoon. Bring them back indoors before evening but keep them in a warm part of the house. Every day lengthen the time the plants spend outside, always bring them in before nightfall, and gradually expose them to more and more direct sunlight. Continue to protect from strong wind and keep them watered!
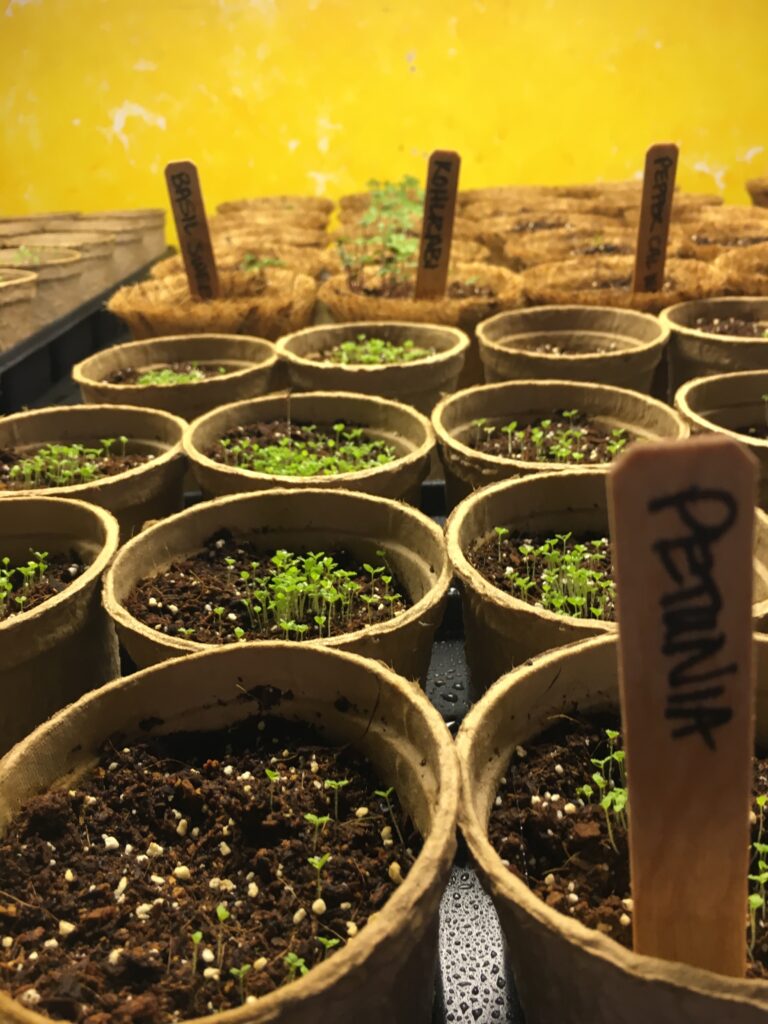
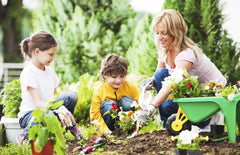
After a week or so, leave them outside in the sun and overnight unless temperatures are forecast to drop below 50°F. If harsh weather or high winds are predicted, bring them indoors for the night. And, if you struggle with wildlife in your garden, make sure seedlings are in a protected area to avoid late night snacking. You can also use a cold frame or a mini-greenhouse for this hardening off process.

Once you’ve made it through a night – and the weather forecast remains warm – leave the plants outside or plant in the ground or containers. Don’t be worried if at first newly dug-in plants look slightly wilted. This is a normal reaction called transplant shock and within a couple days they will recover. Be sure to give them a good drink and some plant food and enjoy your garden!

Starting Garden Seeds Indoors: Supplies, Space, and Lighting Needs

Seedlings growing in eco-friendly paper seed pots.

Growing plants from seed requires the right equipment, adequate space, and patience. One thing most gardeners will tell you is you must follow established seed-starting regimens. A minor misstep during the process can devastate the entire growing crop and you will then be behind the planting season and may need to start over. These problems can be avoided if you take a few simple, tried-and-true steps for starting your seeds. This article will describe how to set up your space to grow healthy seedlings.

Seed Starting Space Needs

Before you can set up grow lights and plant seeds, you must first find dedicated space to house your seedlings for up to three months. Do not opt for a windowsill! While this would seem to be a good sunny spot, it’s often the draftiest and coldest area in a home and seedlings will grow sideways and spindly in an effort to reach the weak light. You can, however, set up tables near a sunny window but you will still need to provide additional lighting as a consistent source of light and heat. Also, be sure to choose a location away from drafts created by opening doors or heat registers; avoid high-traffic areas or places where pets or family activity can jostle tables; and locate your grow space in an area that can handle water spills or messes from soil. Many people do quite well starting seeds in the basement as this is often the quietest part of the house. Just make sure the air temperature stays at 60°F or above and consider providing bottom heat for the seedlings.

Along with space you’ll need tables, racks, or something stable to set your trays on while they grow. Again, this is for at least 4 weeks, so this equipment will be out of use within your household. Sawhorses or folding tables will work as long as they’re stable so your trays are secure. Don’t put trays on the floor as the temperatures will be too cold.

Seed Starting Lighting Needs

While natural sunlight can be a good supplemental light source, seedlings do best underneath an overhead fluorescent light. Most home stores and garden centers sell professional grow lights but a standard shop-type light fixture with two cool white bulbs will work great. You will need lights for all seed trays so if using a stacking rack system, lights will need to be positioned above the plants at each level. Hang your light so the height can also be adjusted as the plants grow (you will need at least 6” of space above the seedlings). Your seedlings need between 12 and 16 hours of light per day but they also need some dark to grow properly – set up your lights on a timer so you don’t have to worry about turning the lights on and off.

Using Bottom Heat for Starting Seeds

Seeds require a warm home to germinate and grow strong roots and a great way to quickly warm up your newly planted seeds is to use a heating mat or propagation mat. While it’s not a must-have, heating from the bottom provides gentle, indirect heat that will give your seeds a jump start. Available at most garden centers, heating mats are specially designed for seed trays and typically have a temperature control so you can set the heat for your specific seeds.

You can try a DIY approach, too, for bottom heat with a heated blanket, a heating pad, or even hot water bottles. These methods will work to provide heat but must be closely monitored so they do not get too hot which will essentially cook the seeds and they will not germinate. Most plants require a soil temperature of 70°F to 72°F but more “tropical” veggies like peppers prefer warmer range of 80°F to 85°F. Check your seed packet for specifics. During germination, the heating mat should be left on at all times so if using a timer for your lights, do not plug it in to the same cord. Also, bottom heat tends to dry out the soil more quickly so be sure to keep your trays well-watered and check often. Once plants have broken through the soil, remove the heating mat.

Seeds Starting Trays or Pots

Obviously you’ll need something to start your little seedlings in! Specially-made seed starting trays are a great choice as they’re the perfect size for seedlings, lightweight and easy to move, and reusable from year to year. They also have predrilled holes in the bottom so water will easily drain through. (Shop our eco-friendly seed pots here). Styles vary and choices include:

  • Individually celled trays work well for small seeds and to keep plants’ roots separate for easier transplanting. However, many seedlings will quickly outgrow these cells and will need to be transplanted to a large pot prior to planting outside.
  • Row-style trays work for plants with large roots such as winter vegetables, onions, or leeks and are a good choice for planting lots of the same variety of seeds.
  • Small pots fitted into a larger holding tray work well for plants that will eventually grow large such as tomato or eggplant. These also have an added advantage because the plant has plenty of room to grow and will not need intermediate transplanting. These pots work well for transplanting seedlings that have outgrown the seed tray but are not ready to be planted outside.

All of these styles are reusable from year to year but must be cleaned after the first use. Remove all soil and rinse thoroughly. Soak trays for one hour in a mild bleach solution (10 parts water to one part household bleach) and rinse again with clean water. If storing away for the season, be sure to dry thoroughly.

Another option is to plant seeds in small fiber pots. These are nice because they can be planted directly in the garden and will dissolve over the growing season. Not only does this quicken your planting process but it reduces transplant shock which is especially important for tender-rooted plants such as cucumber or squash.

Some trays come with a clear plastic dome lid which is used to cover the newly planted seeds to hold in heat and moisture which promotes germination. You can create your own cover with a sheet of kitchen plastic wrap loosely placed over the seed trays. Be sure to remove covering as soon as you see seedlings emerging from the soil.

To avoid water spills or leakage, place your pots or seed trays on top of a plastic liner tray to catch any water that drips through. Be sure, though, to empty the trays so the seedlings are not sitting in water.

What Soil to Start Seeds In?

Available at garden centers, the best choice is a seed-starting mix that is not really soil but a mixture of vermiculite and peat. This finely-textured and loamy mixture is easy for seeds to push through, it’s guaranteed sterile so no diseases will hurt your seedlings, and it’s filled with just the right nutrients to feed the growing seed. Some growers mix their own potting mix and include a bit of compost – this is acceptable as long as you’re sure your compost is “well-cooked” so no traces of disease or weed seeds remain. Until your plants have leaves, they do not require fertilizer.

Before planting, fill seed trays with the potting mix and water well. The mix will sink slightly down into the planting pot and continue filling and watering until the cell is full within 3/4” of the rim of the container.

Watering Tools

Choose a spray bottle with multiple settings so you can first start out with a fine mist and eventually work your way up to larger droplets that mimic a spring rain. The key is to keep the soil at a consistently moist level without disturbing it or the growing seed. Keep your water at room temperature to reduce shock to the seedling.

Garden Recordkeeping Tools

Once all those little seeds sprout, you’ll need a way to keep track of everything. Plastic plant tags or popsicle sticks work well to mark each tray – record plant variety and the date you planted the seed. Cross reference this with the expected planting dates for each plant and record on a calendar so you’ll know when to begin the hardening off and transplanting process. Keep a mini-diary, too, for each season so next year you can refer back to what worked well and what didn’t do so great.

How To Choose Garden Seeds

Obviously the most important part of the process! Choose seeds that are no older than two years old and have been stored indoors (or not in freezing temperatures.) The fresher the seed, the greater chance for germination. If possible, plant more seeds than you think you’ll need just to ensure you’ll have enough plants. If you’re gathering seeds from plants to use next year, be sure to choose non-hybridized varieties and healthy plants. Many times you can just let the fruit or flower stay on the plant and the seeds will dry in place. When thoroughly dry, collect, label, and store in an airtight container in a cool place.

We now offer a full line of garden seeds, curated into garden favorites collections. Perfect for starting indoors or outdoors with a full range of varieties and proven favorites. Shop our seed collection here.

https://cloversgarden.com/collections/seed-kits