Hot peppers, with their fiery personalities and vibrant colors, are a delight to grow and cultivate. Whether you’re a seasoned gardener or just starting out, growing hot peppers can be a rewarding and spicy adventure. In this comprehensive guide, we’ll walk through everything you need to know to grow hot peppers like a pro, from choosing the right varieties to harvesting your bounty.
Hot peppers come in a wide range of shapes, sizes, flavors, and heat levels. From the mild heat of jalapeños to the fiery intensity of habaneros to the off the chart heat of Carolina Reapers, there’s a pepper out there to suit every taste preference. When selecting varieties to grow, consider your climate, available space, and desired level of heat. Some popular varieties to consider include:
Jalapeño: A versatile pepper with medium heat, perfect for adding a kick to salsas, sauces, and more.
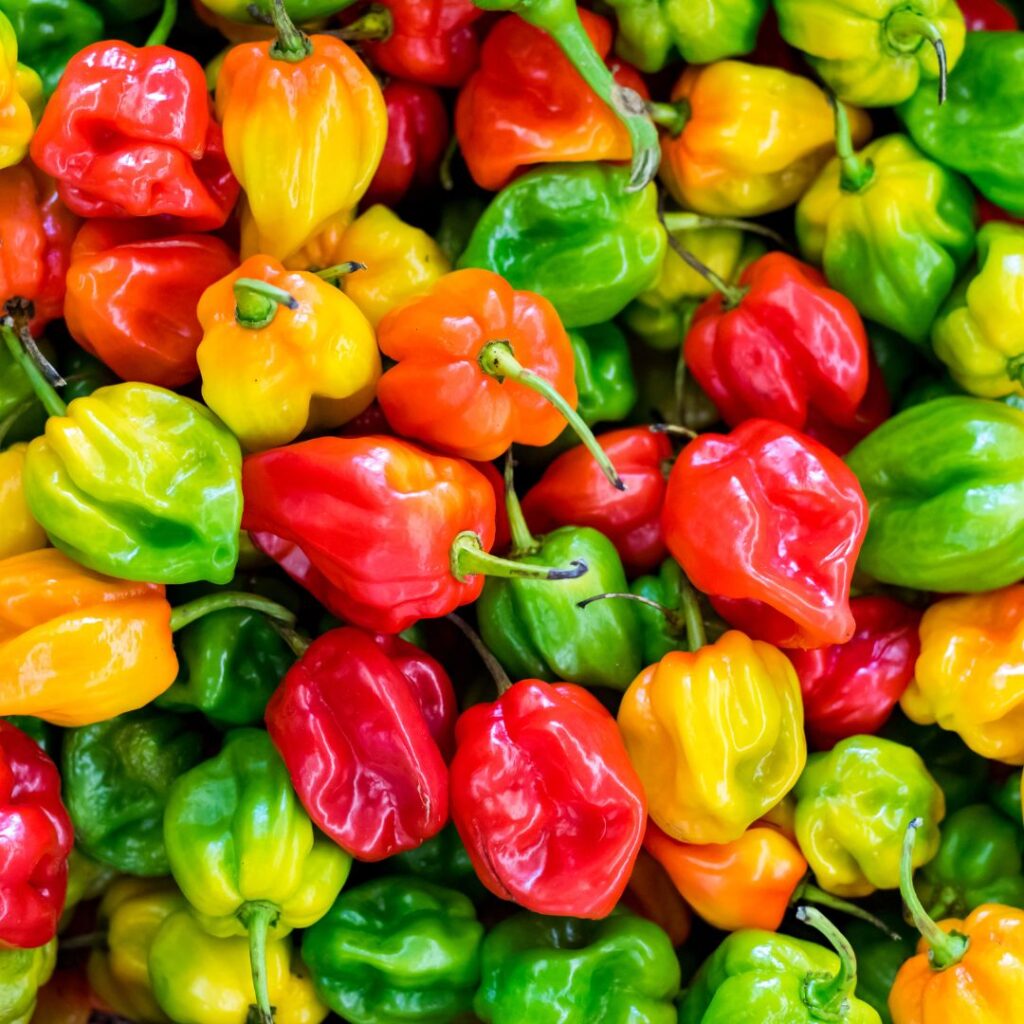
Habanero: Known for its intense heat and fruity flavor, the habanero is not for the faint of heart but can add a bold punch to dishes.
Thai Gong Bao: Small but mighty, these peppers pack a serious heat punch and are commonly used in Thai cuisine.
Cayenne: Long and slender, cayenne peppers are prized for their spicy flavor and are often dried and ground into powder for use in seasoning blends.
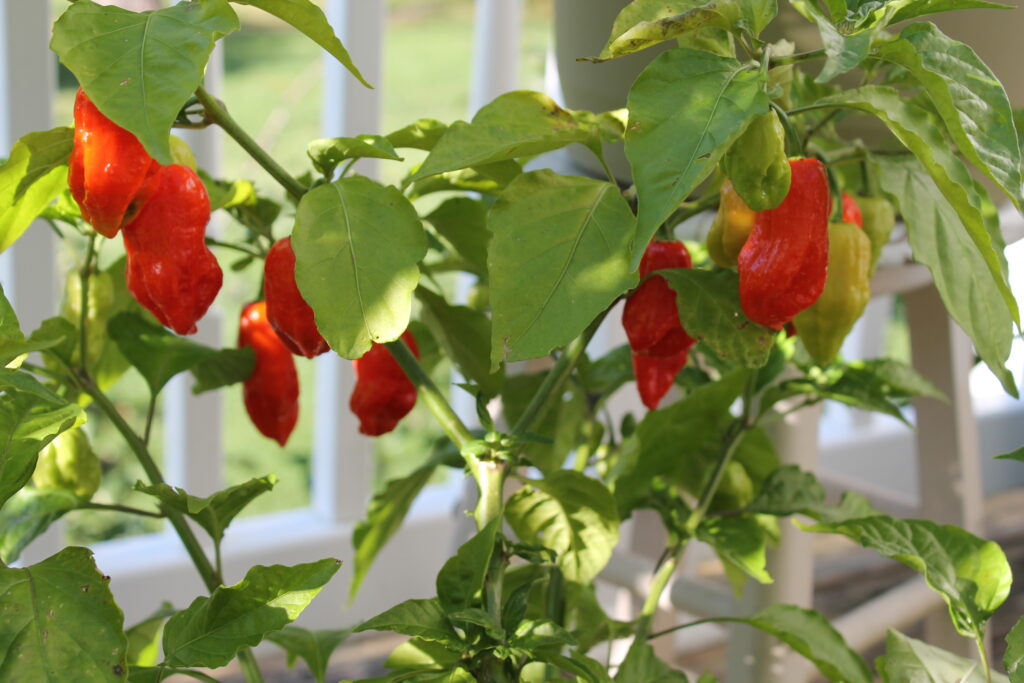
Ghost Pepper (Bhut Jolokia): One of the hottest peppers in the world, the ghost pepper boasts a Scoville heat rating that will leave even the most seasoned chili heads sweating.
Planting and Care Tips
Once you’ve selected your pepper varieties, it’s time to get your hands dirty and start planting. Here are some tips to ensure your hot peppers thrive:
Choose a Sunny Spot: Hot peppers love warmth and sunshine, so choose a location in your garden that receives at least 6-8 hours of sunlight per day.
Prepare the Soil: Hot peppers prefer well-draining soil with a pH of around 6.0 to 6.8. Amend your soil with compost or aged manure to improve fertility and drainage.
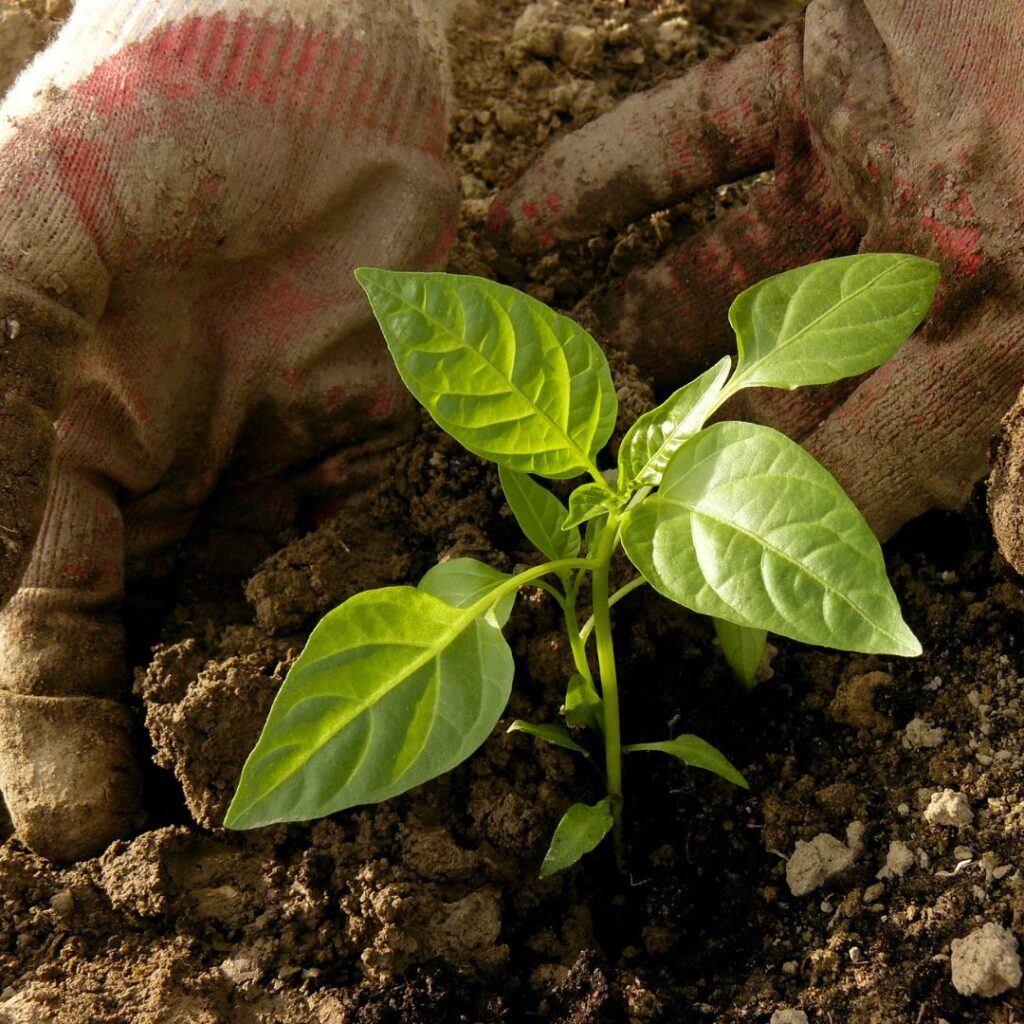
Planting: Plant your pepper seedlings outdoors after the danger of frost has passed and the soil has warmed to at least 60°F (15°C). Space plants 18-24 inches apart to allow for proper air circulation and growth.
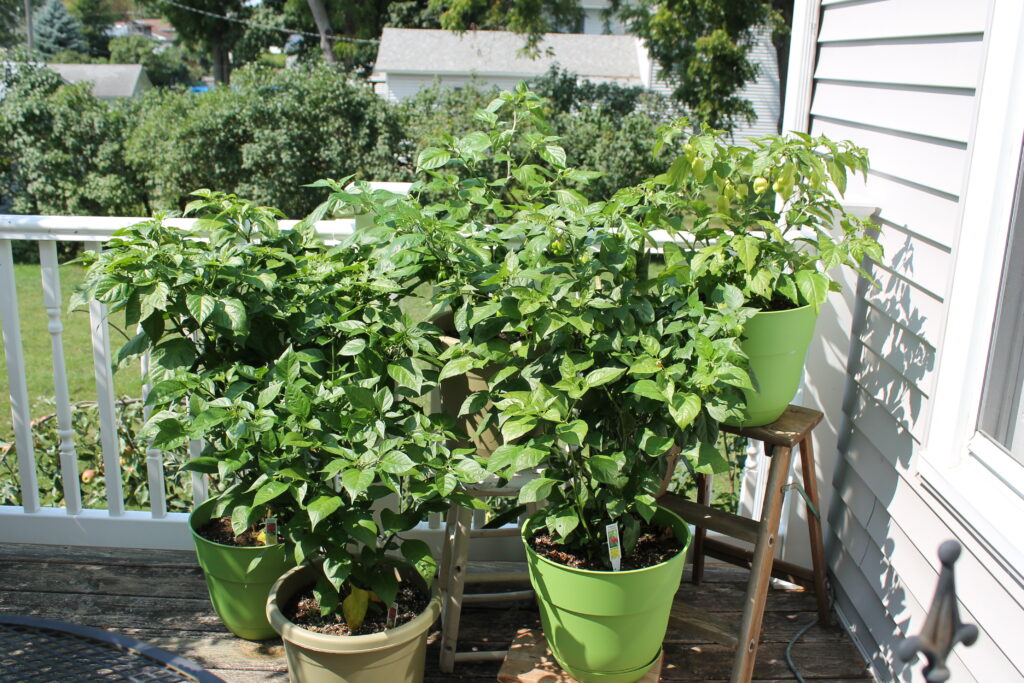
Pepper plants also do well in pots and are perfect for small balcony or patio gardens. Choose a pot big enough for the plant to mature (they will grow to about 10x the size of the seedling). When planting in pots, it’s important to keep the soil well-fed and watered as they will dry out more quickly than in ground gardens.
Support: Large plants will benefit from supports such as a cage or trellis to hold heavy branches. As the fruit grows keep an eye on the branches and tie them up if they start to crack or bend.
Watering: Keep the soil consistently moist but overwatered. Water deeply once or twice a week, depending on weather conditions and soil moisture levels.
Fertilizing: Feed your pepper plants with a balanced fertilizer high in potassium (such as a 5-10-10 or 10-10-10 blend) every 4-6 weeks throughout the growing season to promote healthy growth and fruit production.
Interesting Facts About Hot Peppers
Peppers are such a unique fruit, here’s some fun facts to share at your next BBQ:
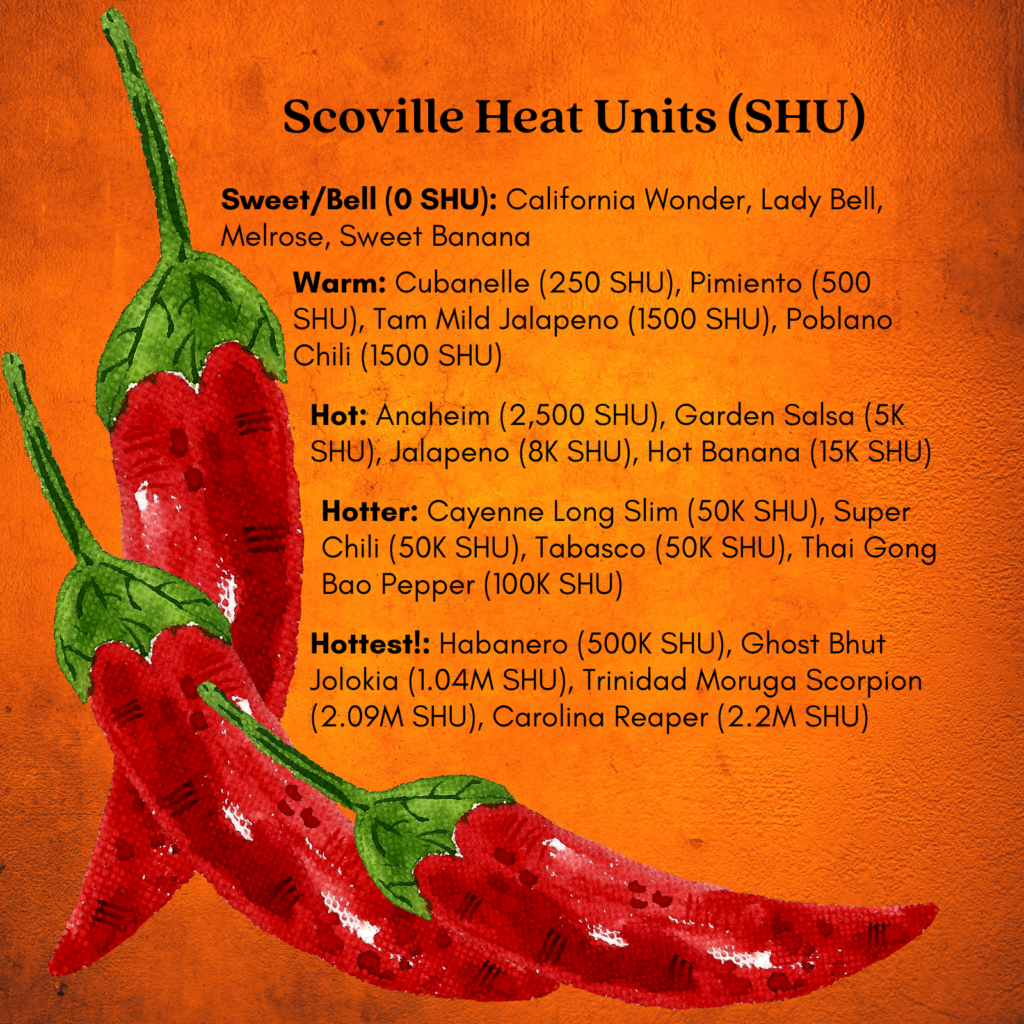
Scoville Heat Scale: The heat of hot peppers is measured on the Scoville scale, which quantifies the amount of capsaicin, the compound responsible for their spiciness. The higher the Scoville rating, the hotter the pepper. For example, a mild jalapeño typically ranges from 2,500 to 8,000 Scoville heat units (SHU), while a fiery habanero can reach up to 350,000 SHU or more.
Capsaicin and Endorphins: When you eat spicy food, your body’s response to the capsaicin in hot peppers triggers the release of endorphins, natural chemicals in the brain that create a sense of pleasure and well-being. That’s why some people crave spicy food and even experience a “spice high” from consuming hot peppers.
Birds and Peppers: Hot peppers evolved their spiciness as a defense mechanism against mammals that would otherwise eat their fruit and destroy the seeds inside. Surprisingly, birds are immune to the heat of peppers due to a lack of capsaicin receptors in their mouths, making them important seed dispersers for pepper plants in the wild.
Health Benefits: Beyond their fiery flavor, hot peppers are packed with health benefits. Capsaicin has been shown to have anti-inflammatory, antioxidant, and pain-relieving properties, and regular consumption of spicy foods has been linked to a reduced risk of certain chronic diseases, including heart disease and cancer.
Cultural Significance: Hot peppers have a rich cultural history and play a prominent role in cuisines around the world. From the spicy curries of India to the salsa-drenched tacos of Mexico, peppers add depth and complexity to dishes, as well as a touch of culinary adventure.
Harvesting and Enjoying Your Peppers
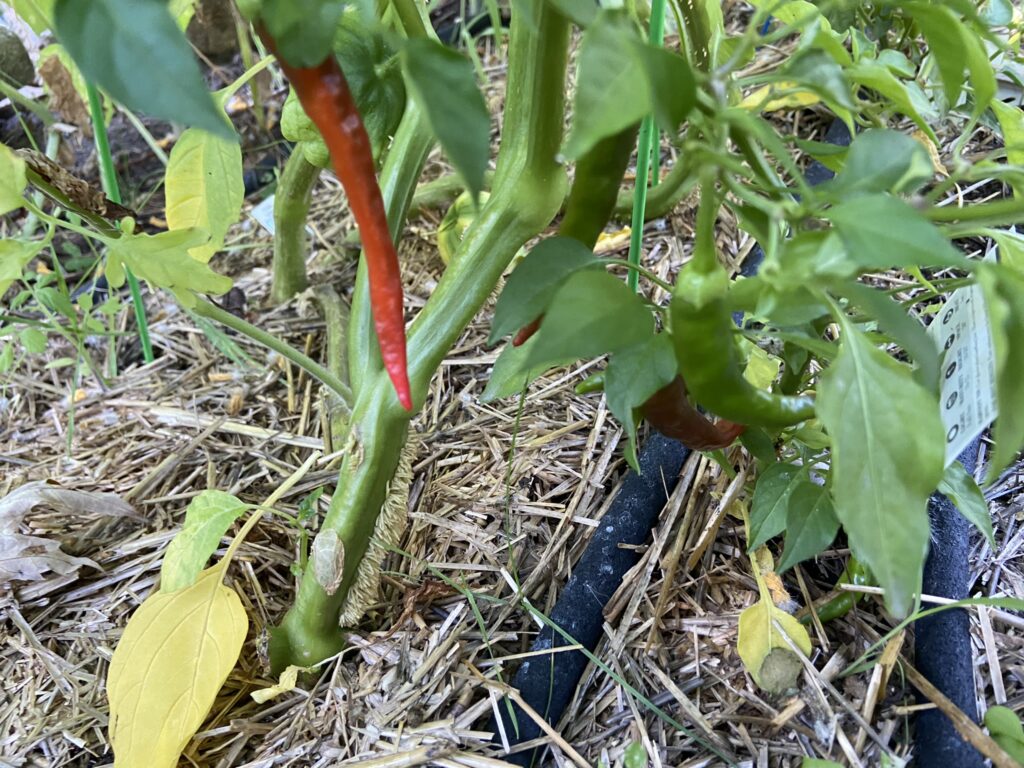
Peppers plants will bear fruit from 60 days (small sweet peppers) to 150 days (some hot peppers). Unlike most garden plants, fruits can be picked at every stage from green to red. Unless you’re planting a unique variety with brown or purple fruit, the pepper will go from green to yellow to orange to red. At red, the fruit is at its ripest point and will be at the sweetest or hottest depending on the variety.
To pick the pepper, gently twist at the stem or use a clean cutting shears. Do not pull on the pepper as you may dislodge the plant from the soil. For extra hot varieties, wear gloves when picking! Even the oils of the leaf and stem are hot.
Store harvested peppers in a cool, dry place or refrigerate them in a paper bag for up to two weeks. You can also freeze peppers whole or chopped for longer-term storage.
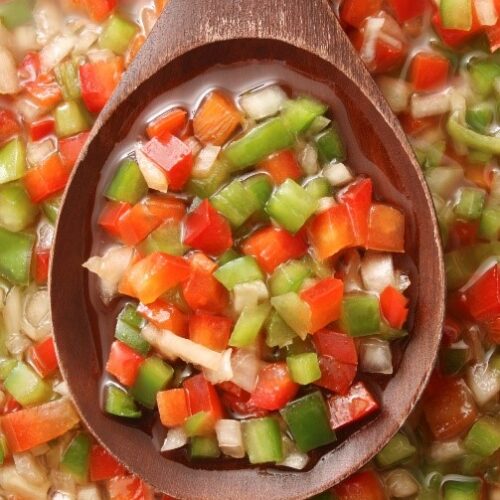
Whether you dice them into salsa, pickle them for a tangy crunch, or dry them for homemade chili powder, there are countless ways to enjoy your homegrown hot peppers. Get creative in the kitchen and experiment with different recipes to showcase the unique flavors and heat levels of your peppers.
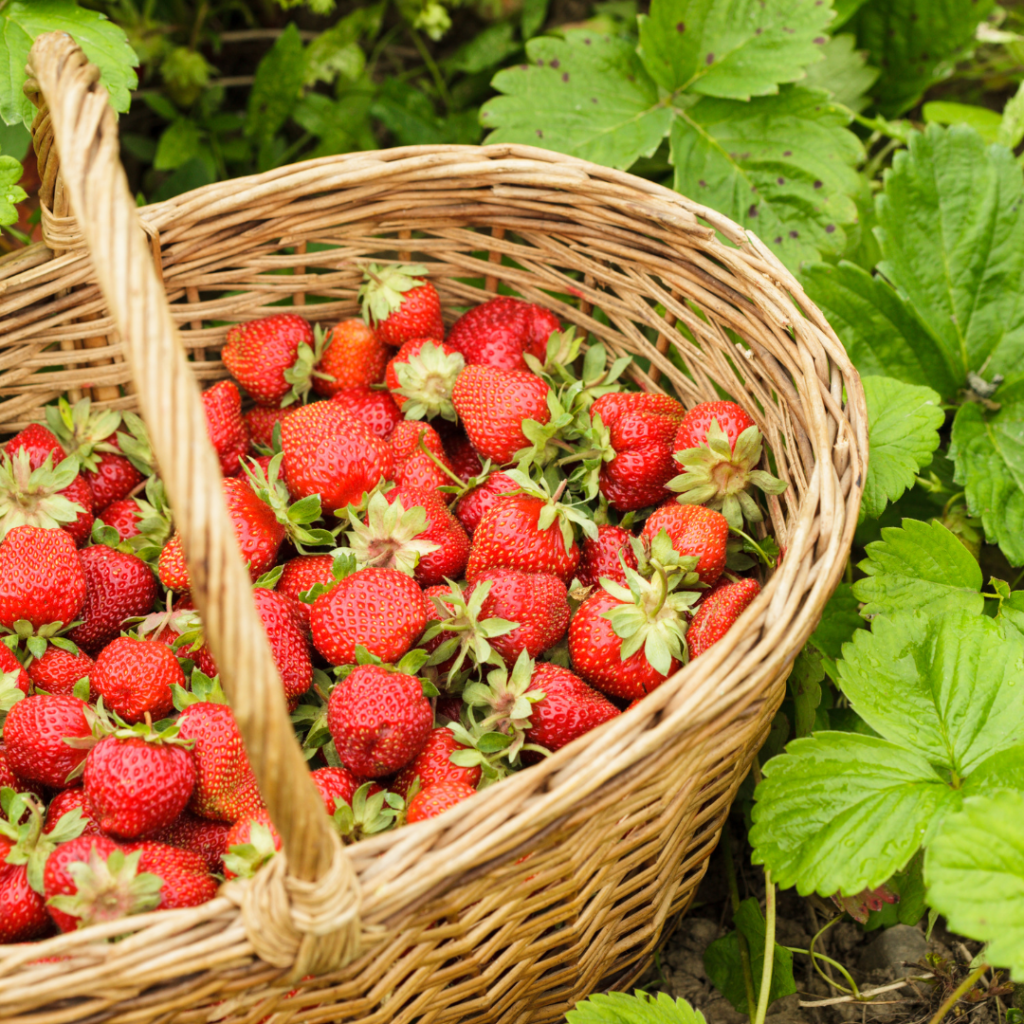
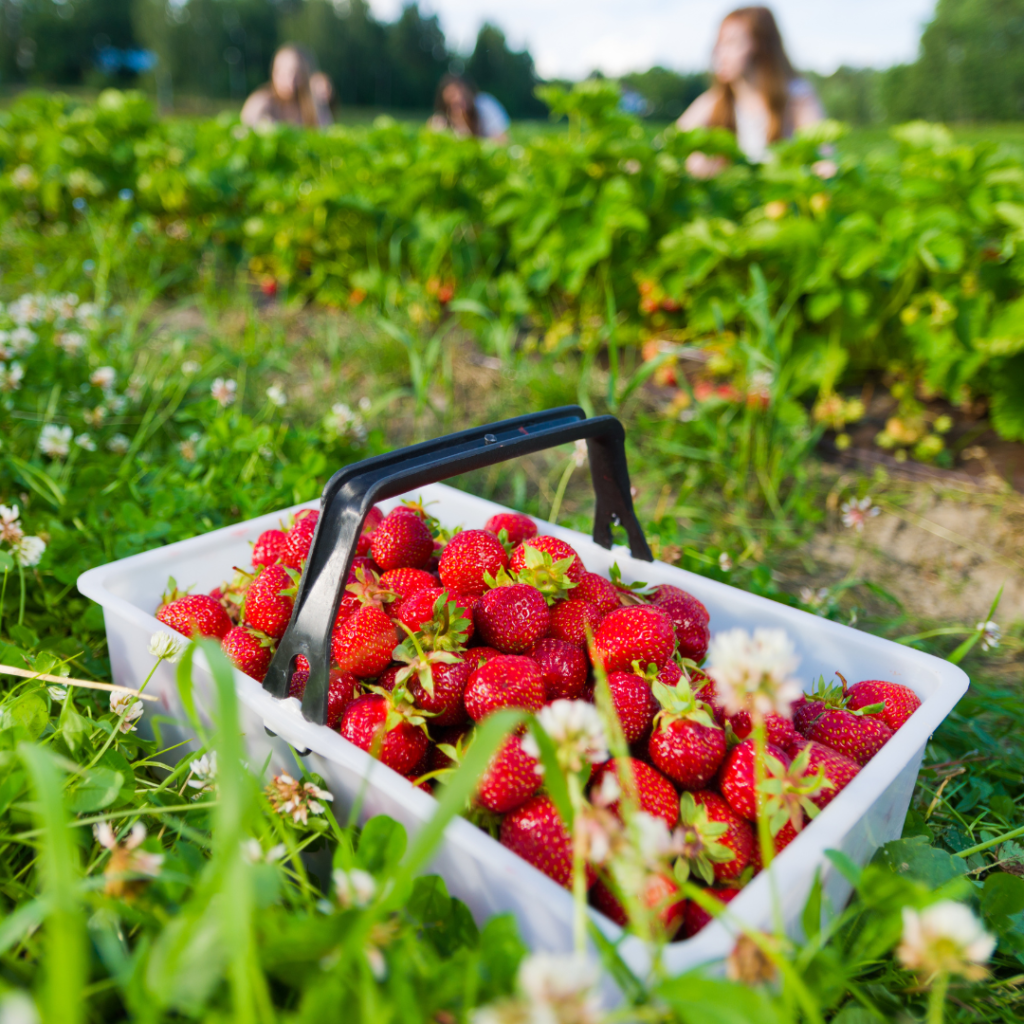
Imagine just heading out to the garden for a bucket full of sweet, ripe strawberries! Growing your own is much easier than you think and this article will show you how. Strawberries will grow in most zones and can even be grown in containers (with a little extra care). And once you plant, you’ll be able to harvest for years.
In this guide, we’ll walk you through the steps to plant and care for strawberry plants, from soil preparation to harvest and winter care.
Choosing the Right Plants
Strawberry plants are quite adaptable and can grow in most USDA hardiness zones, but are typically grown in zones 3 to 10. Gardeners in colder zones (3 to 6) should choose more hardy varieties while those in warmer zones need to choose plants better suited to heat and humidity. Just check the plant label for that variety’s characteristics.
Strawberry plants also come in varieties with different harvest times and quantities. This comes down to your personal preference and, in some cases, when you want to harvest. For example, if you’re planning to make jam, you’d want to pick all your berries at once so you’d choose a June-bearing variety. We’ve listed more details below but be sure to check your plant tag when ordering.
1. June-bearing strawberries:
June-bearing strawberries, also known as “short-day” strawberries, typically produce a single large crop of berries in late spring to early summer (usually during the month of June). These plants tend to produce the largest with the most intense flavor. After the initial harvest, June-bearing plants may send out runners to propagate new plants. Gardeners often prune these runners to focus the plant’s energy on fruit production.
2. Everbearing strawberries:
Everbearing strawberries, as the name suggests, produce multiple crops of berries throughout the growing season. While they typically have a smaller overall yield compared to June-bearing varieties, they offer the advantage of producing strawberries from spring through fall. Unlike June-bearing varieties, everbearing strawberries may not send out as many runners, and they may not require as much pruning.
3. Day-neutral strawberries:
Day-neutral strawberries are a relatively newer type of strawberry plant that has been bred to produce fruit regardless of day length or temperature. These plants are not as sensitive to the length of daylight hours as June-bearing varieties, allowing them to flower and fruit continuously throughout the growing season, from spring to fall. Day-neutral strawberries typically produce smaller berries but offer the advantage of a longer harvest period and greater flexibility in planting and growing conditions. They are well-suited for gardeners who want a steady supply of strawberries throughout the summer months.
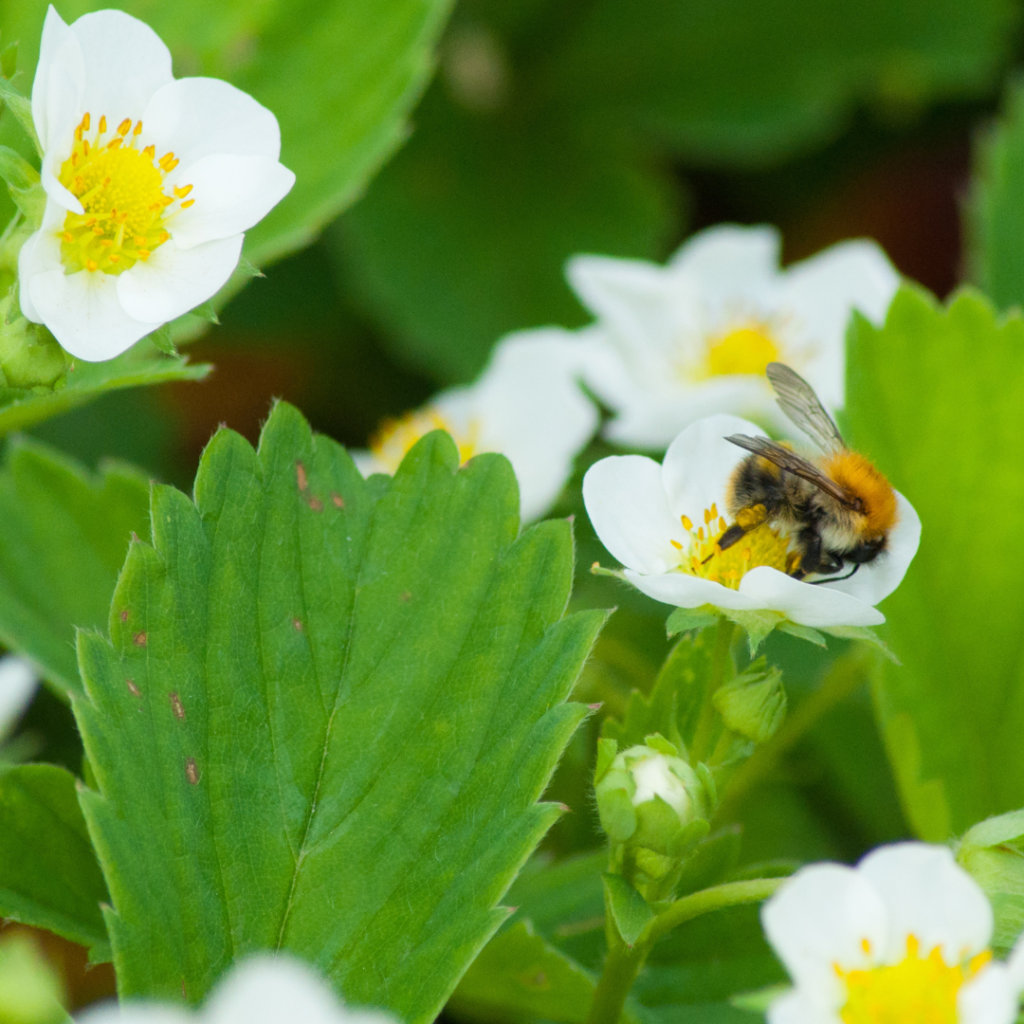
Strawberry plants are a great pollinator attractors as they’re covered in tiny, fragrant blooms each spring. Not only lovely but bees cannot resist stopping by for a visit!
Planting Specifics
Strawberry plants thrive in slightly acidic, well-drained soil with a pH between 5.5 and 6.8 and need full sun. For bigger harvests, mix in compost or organic matter before planting.
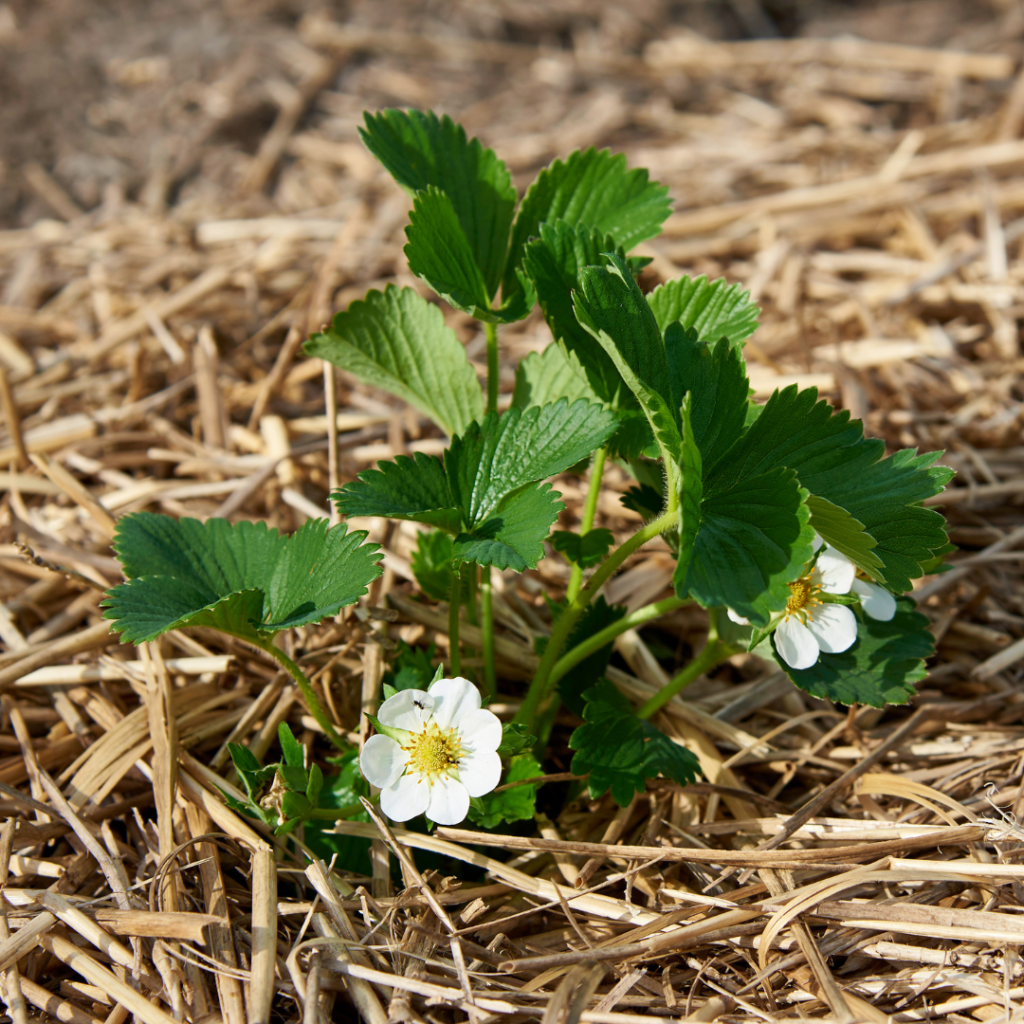
Choose a location with room to spread, spacing them about 12” to 18” apart in rows. Dig a hole that is slightly bigger than the root ball and set the plant in the ground at the same depth as the pot. The crown of the plant (where the roots meet the leaves) should be slightly above ground. Fill the hole in with soil and tamp down slightly.
After planting, water thoroughly so soil settles around the roots. Layer straw or organic, food-safe mulch around the plants but avoid touching the stems. Keep well-watered for the first few weeks until plants are established. Note: it is normal for plant leaves to look a little wilted right after planting, they will come back quickly!
If you’re planting in containers, you must protect the roots from freezing temperatures if you want them to survive over the winter. You can bury the pot in the soil and cover with straw or insulate the entire pot with lots of straw and store in an area that won’t get heavy wind. Do not store in a heated garage or basement, the plant needs to go dormant for a few months out of the year.
Summer Care for Strawberry Plants
Strawberry plants are easy care garden plants and only need regular watering and minimal fertilizer (if you’re using compost or organic matter in your soil). Avoid over-fertilizing, as excessive nitrogen can result in lush foliage but minimal fruit production. The best watering method is with a soaker hose laid near the plants; overhead watering can damage the leaves.
Don’t Pick the First Year!
For the healthiest plants and biggest future harvests, it’s best to not pick strawberries in the first year of growth. It’s okay to sample a few, just leave the bulk of the fruit on the plant. This helps the plant establish strong roots which will carry them through their first winter and give you more robust plants and harvests next season.
In late fall or early spring, prune back any dead or diseased foliage but leave the bulk of the plant over winter. Remove any runners that have strayed from the main plant (or into areas you don’t want the plants to grow), as they can divert energy away from fruit production. Be sure to keep the plant watered until freezing temperatures are forecasted.
After the first frost, apply a thick layer of straw (this is where they get their name) over the plants to insulate the soil and protect the crowns from freezing. Additionally, consider covering the strawberry bed with row covers or a layer of straw for added protection if you live in an area with extreme deep freezes.
Second Season Plant Care.
Now the fun starts! When spring arrives and you know the temperatures will stay above freezing, it’s time to uncover your strawberry plants. Carefully pull back straw that’s covering the plants but leave most of the straw in place as mulch to help retain water. Keep the plants watered and let them grow. Within weeks you’ll see robust foliage and tiny blossoms which each will turn into a sweet, juicy strawberry. And now you can pick them all!
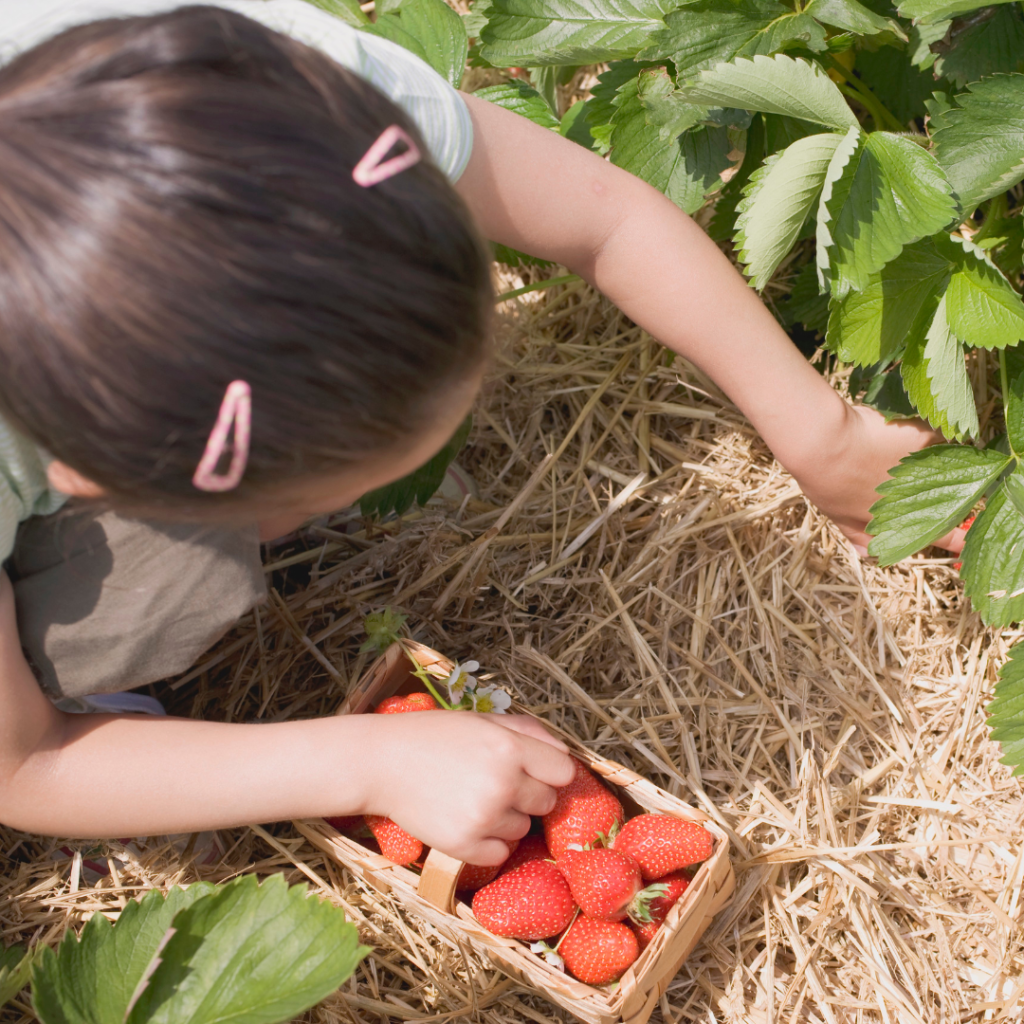
To pick strawberries, just gently twist the berry off the plant. They will release easily when ripe. Don’t pull or tug as you may damage the plant. Growing your own means you can wait to pick when berries are at their peak ripeness.
Sharing your Crop with Birds and Critters.
Your family is not the only one who loves fresh strawberries! You’ll have berry thieves stopping by frequently, especially birds. If you choose to put netting over your plants, please choose the smallest possible weave because birds can get stuck in netting. Or you can just choose to share a few berries with the animals who call your yard home!
From this season forward, you can pick as many berries as the plant produces. Over a few years, the original plants will start producing less berries but the runners they send out will take up the slack. If you have the room to let them spread, you will have strawberries for as long as you want.
The fall and winter care for subsequent seasons are the same as shown above and each winter you should cover your plants with straw to protect them from extreme temperatures.
Growing strawberries at home is a delightful journey filled with anticipation, care, and ultimately, sweet rewards. By following these simple steps for planting and caring for your strawberry plants, you’ll be well on your way to enjoying a bountiful harvest of fresh, flavorful berries year after year. So roll up your sleeves, dig in the dirt, and let the magic of gardening unfold as you nurture your own patch of sweet success.