A Spicy Adventure: How to Grow Hot Peppers Like a Pro

Hot peppers, with their fiery personalities and vibrant colors, are a delight to grow and cultivate. Whether you’re a seasoned gardener or just starting out, growing hot peppers can be a rewarding and spicy adventure. In this comprehensive guide, we’ll walk through everything you need to know to grow hot peppers like a pro, from choosing the right varieties to harvesting your bounty.

Getting Started: Choosing the Right Varieties

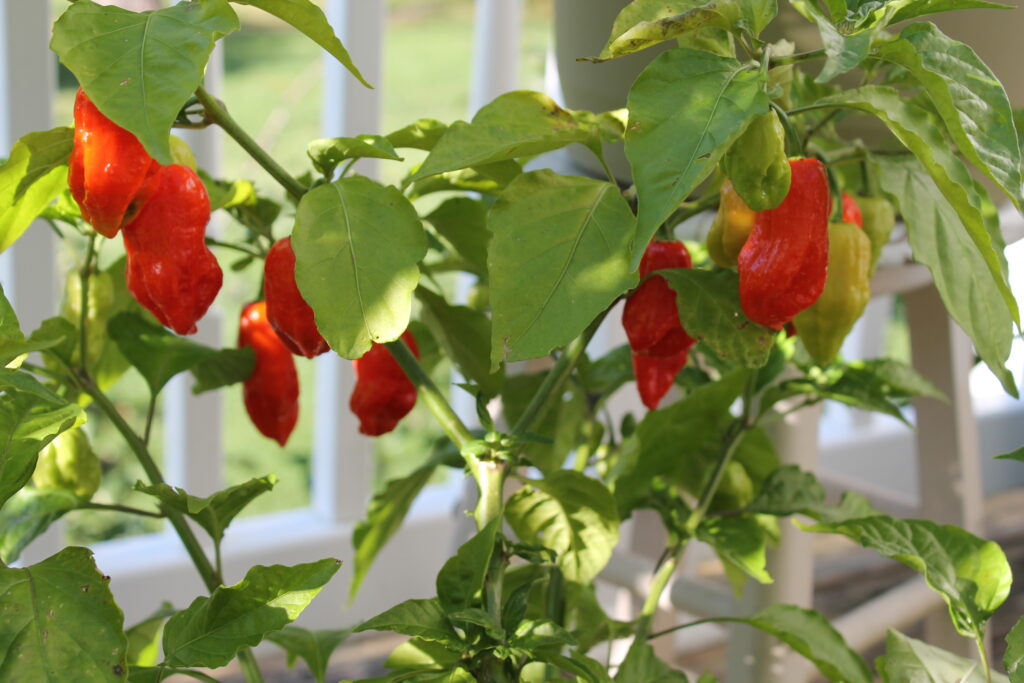
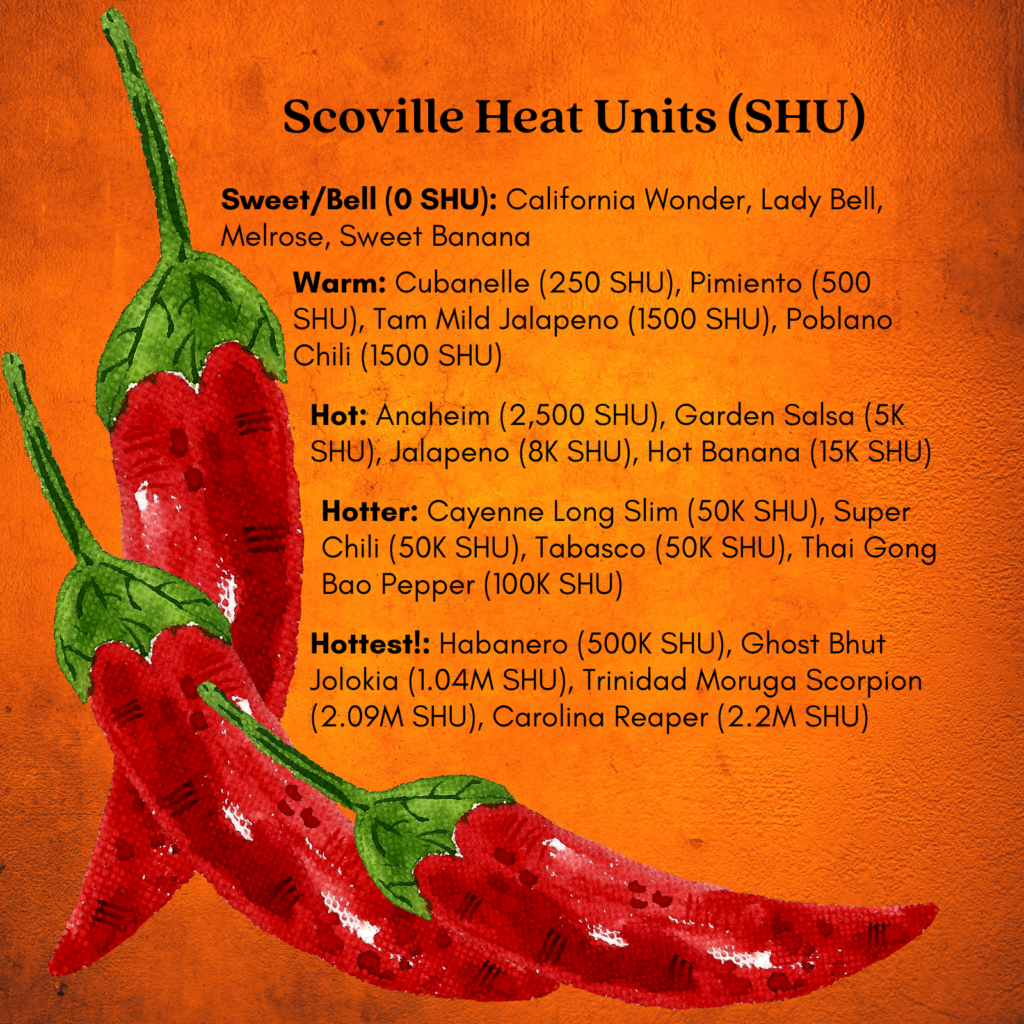
Hot peppers come in a wide range of shapes, sizes, flavors, and heat levels. From the mild heat of jalapeños to the fiery intensity of habaneros to the off the chart heat of Carolina Reapers, there’s a pepper out there to suit every taste preference. When selecting varieties to grow, consider your climate, available space, and desired level of heat. Some popular varieties to consider include:

Jalapeño: A versatile pepper with medium heat, perfect for adding a kick to salsas, sauces, and more.

Habanero: Known for its intense heat and fruity flavor, the habanero is not for the faint of heart but can add a bold punch to dishes.

Thai Gong Bao: Small but mighty, these peppers pack a serious heat punch and are commonly used in Thai cuisine.

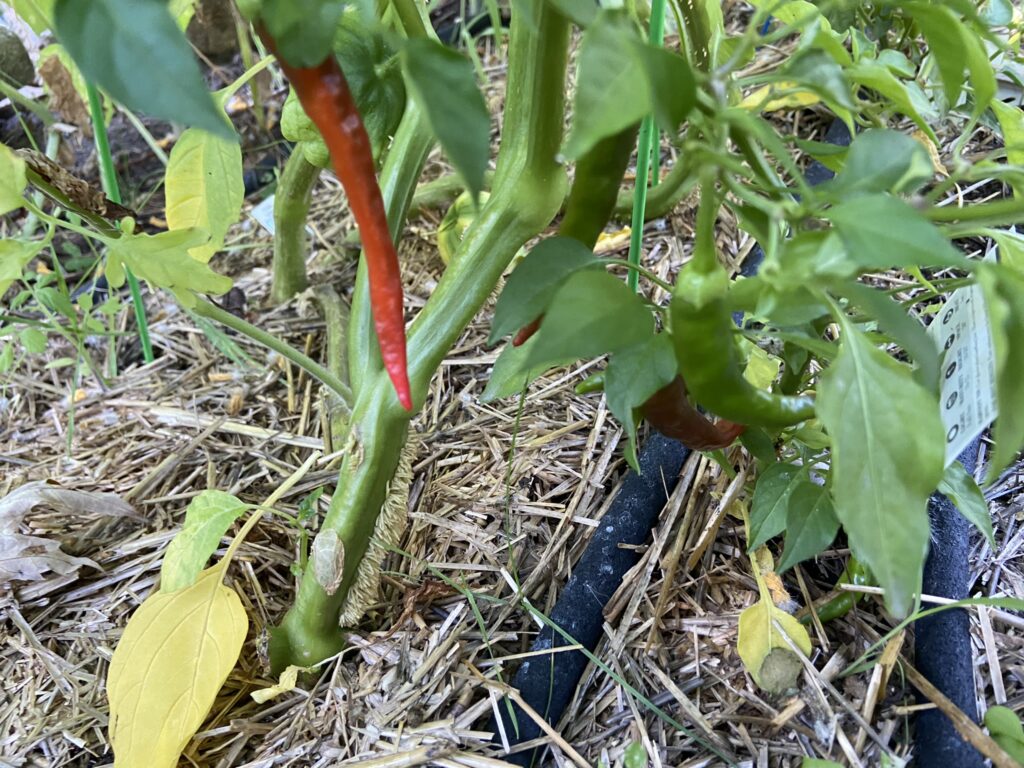
Cayenne: Long and slender, cayenne peppers are prized for their spicy flavor and are often dried and ground into powder for use in seasoning blends.

Ghost Pepper (Bhut Jolokia): One of the hottest peppers in the world, the ghost pepper boasts a Scoville heat rating that will leave even the most seasoned chili heads sweating.
Planting and Care Tips

Once you’ve selected your pepper varieties, it’s time to get your hands dirty and start planting. Here are some tips to ensure your hot peppers thrive:

Choose a Sunny Spot: Hot peppers love warmth and sunshine, so choose a location in your garden that receives at least 6-8 hours of sunlight per day.

Prepare the Soil: Hot peppers prefer well-draining soil with a pH of around 6.0 to 6.8. Amend your soil with compost or aged manure to improve fertility and drainage.

Planting: Plant your pepper seedlings outdoors after the danger of frost has passed and the soil has warmed to at least 60°F (15°C). Space plants 18-24 inches apart to allow for proper air circulation and growth.
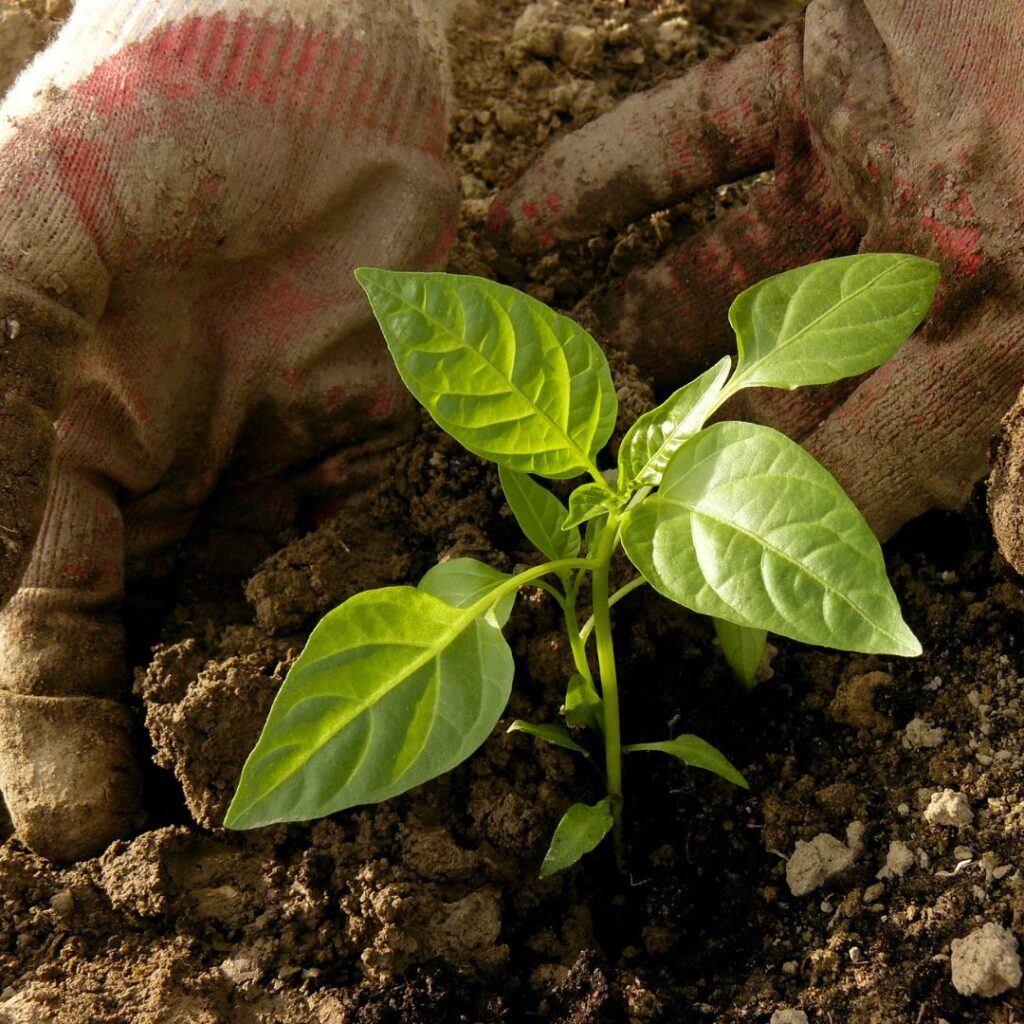
Pepper plants also do well in pots and are perfect for small balcony or patio gardens. Choose a pot big enough for the plant to mature (they will grow to about 10x the size of the seedling). When planting in pots, it’s important to keep the soil well-fed and watered as they will dry out more quickly than in ground gardens.
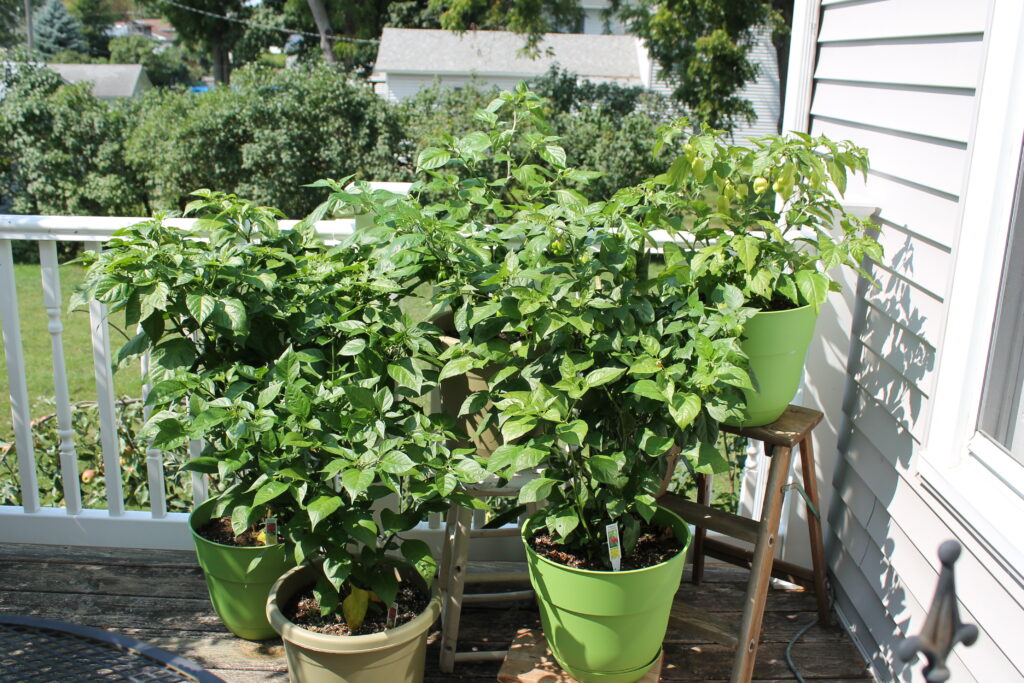
Support: Large plants will benefit from supports such as a cage or trellis to hold heavy branches. As the fruit grows keep an eye on the branches and tie them up if they start to crack or bend.

Watering: Keep the soil consistently moist but overwatered. Water deeply once or twice a week, depending on weather conditions and soil moisture levels.

Fertilizing: Feed your pepper plants with a balanced fertilizer high in potassium (such as a 5-10-10 or 10-10-10 blend) every 4-6 weeks throughout the growing season to promote healthy growth and fruit production.

Interesting Facts About Hot Peppers

Peppers are such a unique fruit, here’s some fun facts to share at your next BBQ:

Scoville Heat Scale: The heat of hot peppers is measured on the Scoville scale, which quantifies the amount of capsaicin, the compound responsible for their spiciness. The higher the Scoville rating, the hotter the pepper. For example, a mild jalapeño typically ranges from 2,500 to 8,000 Scoville heat units (SHU), while a fiery habanero can reach up to 350,000 SHU or more.
Capsaicin and Endorphins: When you eat spicy food, your body’s response to the capsaicin in hot peppers triggers the release of endorphins, natural chemicals in the brain that create a sense of pleasure and well-being. That’s why some people crave spicy food and even experience a “spice high” from consuming hot peppers.

Birds and Peppers: Hot peppers evolved their spiciness as a defense mechanism against mammals that would otherwise eat their fruit and destroy the seeds inside. Surprisingly, birds are immune to the heat of peppers due to a lack of capsaicin receptors in their mouths, making them important seed dispersers for pepper plants in the wild.

Health Benefits: Beyond their fiery flavor, hot peppers are packed with health benefits. Capsaicin has been shown to have anti-inflammatory, antioxidant, and pain-relieving properties, and regular consumption of spicy foods has been linked to a reduced risk of certain chronic diseases, including heart disease and cancer.

Cultural Significance: Hot peppers have a rich cultural history and play a prominent role in cuisines around the world. From the spicy curries of India to the salsa-drenched tacos of Mexico, peppers add depth and complexity to dishes, as well as a touch of culinary adventure.

Harvesting and Enjoying Your Peppers
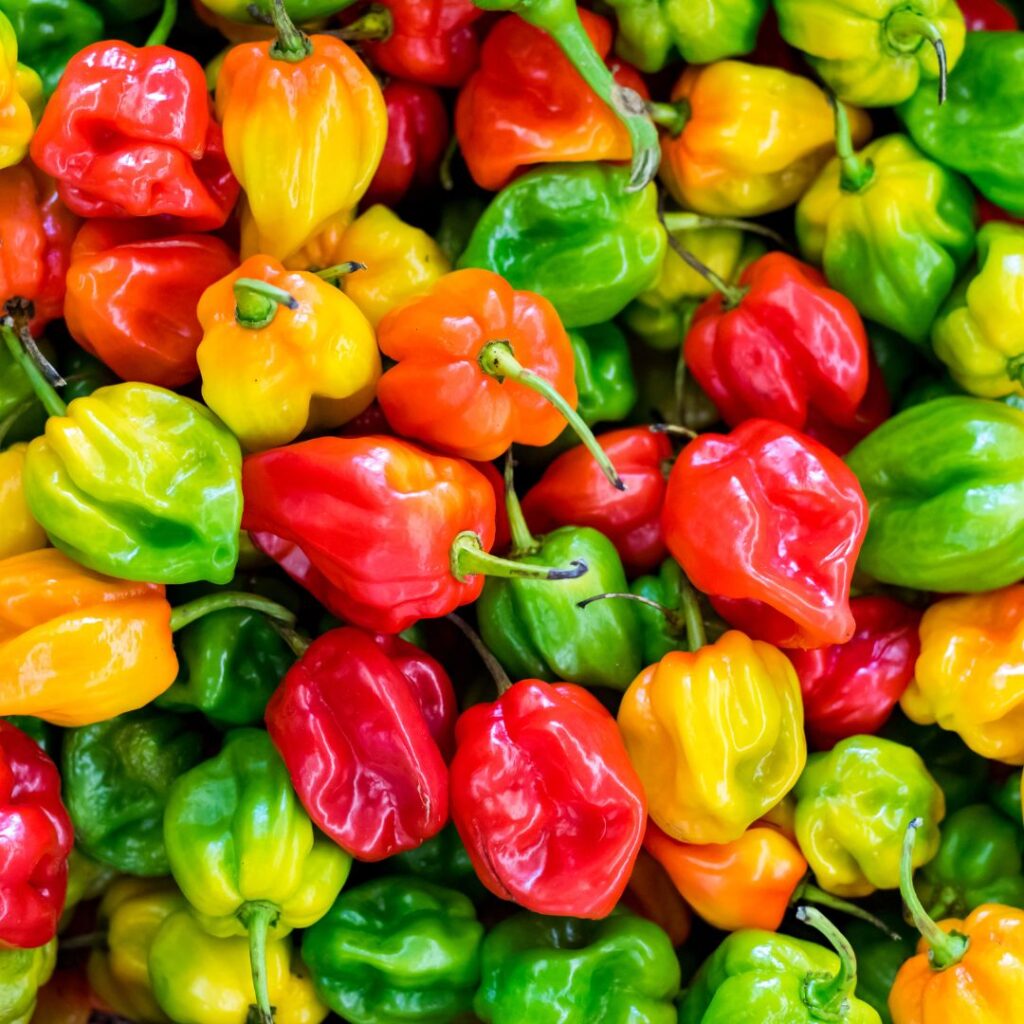
Peppers plants will bear fruit from 60 days (small sweet peppers) to 150 days (some hot peppers). Unlike most garden plants, fruits can be picked at every stage from green to red. Unless you’re planting a unique variety with brown or purple fruit, the pepper will go from green to yellow to orange to red. At red, the fruit is at its ripest point and will be at the sweetest or hottest depending on the variety.

To pick the pepper, gently twist at the stem or use a clean cutting shears. Do not pull on the pepper as you may dislodge the plant from the soil. For extra hot varieties, wear gloves when picking! Even the oils of the leaf and stem are hot.

Store harvested peppers in a cool, dry place or refrigerate them in a paper bag for up to two weeks. You can also freeze peppers whole or chopped for longer-term storage.

Whether you dice them into salsa, pickle them for a tangy crunch, or dry them for homemade chili powder, there are countless ways to enjoy your homegrown hot peppers. Get creative in the kitchen and experiment with different recipes to showcase the unique flavors and heat levels of your peppers.
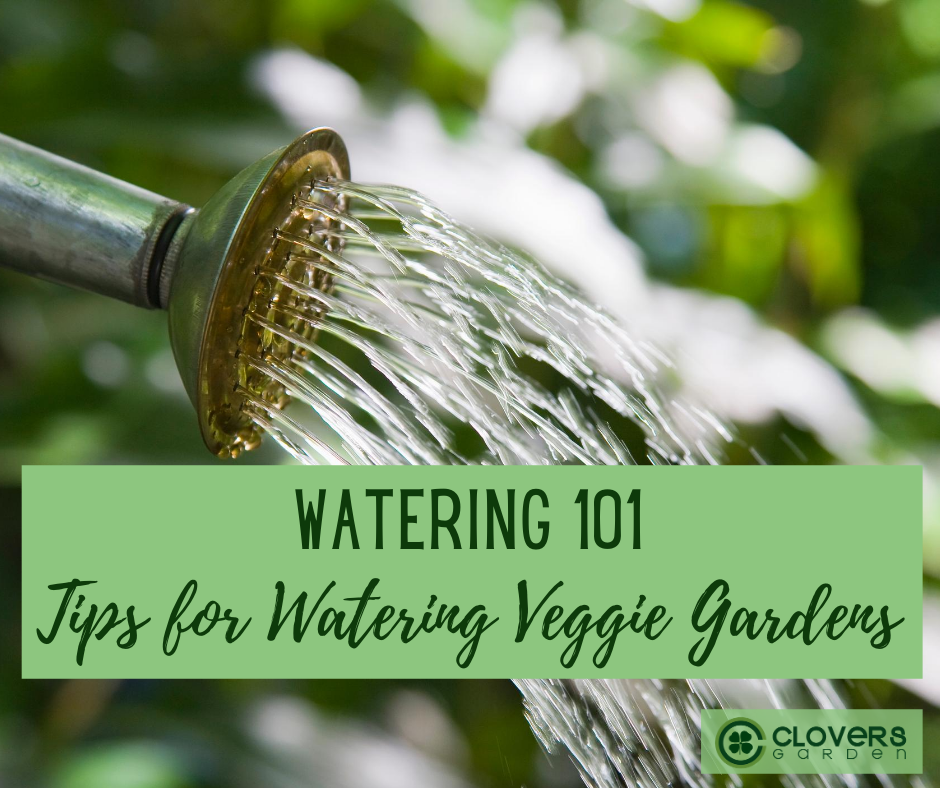
How to Water Your Garden

watering can

Watering the garden seems like it should be pretty straightforward. If the soil looks dry, you should water, right? It’s not that simple and infrequent or inconsistent watering stresses your plants and can even damage your harvest. Rainfall is always our first choice for watering (which makes rain barrels a must-have) but at some point you may need water from an external source. This article will explain best watering practices and share tips on how to conserve water while nourishing your plants.

When to Water Your Garden.

Begin with an eye towards the weather – if you’ve had good soaking rains (1” or more) then you don’t need to water; if the weather’s been hot and windy, then you probably should water. Soil attributes also determine when to water: sandy, fast-draining soils need more frequent watering; heavier, water-retaining clay soils can go a little longer in between watering. The soil’s top appearance doesn’t always show the need for water – remember that plants’ roots go deep down and that’s where the moisture level is important. Poke into the soil with your finger or a measuring stick – if it’s dry below 1/2”, then it’s time to water.

TIP: If possible, avoid watering in the late evening or at night – the plant leaves will sit all night with moisture on them which can lead to diseases and mold growth. 

Give Your Plants the Best Water.

Chemically-treated or softened water is not ideal for your plants. If you are using city water, filter your water by attaching an inline water filter between your outside faucet and hose. Designed for use in RVs and boats, these inexpensive filters will last all summer and will filter out most of the chemicals that municipalities use to treat water. These can be bought online or at your local sporting goods store.

Soaker Hoses are a Must-Have.

Drip irrigation (aka soaker hoses) make your watering life so much easier and it’s better for your plants. Within less than an hour, you can arrange soaker hoses throughout your garden beds and they will stay in place all summer (make sure you to secure with landscaping pins). Once in place, follow the timing directions on the instructions that come with your hose. This method of water keeps soil from splashing on the leaves, protects the soil from eroding around the base of the plant, and does a much better job at getting water deep into the soil. The one caveat with soaker hoses is you will not be able to deliver water-dissolved fertilizer to the plants — create a reminder schedule so you’ll remember to add this step with manual watering every couple of weeks.

Where to Water Veggie Plants.

So much of the “how” depends on what you’re watering. Grass requires a broad sprinkler approach; trees and bushes require a soaking that reaches the root perimeter; and garden veggies and flowers require consistent watering. Research what you’re watering first but in general try to avoid splashing water on the plants’ leaves and focus on the base of the plant. Use mulch around plants, too, to help retain moisture longer. Aim for consistent moisture at that ½” depth and don’t just automatically water every day. Remember, too, that containers will dry out much more quickly than garden beds.

How to Measure Water Amounts.

It’s easy to calculate how much water you’re giving each plant. Start with a five-gallon bucket; put in your hose or hold your sprayer open into the bucket; and time how long it takes to fill the bucket. If it takes five minutes, you’ll know you’re watering at one gallon per minute.


Five Garden Tasks for Fall

For many of us, autumn gardening means packing up and battening down for winter. But there is still lots to do and time to enjoy our backyards. These five garden tasks will help your garden right now and give you a healthy head start for Spring.

Five Fall Garden Tasks

  1. Leave as much plant debris as possible. Yes, that means less work for you and a head start on a better garden next year! You’d be amazed by how many beneficial insects and worms depend on that debris to survive winter. Frogs, worms, and large insects burrow into the ground because the leaves provide insulation; bees and beneficial insects hide out in hollow stems of plants and under bark of woody branches; butterflies create an overwintering chrysalis and attach it to stems and branches; some insects lay eggs inside seed pods, and your feathered friends have a protein-rich bug buffet to snack on all winter. You should, however, dispose of plants that suffered from diseases such as blight or leaf spot. Be sure to cut those away and dispose of away from your compost pile or garden soil.
  2. Bring outdoor plants in without bugs. Before it turns cold, it’s time to bring your favorites back into the house (or a greenhouse if you’re lucky). But they, too, can be home to insects you may not want in an enclosed space. The best treatment is to douse the leaves (on both sides) with Neem oil. This is an organic treatment, safe for most plants, but it does have an off-putting odor and can stain so be sure to spray outside. Choose a calm, overcast day, follow dilution directions on the bottle, check your plant species on the label or spot test on a leaf, cover all leaves and let dry for 24 hours before bringing indoors.
  3. Start a garden journal. After a glorious summer of gardening, we all think we’ll remember every minute! But next spring when you’re trying to buy that same variety of tomato or discern what is actually poking through the soil, you’ll wish you kept notes. If you haven’t already done this, start a dedicated gardening journal (a three-ring binder works great). Record where and what you planted, note what did well and what didn’t, mark down your favorites so you can find them next year, and take a few pics to include for reference. For large perennial gardens, this become a valuable reference tool for adding in new pieces each year or for future owners.
  4. Clean your tools. This is a step most of us are guilty of skipping but it’s worth a little extra effort at the end of the season. It’s important because it removes disease remnants so you won’t spread to next year’s garden but also prolongs the life of your tools.
    • Start by removing soil with a scrub brush dipped in a mild dish soap or bleach solution. Rinse with clean water. If you’ve cut something sappy, you may need a little rubbing alcohol or paint thinner to clean blades of pruners or shears. Dry thoroughly.
    • Check the condition of all tools and sharpen blades as need. In most cases a good sharpening stone can restore your cutting power. If you see spots of rust, try to remove with a wire brush, rinse, dry, and then wipe down with a tiny bit of motor oil before storing. This will slough off in the soil next year so no need to remove.
    • Once clean, rub all other tools down with balled up wax paper to give it a slight protective coat over winter.
    • For wood handled tools, run linseed oil over each handle to keep from cracking.
    • Store hanging and off the floor as this may cause damage to the edge or handle.
  5. Plant something! No matter where you live Fall is not the end of gardening season. In Northern climates this is the time of year to plant garlic, fall crop greens like lettuce or spinach, flowering spring bulbs, and herbs for an indoor garden. In Southern zones, you can still plant fruits and veggies outside or in pots and harvest another crop of tomatoes, peppers, or herbs.

We keep a good selection of garden plants as long as we can — especially tomatoes, peppers, and herbs for our Southern gardening friends. Check here for what’s in stock. We ship Priority so it will get there quickly.