You do not need to remove tomato skins for this recipe! Just toss your garden fresh picks, roast, serve warm over pasta or fish or puree for a rich, delicious sauce you’ll love for every dish. Freezes well!
Ingredients:
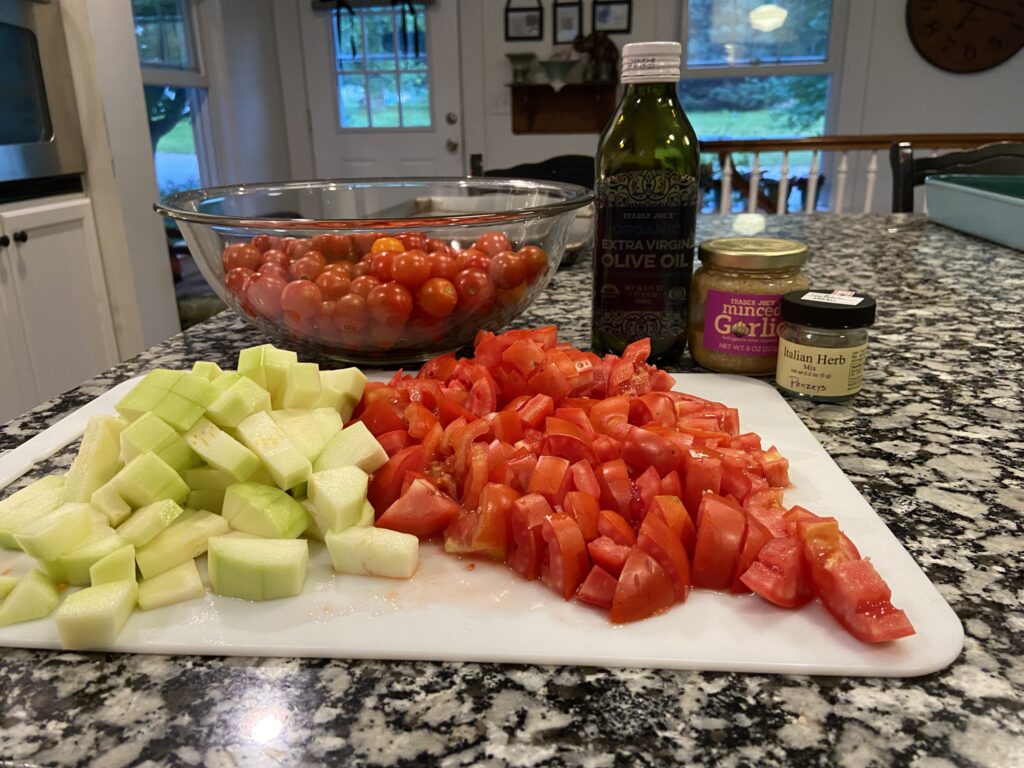
Tomatoes, cherry or romas (cut into same size chunks as cherry tomatoes). Leave skins on.
Peeled zucchini squash, cut into same size chunks as tomatoes. Use a 3-to-1, tomato-to-zucchini ratio.
Chopped garlic to taste
Seasoning to taste
Extra Virgin Olive Oil.
Directions:
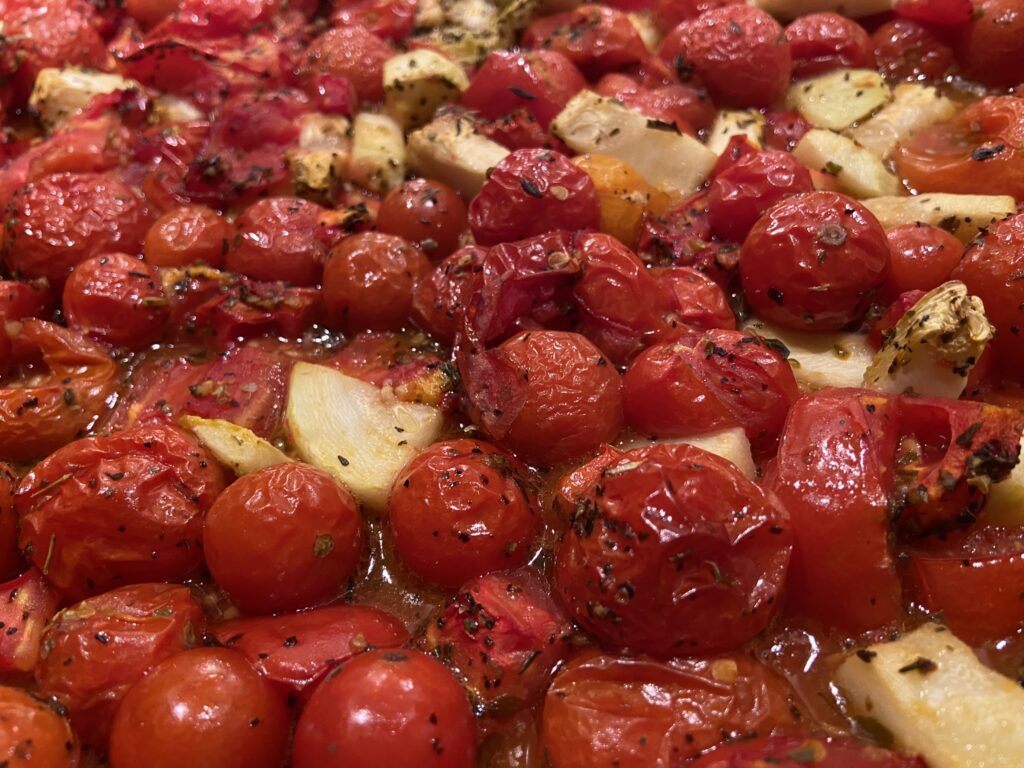
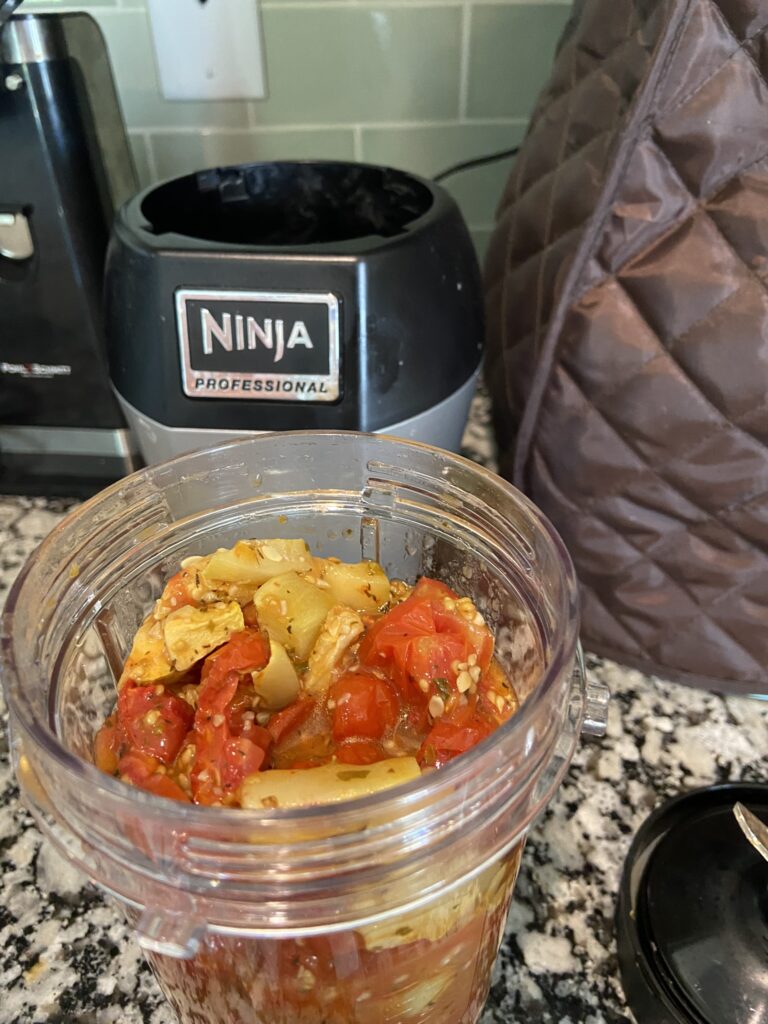
Toss cut up ingredients with olive oil until all are well coated. Season with your preferred seasoning (we use Italian Seasoning). Spread in a cookie sheet in one layer. Roast at 350° until tomato skins are shriveled (check at 30 minutes). Let cool and puree in food processor to your preferred consistency. Make sure you get all the juices and oils from the pan for flavor.
If you prefer, add fresh herbs such as basil before blending. You could also add roasted root veggies like carrots or rutabagas but roast those separately as they will take longer to cook. Freezes well. Toss with pasta, use for a soup base, add to casseroles, or make into a hearty winter tomato soup.

 As your tomatoes ripen, watch the color. A pinkish blush will start on the bottom and work its way over the top of the fruit. Once fully red (or yellow, orange, or pink depending on variety) and very slightly soft to the touch, you can harvest. See below for a handy color chart from the USDA. Exception to this rule: Heirloom varieties should be picked before they reach the “full color” stage. Pick when the bottom of the fruit has fully changed but the stem end still has flecks of green and the fruit is slightly soft to the touch. Let ripen the rest of the way on your kitchen counter. A handy hint: fully ripe tomatoes will sink in water.
 To pick without damaging the rest of the vine, gently grab the tomato with one hand and twist until the stalk breaks away from the plant. Do not pull straight up or out as this could dislodge the whole plant. If you’re growing indeterminate varieties (those that produce all season long), be careful not to knock off baby tomatoes or new blossoms.

 These plants — Citronella Geranium, Lemongrass, Eucalyptus, Lavender, Rosemary, Tea Tree and many herbs — have been proven to ward off pesky insects. And the essential oil of these plants is the super concentrated form. But a vial of essential oil can be hard to find, expensive, and comes with a bit of learning curve if you’re going to use the raw form. And besides, who has time for another DIY project?