10 Best Herbs to Plant with Veggies

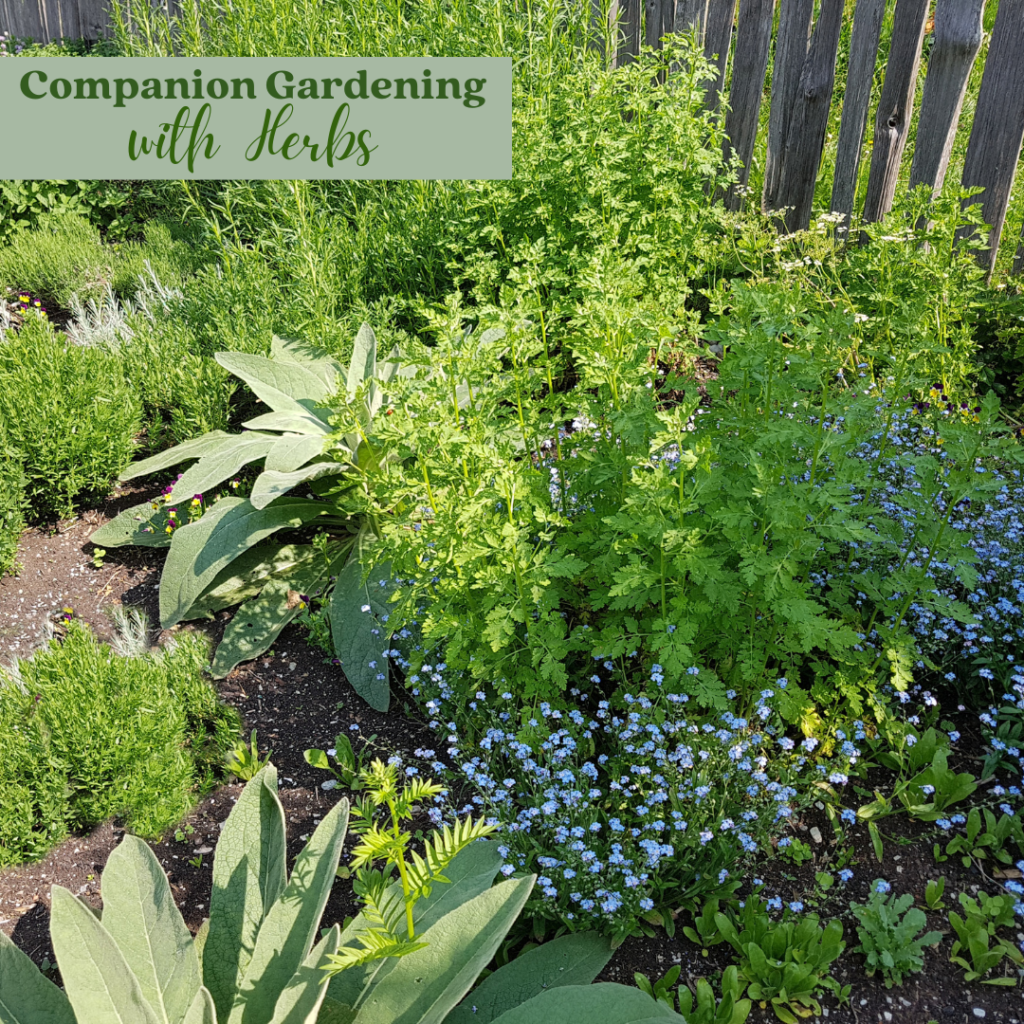
Companion planting is a great way to maximize garden space and promote natural, healthy growth of your vegetables. When planted strategically together, plants will protect each other from pests and insects; nurture the soils; enhance the flavor; and even provide a support structure and shelter from wind or sun.

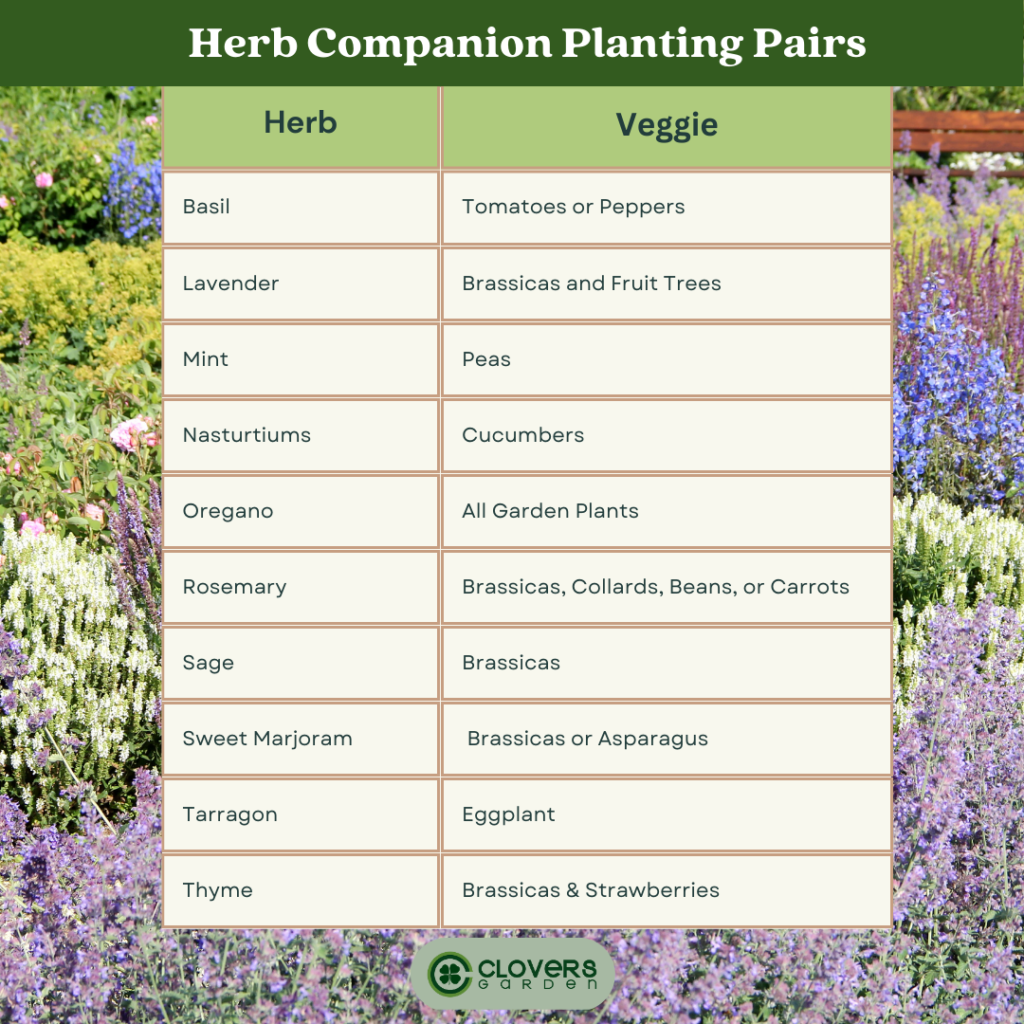
Using herbs as your companion plants also brings the added bonuses of a ready supply of fresh herbs that also look beautiful in your garden. Many of these herbs on this list also attract pollinators which benefits every plant, tree, and bush growing in your yard. And some (basil, mint, thyme, and lavender) naturally repel mosquitoes! Table is included at the end of this blog post. (Brassicas include: Cabbage, Broccoli, Cauliflower, Kohlrabi, Brussels Sprouts.)

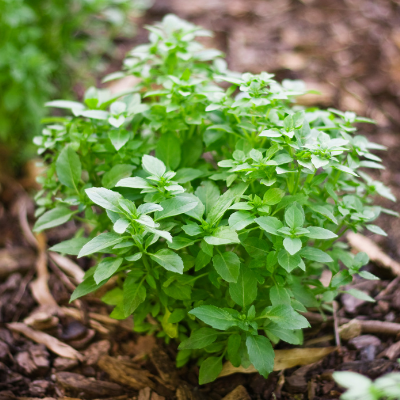
Basil + Tomatoes or Peppers: Basil repels repel whiteflies, mosquitoes, spider mites, and aphids and improve the flavor of the fruit. Avoid planting near chamomile or mint.

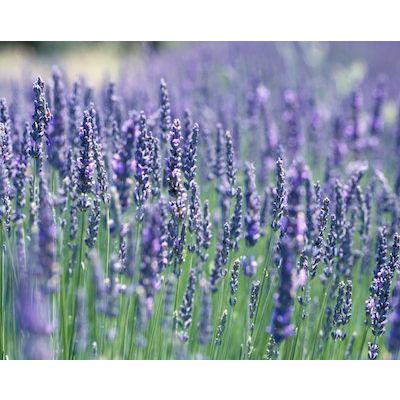
Lavender + Brassicas and Fruit Trees: Lavender will repel cabbage moths and codling moths that are drawn to apple trees.

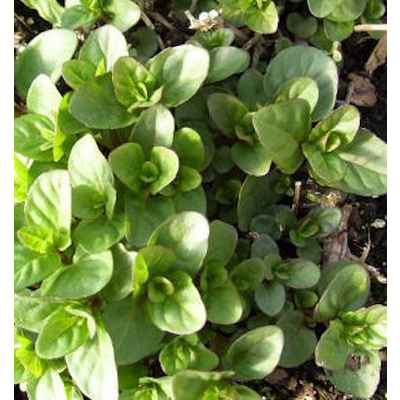
Mint + Peas: Deters white cabbage moths, aphids, and flea beetles. Do not plant near parsley and beware because Mint is a vigorous spreader.

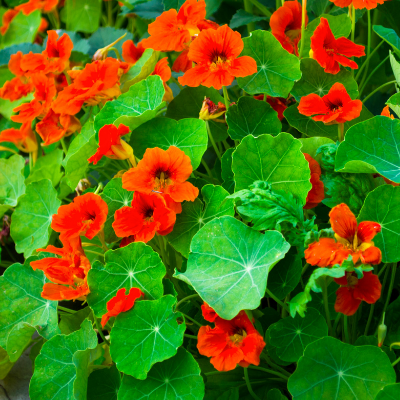
Nasturtiums + Cucumbers: Nasturtiums are edible and also attract aphids, cucumber beetles, and squash bugs.

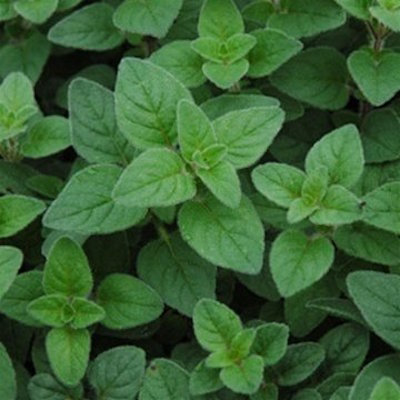
Oregano + Almost Anything: Oregano is a great garden buddy for most plants that are affected by insects like aphids.

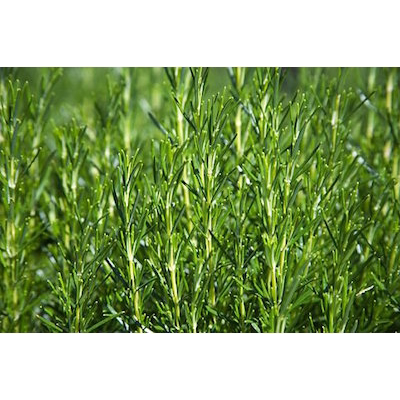
Rosemary + Brassicas, Collards, Beans, or Carrots: Repels mosquitoes, cabbage moths, Japanese beetles, and carrot flies.

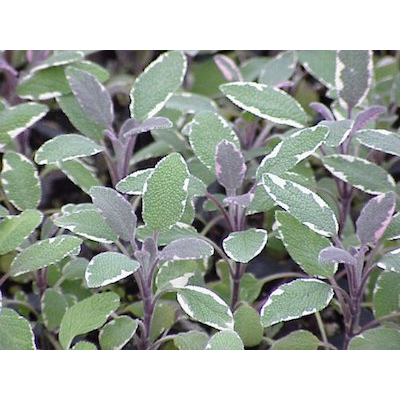
Sage + Brassicas: Sage repels cabbage moths, cabbage worms, and black flea beetles. Avoid planting with fennel or cucumbers.

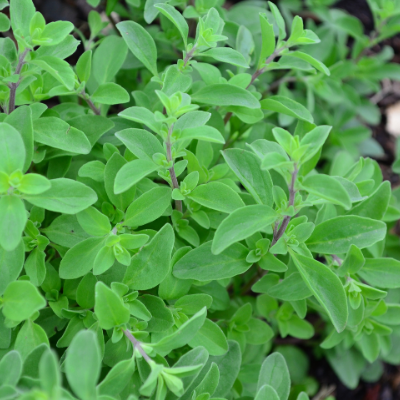
Sweet Marjoram + Brassicas or Asparagus: Marjoram is good at repelling cabbage moths and fit well between rows for good coverage.

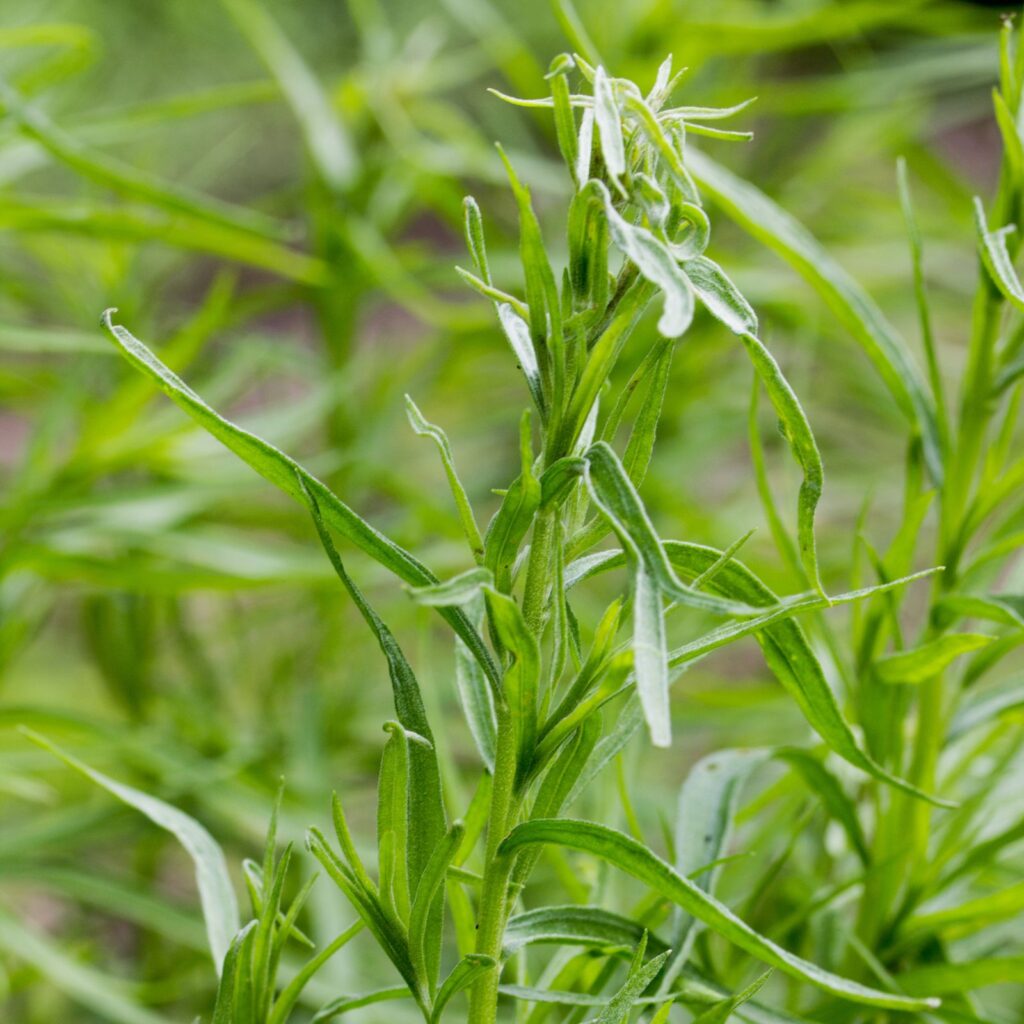
Tarragon + Eggplant: Tarragon pairs well with most plants but provides the best partner with eggplant. Do not plant with parsley or dill.

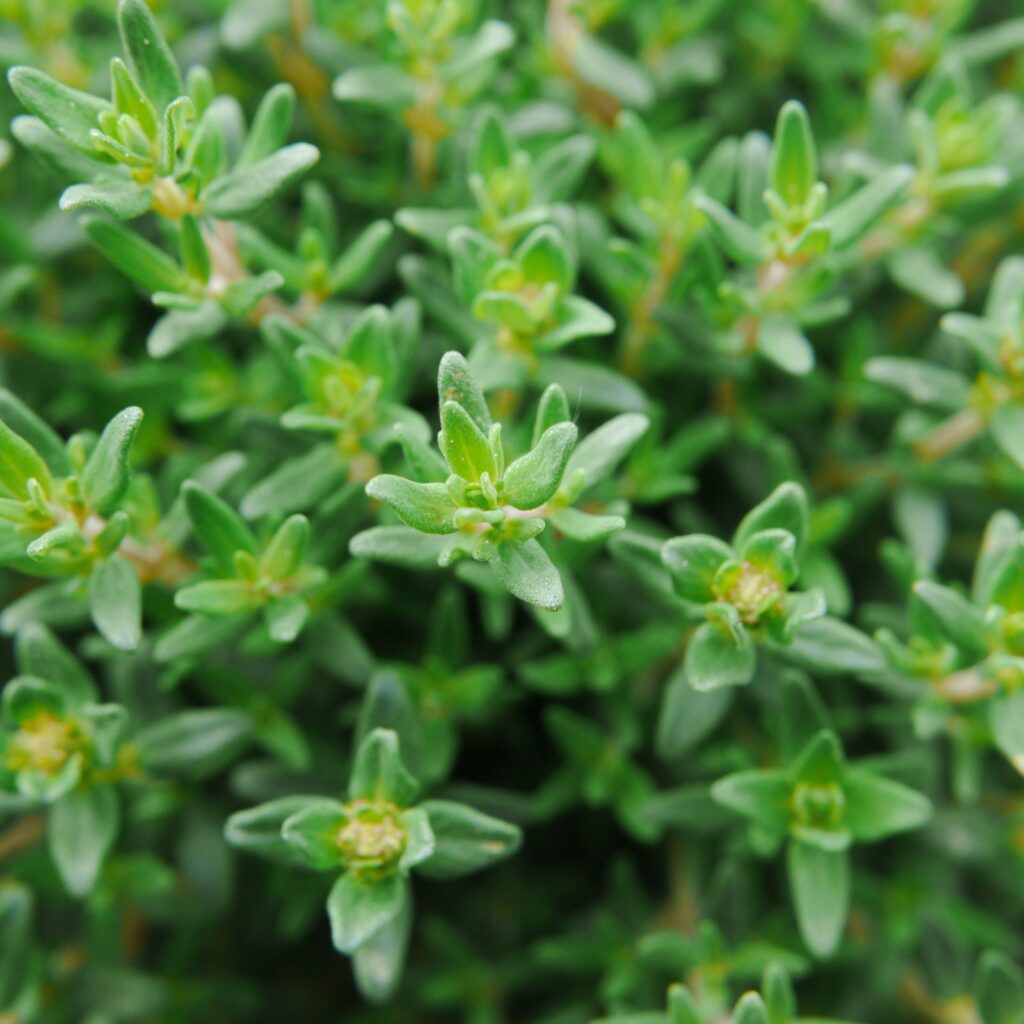
Thyme + Brassicas and Strawberries: Deters cabbageworm, whiteflies, and cabbage maggots.

How to Grow Your Own Natural Sweetener: Stevia Plants

Stevia is an annual herb that, when dried and ground into powder, can be used as a natural sugar replacement. This compact plant is easy to grow and has lovely green foliage that pairs well in container with other herbs and flowering annuals. This article will explain how to grow Stevia, harvest it, and preserve for use in your kitchen.

Order Stevia Plants Here.

Stevia Growing Conditions

In its natural habitat, Stevia is a sub-tropical plant and can only be grown as a tender annual in most US Zones. The plant prefers warm temperatures and does best in full sun or partial shade, with at least six hours of direct sunlight per day but will benefit from mid-day shade to prevent leaves from wilting and drying out.

Stevia needs loamy, organic soil with good drainage and consistent watering but will not do well in overly-wet soils. This plant also benefits from regular fertilizing with a 10-10-10 plant food.

Space each plant at least 10” apart if planting in ground, they can be planted closer together in containers. When planting, make sure to dig a hole that is twice the size of the root ball to give the plants enough room to grow. Add compost to the bottom of the hole before planting and water thoroughly.

Stevia is generally resistant to pests and diseases, but like any plant, it can be affected by a few common problems. Aphids and whiteflies are the most common. To prevent these pests, use insecticidal soap or neem oil.

Stevia can be planted with a variety of other herbs and vegetables, including basil, mint, tomatoes, and peppers. These plants can help to deter pests and improve soil fertility. However, avoid planting stevia with plants that require heavy fertilization, such as corn or cabbage, as they can compete for nutrients and water.

How to Harvest Stevia

This plant will flower in early autumn with crisp, white blossoms which can be picked for a pretty bouquet. To promote leaf growth, though, blossoms should be snipped when buds first emerge. If flowers are allowed to mature, the plant’s leaves will take on a bitter flavor.

Stevia leaves can be picked throughout the season but leaves will be at peak sweetness in late summer and early fall. For single use, or to encourage bushier growth, pick a few leaves but leave at least 2/3 of the plant intact. If you’re planning to dry leaves, pick all of the plant’s leaves at once in early autumn. Harvest leaves in the morning to ensure peak sugar content. This plant can also be grown indoors in a sunny window but requires a large pot for root growth.

How to Use and Preserve Stevia Leaves

Freshly picked leaves can be used to sweeten hot beverages, just snip a few leaves and steep for a few minutes in hot water, tea, or coffee. Leaves can also be frozen and used in the same way throughout the year. The leaf itself can have a licorice-like aftertaste but once ground, the taste is similar to white sugar.

To use in baking and cooking, the leaves must be dried and ground into a powder. To dry leaves, use a dehydrator. Once complete dry and cool, run through a small food processor or use a mortar and pestle to crush into a finely ground powder. Store in an airtight container. Stevia powder is much sweeter (by volume) than refined white sugar! Experiment with your recipes to get the right sweetness, typically 2 tablespoons of ground stevia is equal to one cup of white sugar.

How to Grow Tomatillo Plants in Your Backyard Garden

Order your Tomatillo Plants Here.

A must-have for Mexican cooking, Tomatillos are one of the most versatile plants you can grow in your garden. They are a member of the nightshade family and grow just like regular tomatoes. Unlike classic tomatoes, the fruit is typically smaller, stays green, and grows inside a thin, papery husk that turns brown when ready to harvest.

The tomatillo plant is a profuse producer and will put out hundreds of tangy, tart, citrusy-flavored fruits. Tomatillos are both low in calories and high in nutrients like vitamin C, vitamin K, and potassium and a good source of fiber and niacin.

Tomatillo Plant Care

Like tomatoes, tomatillos can be planted deep and, in fact, the plant itself will be stronger and more productive if you plant the majority of the stem underground. Just leave the top section of leaves above ground. Plant each plant 2’ apart but you must plant at least two plants together – tomatillos are not self-pollinating.

They prefer full sun at least six hours per day and grow best in well-drained, loamy, and slightly acidic soil. Plant after all danger of frost and protect in the fall from extra chilly nights. Keep consistently well-watered and avoid splashing water on leaves.

Plants will benefit from staking or caging as they can become quite heavy with fruit. With care, tomatillos can be trained to grow up a trellis. They can be planted in a container with good drainage (one per plant per pot). To encourage bushier growth, snip off the tips of branches with a clean garden shears.

Tomatillo Harvesting Guide

Tomatillos are ready to harvest around 60 days after planting the seedling. The more you pick, the more they will produce! Fruit is ready to pick when the fruit feels firm and the husks are papery and dry. Simply twist the fruit off the vine and remove the husk before cooking (just rub gently with your fingertips and it will fall right off). Most tomatillo plants are indeterminate which means they will continue producing fruit all season until the first hard freeze.

Like tomatoes, they do not need to be refrigerated and, if stored in a cool, dark place (with the husks on) will keep for up to two weeks. They can be eaten fresh as a salad or taco topping; frozen (after blanching) or canned; roasted or grilled; added to soups and stews; or cooked into salsa verde or enchilada sauce.