Growing plants from seed requires the right equipment, adequate space, and patience. One thing most gardeners will tell you is you must follow established seed-starting regimens. A minor misstep during the process can devastate the entire growing crop and you will then be behind the planting season and may need to start over. These problems can be avoided if you take a few simple, tried-and-true steps for starting your seeds. This article will describe how to set up your space to grow healthy seedlings.
Seed Starting Space Needs
Before you can set up grow lights and plant seeds, you must first find dedicated space to house your seedlings for up to three months. Do not opt for a windowsill! While this would seem to be a good sunny spot, it’s often the draftiest and coldest area in a home and seedlings will grow sideways and spindly in an effort to reach the weak light. You can, however, set up tables near a sunny window but you will still need to provide additional lighting as a consistent source of light and heat. Also, be sure to choose a location away from drafts created by opening doors or heat registers; avoid high-traffic areas or places where pets or family activity can jostle tables; and locate your grow space in an area that can handle water spills or messes from soil. Many people do quite well starting seeds in the basement as this is often the quietest part of the house. Just make sure the air temperature stays at 60°F or above and consider providing bottom heat for the seedlings.
Along with space you’ll need tables, racks, or something stable to set your trays on while they grow. Again, this is for at least 4 weeks, so this equipment will be out of use within your household. Sawhorses or folding tables will work as long as they’re stable so your trays are secure. Don’t put trays on the floor as the temperatures will be too cold.
Seed Starting Lighting Needs
While natural sunlight can be a good supplemental light source, seedlings do best underneath an overhead fluorescent light. Most home stores and garden centers sell professional grow lights but a standard shop-type light fixture with two cool white bulbs will work great. You will need lights for all seed trays so if using a stacking rack system, lights will need to be positioned above the plants at each level. Hang your light so the height can also be adjusted as the plants grow (you will need at least 6” of space above the seedlings). Your seedlings need between 12 and 16 hours of light per day but they also need some dark to grow properly – set up your lights on a timer so you don’t have to worry about turning the lights on and off.
Using Bottom Heat for Starting Seeds
Seeds require a warm home to germinate and grow strong roots and a great way to quickly warm up your newly planted seeds is to use a heating mat or propagation mat. While it’s not a must-have, heating from the bottom provides gentle, indirect heat that will give your seeds a jump start. Available at most garden centers, heating mats are specially designed for seed trays and typically have a temperature control so you can set the heat for your specific seeds.
You can try a DIY approach, too, for bottom heat with a heated blanket, a heating pad, or even hot water bottles. These methods will work to provide heat but must be closely monitored so they do not get too hot which will essentially cook the seeds and they will not germinate. Most plants require a soil temperature of 70°F to 72°F but more “tropical” veggies like peppers prefer warmer range of 80°F to 85°F. Check your seed packet for specifics. During germination, the heating mat should be left on at all times so if using a timer for your lights, do not plug it in to the same cord. Also, bottom heat tends to dry out the soil more quickly so be sure to keep your trays well-watered and check often. Once plants have broken through the soil, remove the heating mat.
Seeds Starting Trays or Pots
Obviously you’ll need something to start your little seedlings in! Specially-made seed starting trays are a great choice as they’re the perfect size for seedlings, lightweight and easy to move, and reusable from year to year. They also have predrilled holes in the bottom so water will easily drain through. (Shop our eco-friendly seed pots here). Styles vary and choices include:
- Individually celled trays work well for small seeds and to keep plants’ roots separate for easier transplanting. However, many seedlings will quickly outgrow these cells and will need to be transplanted to a large pot prior to planting outside.
- Row-style trays work for plants with large roots such as winter vegetables, onions, or leeks and are a good choice for planting lots of the same variety of seeds.
- Small pots fitted into a larger holding tray work well for plants that will eventually grow large such as tomato or eggplant. These also have an added advantage because the plant has plenty of room to grow and will not need intermediate transplanting. These pots work well for transplanting seedlings that have outgrown the seed tray but are not ready to be planted outside.
All of these styles are reusable from year to year but must be cleaned after the first use. Remove all soil and rinse thoroughly. Soak trays for one hour in a mild bleach solution (10 parts water to one part household bleach) and rinse again with clean water. If storing away for the season, be sure to dry thoroughly.
Another option is to plant seeds in small fiber pots. These are nice because they can be planted directly in the garden and will dissolve over the growing season. Not only does this quicken your planting process but it reduces transplant shock which is especially important for tender-rooted plants such as cucumber or squash.
Some trays come with a clear plastic dome lid which is used to cover the newly planted seeds to hold in heat and moisture which promotes germination. You can create your own cover with a sheet of kitchen plastic wrap loosely placed over the seed trays. Be sure to remove covering as soon as you see seedlings emerging from the soil.
To avoid water spills or leakage, place your pots or seed trays on top of a plastic liner tray to catch any water that drips through. Be sure, though, to empty the trays so the seedlings are not sitting in water.
What Soil to Start Seeds In?
Available at garden centers, the best choice is a seed-starting mix that is not really soil but a mixture of vermiculite and peat. This finely-textured and loamy mixture is easy for seeds to push through, it’s guaranteed sterile so no diseases will hurt your seedlings, and it’s filled with just the right nutrients to feed the growing seed. Some growers mix their own potting mix and include a bit of compost – this is acceptable as long as you’re sure your compost is “well-cooked” so no traces of disease or weed seeds remain. Until your plants have leaves, they do not require fertilizer.
Before planting, fill seed trays with the potting mix and water well. The mix will sink slightly down into the planting pot and continue filling and watering until the cell is full within 3/4” of the rim of the container.
Watering Tools
Choose a spray bottle with multiple settings so you can first start out with a fine mist and eventually work your way up to larger droplets that mimic a spring rain. The key is to keep the soil at a consistently moist level without disturbing it or the growing seed. Keep your water at room temperature to reduce shock to the seedling.
Garden Recordkeeping Tools
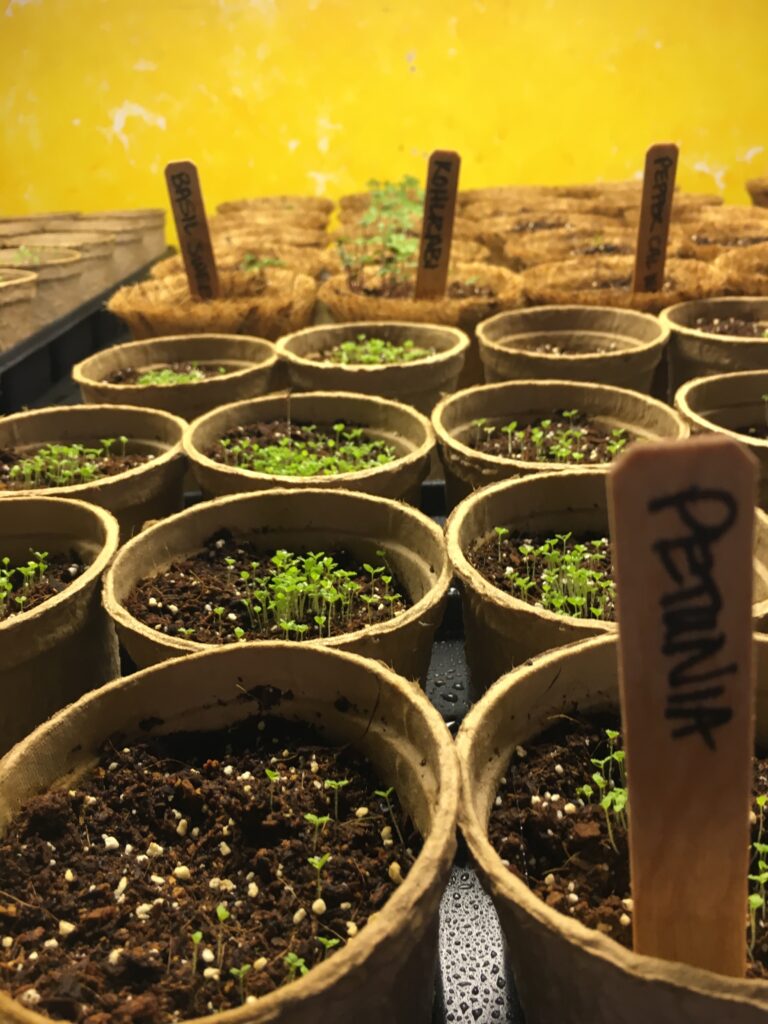
Once all those little seeds sprout, you’ll need a way to keep track of everything. Plastic plant tags or popsicle sticks work well to mark each tray – record plant variety and the date you planted the seed. Cross reference this with the expected planting dates for each plant and record on a calendar so you’ll know when to begin the hardening off and transplanting process. Keep a mini-diary, too, for each season so next year you can refer back to what worked well and what didn’t do so great.
How To Choose Garden Seeds
Obviously the most important part of the process! Choose seeds that are no older than two years old and have been stored indoors (or not in freezing temperatures.) The fresher the seed, the greater chance for germination. If possible, plant more seeds than you think you’ll need just to ensure you’ll have enough plants. If you’re gathering seeds from plants to use next year, be sure to choose non-hybridized varieties and healthy plants. Many times you can just let the fruit or flower stay on the plant and the seeds will dry in place. When thoroughly dry, collect, label, and store in an airtight container in a cool place.
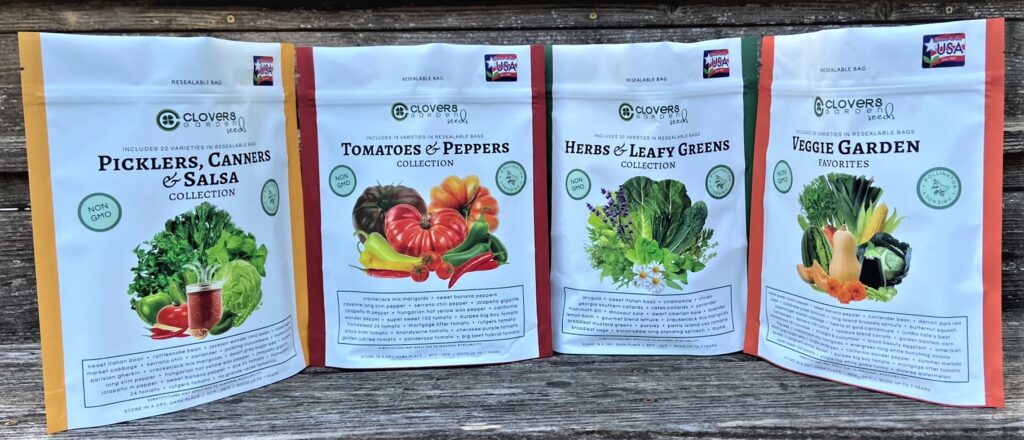
We now offer a full line of garden seeds, curated into garden favorites collections. Perfect for starting indoors or outdoors with a full range of varieties and proven favorites. Shop our seed collection here.