How Much Food Can One Small Garden Grow?

In 2022 we grew nearly 300 pounds of food + cut flowers + maple syrup from our in town 1/4 acre urban homestead. And in 2023 we grew even more by just adding a few more container gardens and planting flowers in new places. We grew it all completely organically without a ton of work. This article shows how much of each kind of veggie we harvested in 2022 and three easy changes we made to bump the harvest.

These results really show that you do not need a huge acreage or a homestead to grow a large amount of food for your family. And it doesn’t take a ton of work (as long as you’re willing to live with a few weeds!)

We do not have a big garden! In total, the raised beds are around 600 square feet, we have two Haralson apple trees, 6 neighborhood maple trees, two rhubarb plants, and six deck pots (in 2023 we upped this to 12 pots). Plus every corner I can find is planted with perennial or annual flowers.

We live right in town with neighbors on all sides. We have busy work schedules and are gone a lot so we don’t spend a lot of time on maintenance or replanting (so this garden could have probably grown even more!). This harvest is more than enough for our small family and we ended up sharing with neighbors and taking a lot to the food shelf.

Three things we added that made a huge difference:

  1. I put a water filter on my hose – this is normally attached to RVs to filter the water coming into the camper. I have treated city water and I’ve always wondered if that affected the plants. I can say it does and I think this change is one factor in such a great garden season. These are not inexpensive and can be found online, just search “RV/Marine inline water filter”
  2. I added soaker hoses to my vegetable garden and put it on a timer. Highly recommend the timer because you will forget you turned it on! This kept everything at a much more consistent moisture level and it protected tomatoes from soil splash which causes blight. And side note: I did not have blight on my tomatoes this year for the first time in 10 years!
  3. I let volunteers grow and did not till in the spring. Last fall I decided to leave garden debris in my garden to build up the soil quality and give critters food and habitat. I also didn’t till the garden up before planting. Wow, did I have volunteer plants! Sunflowers, tomatoes, lettuce, broccoli, and parsley. The sunflowers produced a lot of seeds and both the tomatoes and cucumbers used the sporadically-spaced sunflowers at trellises. (You have to be willing to love non-straight rows and haphazard planting to like this kind of garden!)

Here’s what we harvested in one season:

Maple syrup: the first harvest of the year, we made 2 gallons of pure maple syrup

Rhubarb: enough to make two large rhubarb crisps and 8 pints of jam. Also made a few pints of hot pepper rhubarb jam (recipe here)

Lettuce, Spinach, Kale, Swiss Chard: 15 gallon bags

Parsley: made 1 quart of chimichurri and used all summer fresh

Basil: made 2 quarts of pesto and used all summer fresh

Mint: made 5 batches of mojitos, made 2 quarts infused tincture for sore throats

Dill: picked multiple batches for pickles and dried herbs

Thyme, Rosemary, Sage: Used all summer and made 3 pounds of herb infused butter (just mix fresh herbs with softened butter and roll into a log. Wrap in wax paper and freeze. Then just slice off as needed.

Kohlrabi: 10 plants, ate raw and roasted and sauteed the greens

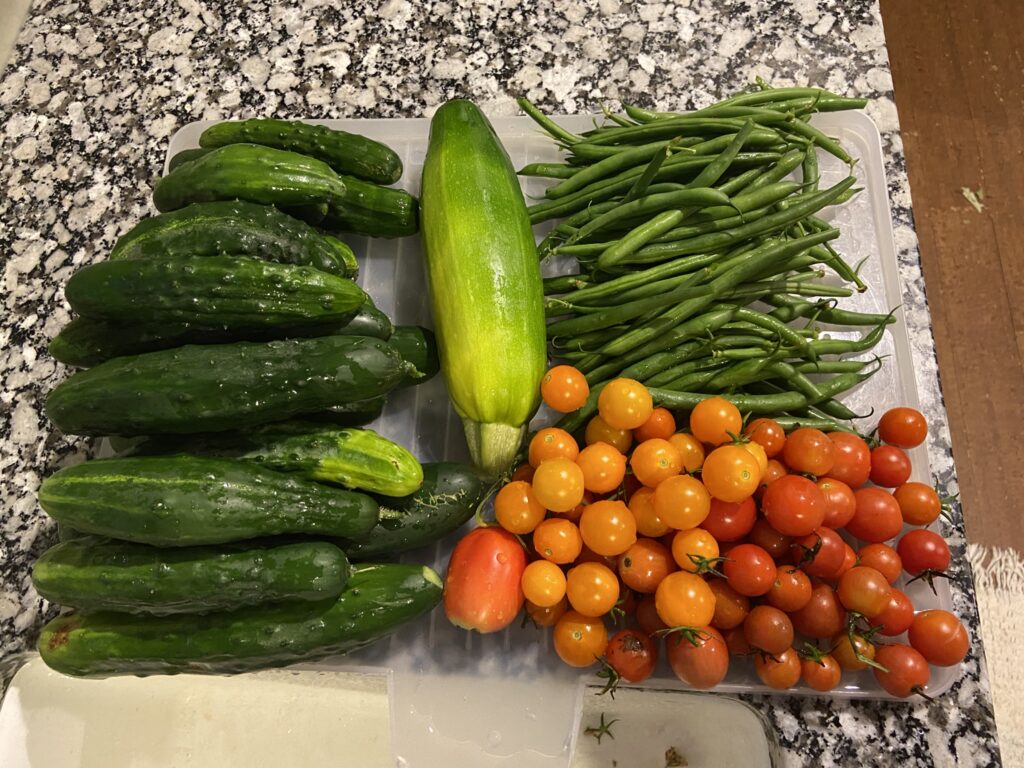
Zucchini: harvested 47 zucchini, most about 8″ long

Cucumbers: harvested 212 cucumbers (!)

Green beans: harvested 7 gallon bags

Peas: harvested 3 gallon bags

Roma and Beefsteak Tomatoes: picked 38 tomatoes from 4 plants, made 8 quarts of tomato sauce plus lots of fresh slices and salsa.

Cherry Tomatoes: picked 4 gallon bags from 3 plants. One cherry tomato plant grew as tall as the sunflower using it as a trellis.

Peppers: harvested 15 peppers off 2 plants.

Carrots: 25 carrots, largest one was 2” in diameter

Apples: grew almost 2 bushels of apples but the bees and ladybugs got at about ½ bushel before we picked them.

Sunflowers: All my sunflowers were volunteer this year and each stalk grew at least 5 heads, some grew 12! I let them dry in the garden and a lot of the seeds got eaten by the birds. After picking this week and shucking, we ended up with about 1 gallon of seeds. We’ll feed these to the birds and save some for planting next year.

Cut flowers: I had fresh bouquets in the house from May until this past week! And I harvested zinnia, daisy, cosmos, and salvia seeds from the dried flowers for planting next year.
How to Water Your Garden

watering can

Watering the garden seems like it should be pretty straightforward. If the soil looks dry, you should water, right? It’s not that simple and infrequent or inconsistent watering stresses your plants and can even damage your harvest. Rainfall is always our first choice for watering (which makes rain barrels a must-have) but at some point you may need water from an external source. This article will explain best watering practices and share tips on how to conserve water while nourishing your plants.

When to Water Your Garden.

Begin with an eye towards the weather – if you’ve had good soaking rains (1” or more) then you don’t need to water; if the weather’s been hot and windy, then you probably should water. Soil attributes also determine when to water: sandy, fast-draining soils need more frequent watering; heavier, water-retaining clay soils can go a little longer in between watering. The soil’s top appearance doesn’t always show the need for water – remember that plants’ roots go deep down and that’s where the moisture level is important. Poke into the soil with your finger or a measuring stick – if it’s dry below 1/2”, then it’s time to water.

TIP: If possible, avoid watering in the late evening or at night – the plant leaves will sit all night with moisture on them which can lead to diseases and mold growth. 

Give Your Plants the Best Water.

Chemically-treated or softened water is not ideal for your plants. If you are using city water, filter your water by attaching an inline water filter between your outside faucet and hose. Designed for use in RVs and boats, these inexpensive filters will last all summer and will filter out most of the chemicals that municipalities use to treat water. These can be bought online or at your local sporting goods store.

Soaker Hoses are a Must-Have.

Drip irrigation (aka soaker hoses) make your watering life so much easier and it’s better for your plants. Within less than an hour, you can arrange soaker hoses throughout your garden beds and they will stay in place all summer (make sure you to secure with landscaping pins). Once in place, follow the timing directions on the instructions that come with your hose. This method of water keeps soil from splashing on the leaves, protects the soil from eroding around the base of the plant, and does a much better job at getting water deep into the soil. The one caveat with soaker hoses is you will not be able to deliver water-dissolved fertilizer to the plants — create a reminder schedule so you’ll remember to add this step with manual watering every couple of weeks.

Where to Water Veggie Plants.

So much of the “how” depends on what you’re watering. Grass requires a broad sprinkler approach; trees and bushes require a soaking that reaches the root perimeter; and garden veggies and flowers require consistent watering. Research what you’re watering first but in general try to avoid splashing water on the plants’ leaves and focus on the base of the plant. Use mulch around plants, too, to help retain moisture longer. Aim for consistent moisture at that ½” depth and don’t just automatically water every day. Remember, too, that containers will dry out much more quickly than garden beds.

How to Measure Water Amounts.

It’s easy to calculate how much water you’re giving each plant. Start with a five-gallon bucket; put in your hose or hold your sprayer open into the bucket; and time how long it takes to fill the bucket. If it takes five minutes, you’ll know you’re watering at one gallon per minute.


Composting 101: How to Make Compost and Use It In The Garden

Composting food scraps and garden debris is one of the easiest sustainable practices you can take on. And your reward is rich, nutritious soil you can use in your garden and patio pots! You don’t fancy equipment or a lot of space and within one season, you can “grow” a large, usable amount of compost soil. Best of all, you create a cycle of sustainability in your garden. This article will teach how to start a compost pile, how to feed it, and how to maintain it through the season.

The Basics of Composting

Creating composted soil depends on decomposition and decay of organic materials. Each compost pile is a balance of browns (dry material such as fall leaves or wood shavings) and greens (such as produce scraps or grass clippings). Too much of either and the balance is thrown off (you’ll know right away because it will look and smell funny). In this mixture, will be active bacteria, worms, and insects with a little heat thrown in. Together they break each piece down into nutrient-dense, organic material that plants absolutely thrive in.

You cannot put meat, dairy or processed foods (like bread) in your compost pile as it will upset this balance (and attract unwanted critters). You can, however, sparingly add coffee grounds, eggshells, or ashes. Again, the smell and feel will tell you right away if there’s too much of one thing. (We cover this in detail in another blog post, “Compost Troubleshooting” here.)

Where to Locate Your Compost Pile

Compost piles need heat to work so choose a spot that gets lots of sunshine and (if using a barrel), choose a dark color that will absorb the heat. Don’t choose a location too far away from where you normally work outside or is hard to access in the winter. But you also don’t want it close to any neighbors who may not appreciate the process. It is decaying material and not the most beautiful part of gardening!

Types of Compost Containers

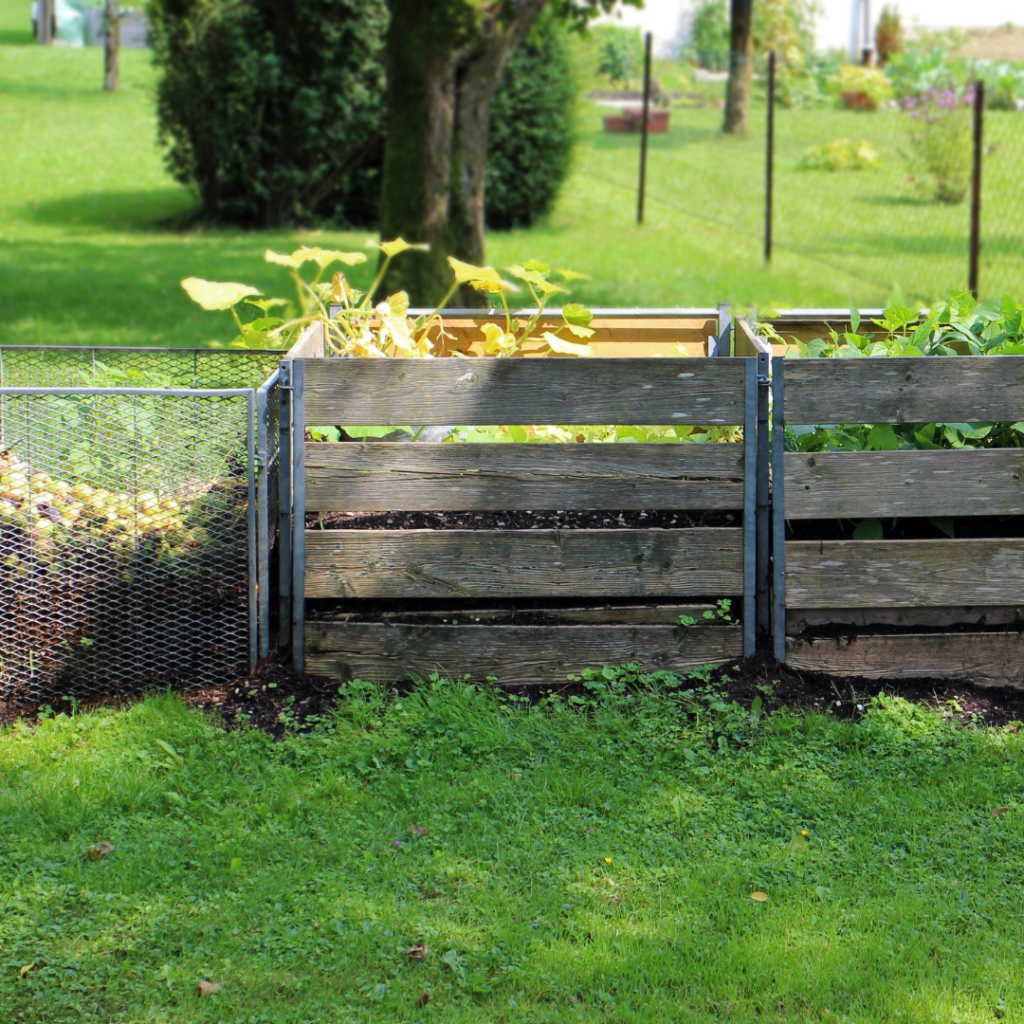
There are two common compost set-ups: a closed bin or barrel or an open, fenced in area that sits on the ground. This allows beneficial insects and worms easier access but can be unsightly. A bin or barrel is more practical in cases with limited yard space or where keeping the pile completely contained is necessary.

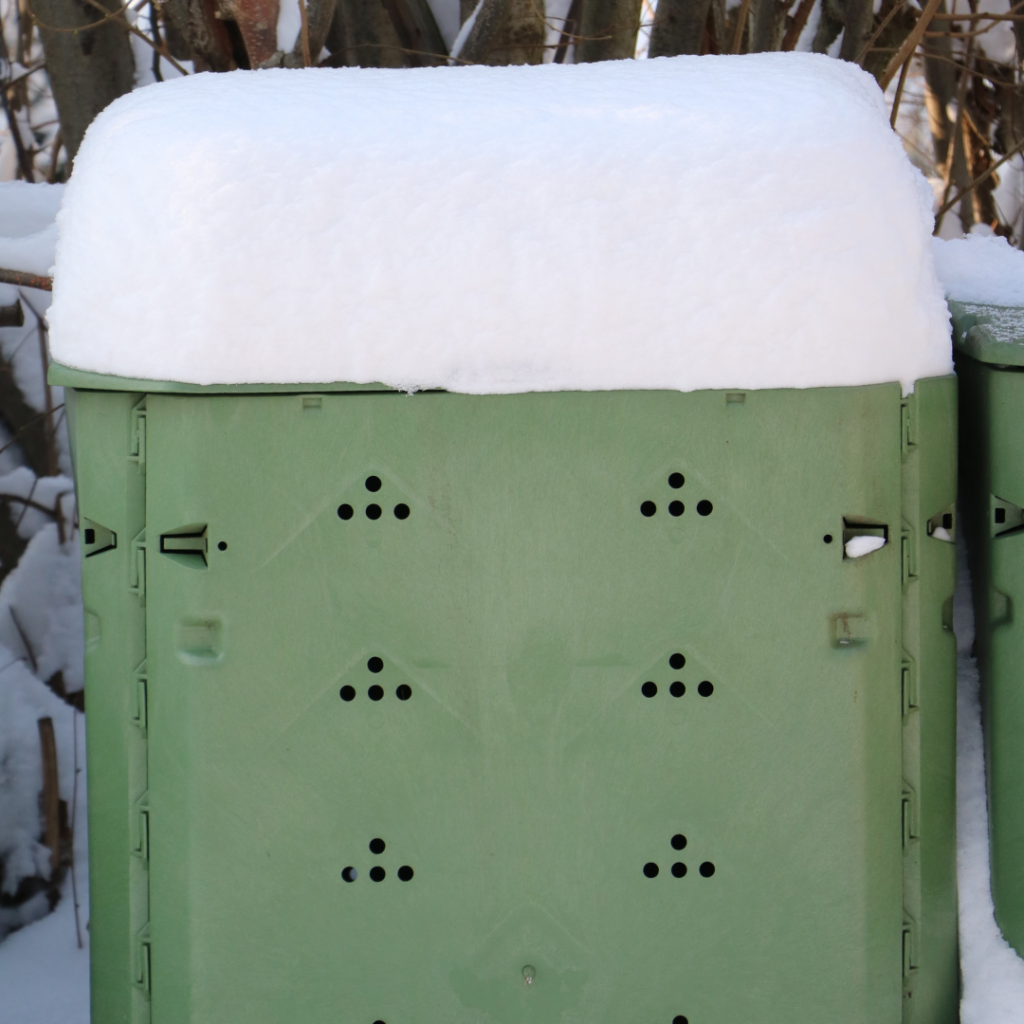
An open bin style works well on larger properties with lots of compost material. As shown in the photo, you can even create a multi-step system where new material goes into one bin and then is moved through each new bin as it decomposes. An open system is more susceptible to critters and should be covered to avoid too much moisture.

Choosing which type of storage is really based on personal preference and location. When done correctly, a compost pile will not smell bad but it can attract critters (if left open). For urban and residential properties, most people choose a closed container such as a large plastic tub or a barrel on a stand. This method also limits the quantity of compost produced and it is unwieldly to get the finished product out.

DIY Compost Bins

You can build your own compost pile by installing a three-walled enclosure built as you would a fence. This structure uses bare ground as its floor and the opening allows you to turn the compost with a rake or shovel. The drawback with this method is it will attract critters when you drop in fresh kitchen scraps.

For enclosed barrels, choose a large garbage can or barrel with a removable lid. Poke holes along the sides, bottom, and lid so air can move through and water can get in and drain out. Many large home stores and online retailers also offer premade compost barrels – some on a stand with a hand crank so you can easily give it a turn each day.

What to Add to Your Compost Pile


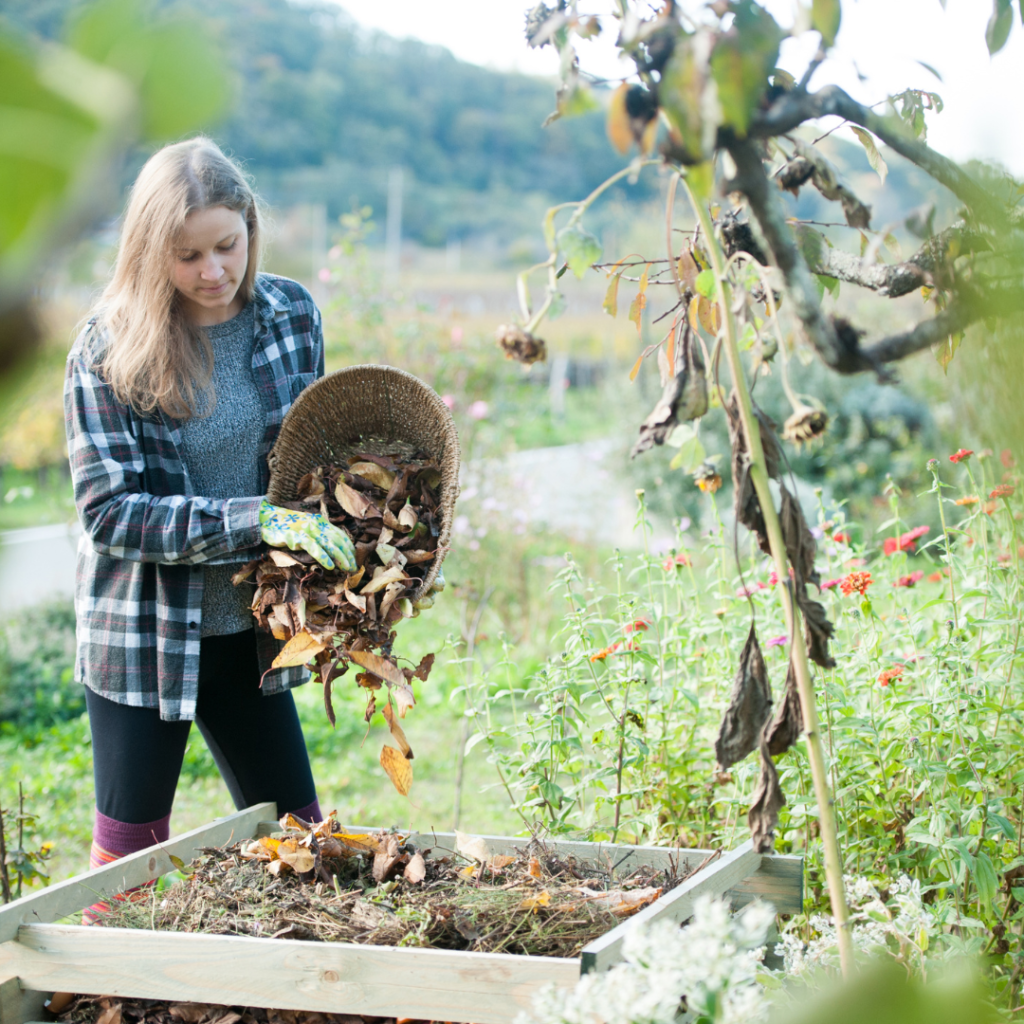
Start with twigs, straw, ash, hay, or another dry/brown material as your foundation. This allows the bottom of the pile to have more aeration and not become a slimy mess at the bottom. Your first layer, and every other layer thereafter should have a healthy dose of loose, dry, brown debris. Avoid large sticks, branches, or logs, as they can slow down the process. Larger things are harder to compost so be sure to break them down into smaller pieces before adding them.

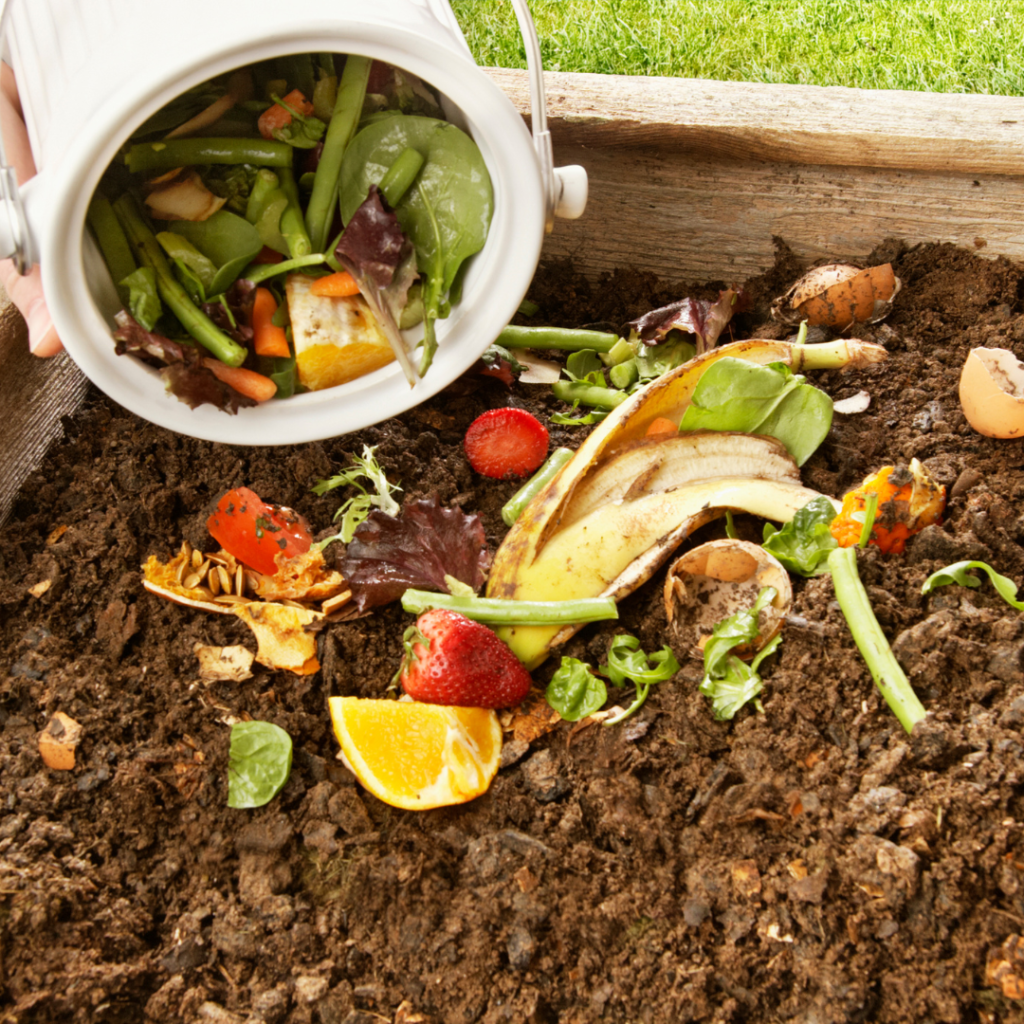
Add produce scraps, grass clippings, and plant debris but do not add meat, dairy, or oily and processed foods. Avoid using too many onions or citrus peels. They break down slowly and can kill off beneficial insects. Using kitchen scraps is a great way to reduce your indoor garbage and utilize things you would otherwise throw away. Keep a container with a tight-fitting lid in the kitchen where you store scraps until you’re ready to add it to your pile.

Any green plant matter can also be added but avoid adding weeds or leaves from diseases plants (such as tomato blight). These will remain in the finished compost and spread new weeds or disease when you use it next season.

Animal waste, or manure, is also a form of green compost. Avoid using dog or cat waste in gardens for crops meant for consumption. Their waste contains microorganisms that aren’t ideal for a healthy garden, especially ones growing food. For those of us that have fish, tank water is an excellent resource to use for your pile! Tank water is rich in nitrogen and phosphorus, both of which are important to maintaining your pile’s carbon cycle. Just be sure not to use too much water, as this can cause your compost to become overly soggy. Store excess in gallon jugs to use later!

Other excellent choices for the inclusion of animal waste are chicken, cow, horse, sheep and goat waste. Unless any of the animals are being medicated (aside from vaccinations), their waste is completely safe to use! Medications like antibiotics can be passed through the waste and into the crops. If the animals are sick, and/or on medication, avoid using their waste until they are healthy.

Brown scraps are usually found outside in the yard. Fallen leaves, dried grass clippings, chicken bedding, or small twigs. These materials are also the ideal foundation for your outdoor pile!

Maintaining Your Compost Pile


Having a good ratio of green scraps and brown scraps is the key to a successful compost. 50% green to 50% brown is a good ratio of each, and if layered correctly, there won’t be much maintenance. Composting, for the most part, will take care of itself. Checking on it occasionally and turning it with a pitch fork or shovel is about all that needs to be done to the pile – typically after adding scraps or at least twice per month. If the pile becomes overly soggy or starts to have a foul odor, toss in some brown scraps, make sure it gets mixed well and has plenty of aeration.

A healthy pile will stay at an average temperature of 150 degrees. This keeps things moving, including insects and microbes that all work together to help along the nitrogen cycle. Towards the end of the process, it will have cooled down significantly. If it’s cold out, the temperature will most likely be much lower depending on the size of your set up.

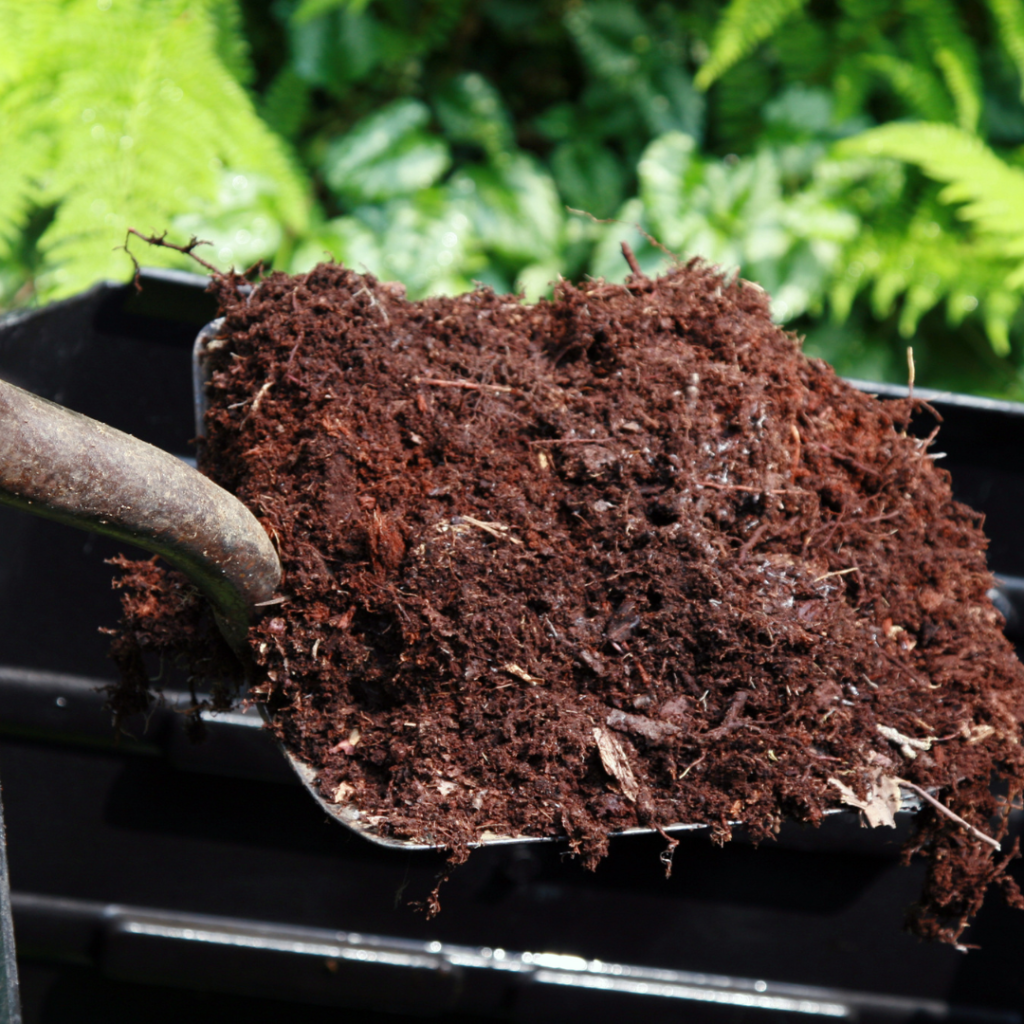
Once the compost turns a rich brown color and has an earthy smell, it’s ready to use! By this stage, everything you put in the pile should be completely broken down and unrecognizable. The pile will also have cooled down in temperature. Just scoop it out and mix it into your existing garden beds with a fork or shovel.

Composting in Winter

If you have a pile that isn’t finished and winter is nearing, don’t worry. Worst case scenario, the process is slowed down. Keep your compost taller and wider if you’re banking to keep your pile going during the winter. This will allow for the organisms breaking your compost down to stay alive and thrive in the winter months. If you live in an area that gets extremely cold during the winter, be sure to start it in a place where it stays sunny most of the day, and expect the process to be a bit slower.

Maintaining compost isn’t a difficult process and anyone can do it. It is an excellent addition to the garden, will yield beautiful crops, and is an awesome way to sustain the garden season after season!

Pest Control using Natural Pesticides

Natural pesticides versus chemical pesticides

The use of chemical pesticides in your garden or yard can lead to many unintended consequences. For instance, if you apply a chemical pesticide before a heavy rain most of it will wash away, missing its intended target, and likely end up contaminating and possibly killing critters that are beneficial to the environment. In addition to potentially polluting an area you didn’t intend to spread it to, these treatments are full of harsh man-made chemicals that are not necessarily safe for the environment. This article will explain a few natural pesticides that are not only safe for your plants and critters you do not want to harm a few of them are also completely safe for your children or pets.

Diatomaceous earth

Diatomaceous earth is a sedimentary rock made up of fossilized algae and makes up about 25% of the Earth’s crust by weight. So there is plenty to go around! You can buy it by the bag at any nursery or gardening store. It works because it’s abrasive so crawling insects do not like to move across or burrow through it (especially snails, grubs, or slugs).

Diatomaceous earth also has affinity it has for absorbing lipids it will quickly rid your yard or garden of any unwanted insects. The way it does this is by dehydrating these insects it contacts by draining their exoskeletons through the absorption of the lipids within their exoskeleton. The best part about using it, is it is totally safe around kids and pets!

How to use Diatomaceous Earth

This is very easy to use in your yard and garden. Just spread a light dusting of it on any problem areas you have been experiencing. One thing to keep note of when using diatomaceous earth, is it has a tendency to absorb lots of water from rain which reduces its effectiveness. To combat this, you will want to keep an eye on the weather and avoid spreading it if you know it is going to rain; along with that it is also a good idea to reapply it after it rains to maintain its effectiveness.

Neem oil

Neem oil is an extract from the seeds of the neem tree, which makes it another natural pesticide that is safe for use around kids and pets. In addition to being a powerful natural pesticide, it can also be used as a fungicide if you are having problems with fungi in your gardens or on house plants. Like diatomaceous earth, neem oil can usually be found in the gardening stores and home supply centers. Typically it’s sold in a concentrated form as an oil. A little goes a long way and be forewarned, it does not smell pleasant. The smell with dissipate quickly but if using indoors, plan ahead to be able to open your windows.

How to make your own neem oil spray

If you are interested in mixing your own spray, which in most cases would be cheaper, just mix a couple teaspoons of neem oil with a teaspoon of mild liquid soap and a quart of water. After mixing this combination thoroughly, it is ready to be sprayed on plants that you have noticed being eating by insects. The way it works is by acting as a hormone disruptor for any insect that decides to try and make a meal out of plants in your garden. Put a little more simply, it will make any insects that eat it unable to perform their normal bodily functions. Eventually they will die from ingesting any of the neem oil mix you have put on your plants.

Tomato leaf insecticide

Believe it or not, the leaves of the tomato plant are poisonous. The tomato plant is a member of the nightshade family, so you can use this to your advantage to effectively combat an aphid infestation or something similar in your garden while avoiding the use of harsh chemicals. This is just another great way to ensure you are using chemical free pesticides within your garden, it is good for your garden and will not harm any ecosystems it may be washed into from the rain.

How to make your own tomato leaf spray

All you need to do to make tomato leaf insecticide, is chop up about 2 or 3 cups of leaves from a tomato plant or plants and let them sit in a quart of water overnight. In the morning, use a strainer to get all the chopped up leaves out of the water and put the remaining liquid in a spray bottle. After you do this, it is ready for use! It’s really that simple, all you need to do to use it is spray it onto plants in your garden if you suspect they might have a run in with aphids or another insect that thinks they will make a meal out of the plants in your garden.

How to Make your Own Rain Barrel

Why use a rain barrel?

Did you know that just a half-inch of rain falling on a 1,000 square foot house will generate about 300 gallons of water? Over the course of spring and summer (assuming 10 inches of rainfall), a roughly 1,300 square feet house can generate about 8,000 gallons of water! Saving that in a rain barrel to use in your garden means you’re not using municipal water (so dollar savings for you and better, untreated water for your plants)

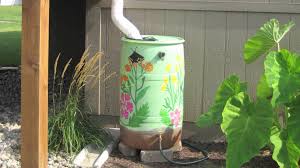
Rain barrels can be part of your garden decor.

6 Easy Steps for Setting Up a Rain Barrel System

Step 1:

Install gutters on your house, along with a downspout. If you already have a home with these features this will be the easiest step!

Step 2:

Find something to collect the rain water in. Most people opt to use a 50-gallon drum, but just about anything that holds a decent amount of water will work. If you decide to use a smaller container, you might want to consider having a set up involving more than one. This can make the entire set up more complex so it would be best to have one large collection tank. Once you decide on your tank, you will need to cut a small hole to fit a spigot in the bottom of it. Make sure it is low enough on the tank for gravity to allow all the water to drain out.

You can also find premade rainbarrels at most home supply stores or through online retailers. Look for sturdy construction and attached overflow valves and spigots.

Step 3:

Install tubing or a short section of gutter to divert the water from the downspout into your rain barrel. This can be done in a variety of ways but is essentially just a tube connecting the two. When the barrel is full the water will just go out the downspout as it did before having a rain barrel. You can also buy an overflow pipe that connects into this system. This is an important component because it will direct the water away from your foundation once the rain barrel fills up.

Step 4:

Build (or buy) a stand to elevate the rain barrel — at least 1 foot high but customize to your height and landscape. The purpose of elevation is to use gravity to get the water flowing. If your garden is downhill from your rain barrel, you will need less height.

Step 5:

Install a filter between the downspout and rain barrel. Just a simple piece of screen will work but there are many premade options available online. This is an important step to keep debris out of your barrel which will eventually clog the spigot. It also would not hurt to have another back up filter where the spigot sits in the bottom of the barrel to ensure the hose connected to the spigot doesn’t get any unwanted debris in it that the other filter let pass through.

Step 6:

Connect a hose to the spigot and your rain barrel is ready for use! Once water accumulates in it, you can start watering your garden!

How to use Rainwater in your Garden

The water you collect with your rain barrel will most likely be very clean, provided you have a clean gutter system. This water is not considered potable because it’s run off your roof which has dirty, animal droppings, and so on. The water, though, is perfectly fine for all garden plants, bushes, trees, lawn, and even indoor plants.

Rain barrels do not typically have enough pressure to run a hose or sprinkler system. However, if you have enough slope you could use a soaker hose in between garden rows. It is also possible to install an electric pump (such as used in fountains) to create enough pressure to use with a hose.

Potential Problems with Rain Barrels

One of the biggest problems that come up with a rain barrel system is the connections getting clogged. This can be alleviated by using screen filters at the water intake site and by occasionally cleaning out the barrel.

Another thing to watch out for is insects that will try to reproduce in the water especially nasty mosquitoes. If you drain the rain barrel regularly the larvae will not have time to hatch. Also putting a lid on the rain barrel and draining it and disconnecting it before vacations will keep bugs away.