Composting food scraps and garden debris is one of the easiest sustainable practices you can take on. And your reward is rich, nutritious soil you can use in your garden and patio pots! You don’t fancy equipment or a lot of space and within one season, you can “grow” a large, usable amount of compost soil. Best of all, you create a cycle of sustainability in your garden. This article will teach how to start a compost pile, how to feed it, and how to maintain it through the season.
The Basics of Composting
Creating composted soil depends on decomposition and decay of organic materials. Each compost pile is a balance of browns (dry material such as fall leaves or wood shavings) and greens (such as produce scraps or grass clippings). Too much of either and the balance is thrown off (you’ll know right away because it will look and smell funny). In this mixture, will be active bacteria, worms, and insects with a little heat thrown in. Together they break each piece down into nutrient-dense, organic material that plants absolutely thrive in.
You cannot put meat, dairy or processed foods (like bread) in your compost pile as it will upset this balance (and attract unwanted critters). You can, however, sparingly add coffee grounds, eggshells, or ashes. Again, the smell and feel will tell you right away if there’s too much of one thing. (We cover this in detail in another blog post, “Compost Troubleshooting” here.)
Where to Locate Your Compost Pile
Compost piles need heat to work so choose a spot that gets lots of sunshine and (if using a barrel), choose a dark color that will absorb the heat. Don’t choose a location too far away from where you normally work outside or is hard to access in the winter. But you also don’t want it close to any neighbors who may not appreciate the process. It is decaying material and not the most beautiful part of gardening!
Types of Compost Containers
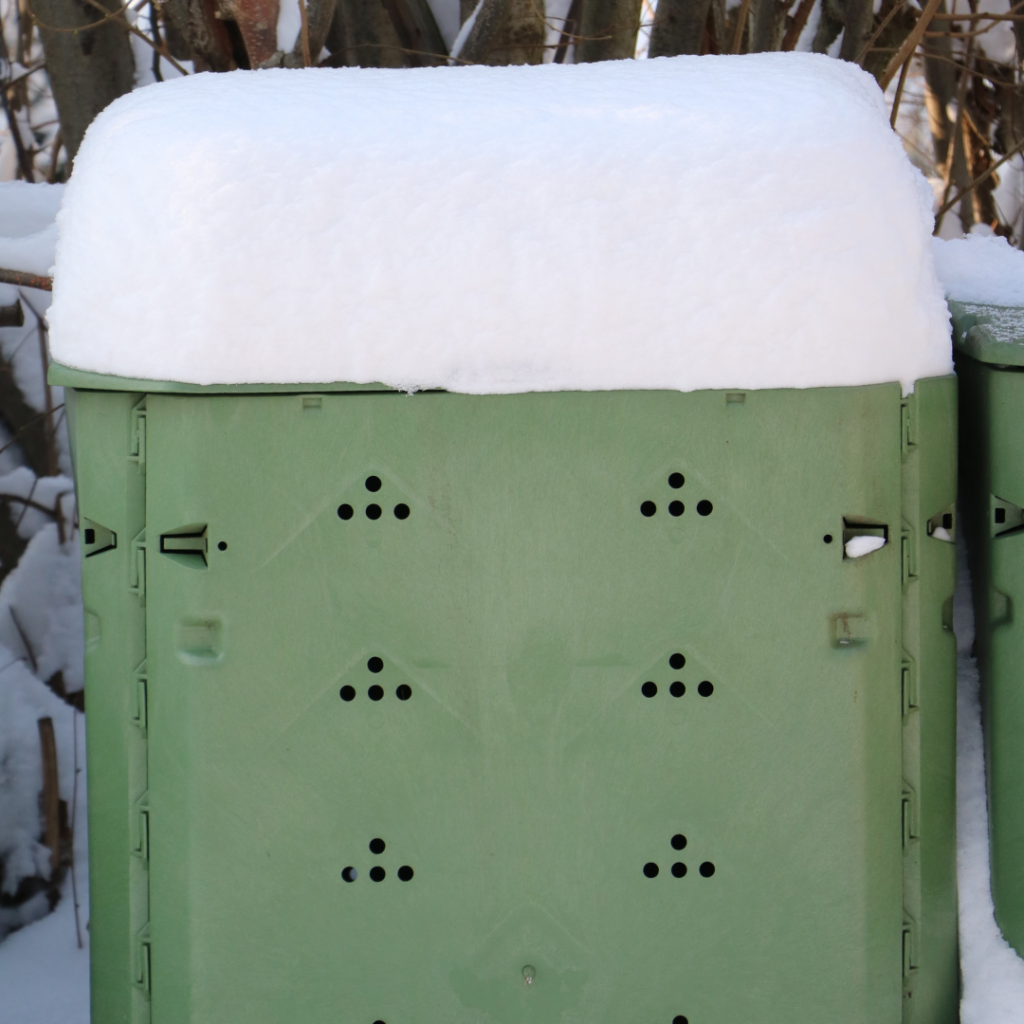
There are two common compost set-ups: a closed bin or barrel or an open, fenced in area that sits on the ground. This allows beneficial insects and worms easier access but can be unsightly. A bin or barrel is more practical in cases with limited yard space or where keeping the pile completely contained is necessary.
An open bin style works well on larger properties with lots of compost material. As shown in the photo, you can even create a multi-step system where new material goes into one bin and then is moved through each new bin as it decomposes. An open system is more susceptible to critters and should be covered to avoid too much moisture.
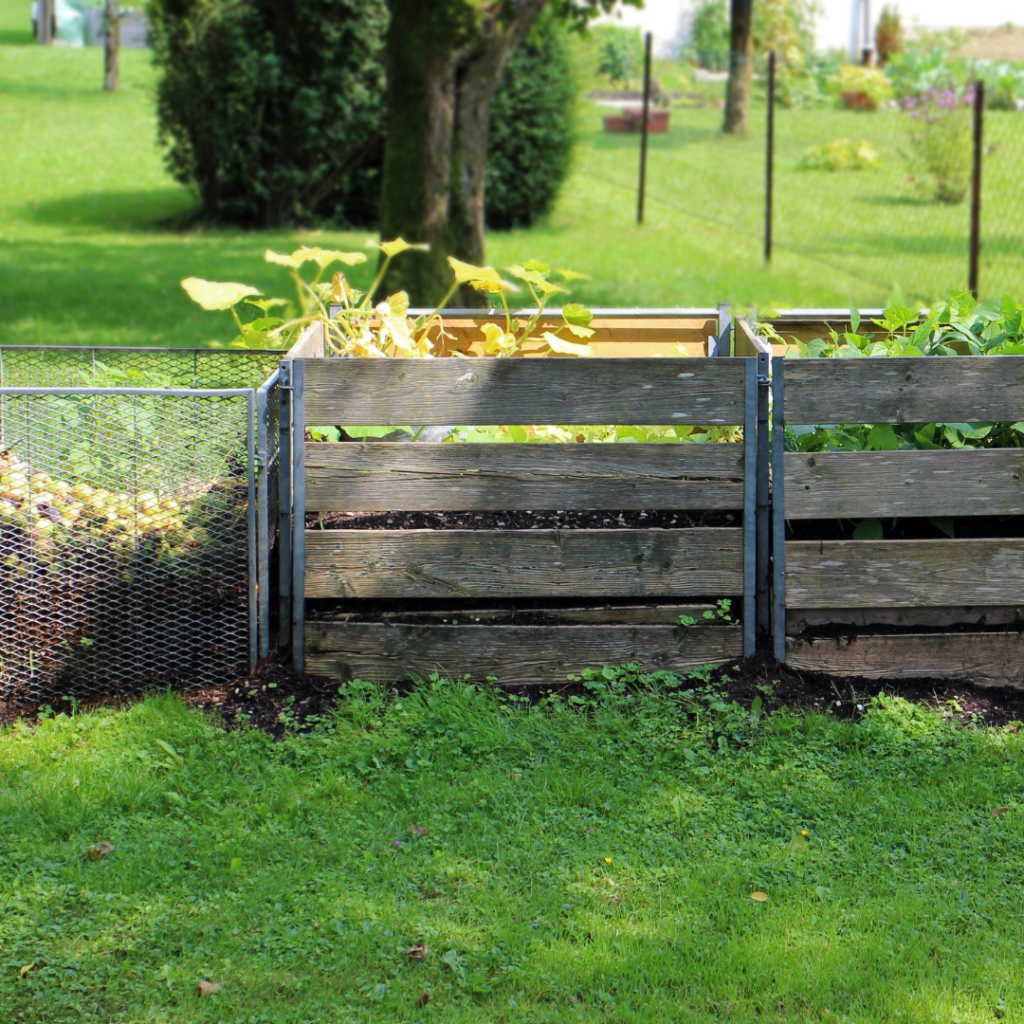
Choosing which type of storage is really based on personal preference and location. When done correctly, a compost pile will not smell bad but it can attract critters (if left open). For urban and residential properties, most people choose a closed container such as a large plastic tub or a barrel on a stand. This method also limits the quantity of compost produced and it is unwieldly to get the finished product out.
DIY Compost Bins
You can build your own compost pile by installing a three-walled enclosure built as you would a fence. This structure uses bare ground as its floor and the opening allows you to turn the compost with a rake or shovel. The drawback with this method is it will attract critters when you drop in fresh kitchen scraps.
For enclosed barrels, choose a large garbage can or barrel with a removable lid. Poke holes along the sides, bottom, and lid so air can move through and water can get in and drain out. Many large home stores and online retailers also offer premade compost barrels – some on a stand with a hand crank so you can easily give it a turn each day.
What to Add to Your Compost Pile
Start with twigs, straw, ash, hay, or another dry/brown material as your foundation. This allows the bottom of the pile to have more aeration and not become a slimy mess at the bottom. Your first layer, and every other layer thereafter should have a healthy dose of loose, dry, brown debris. Avoid large sticks, branches, or logs, as they can slow down the process. Larger things are harder to compost so be sure to break them down into smaller pieces before adding them.
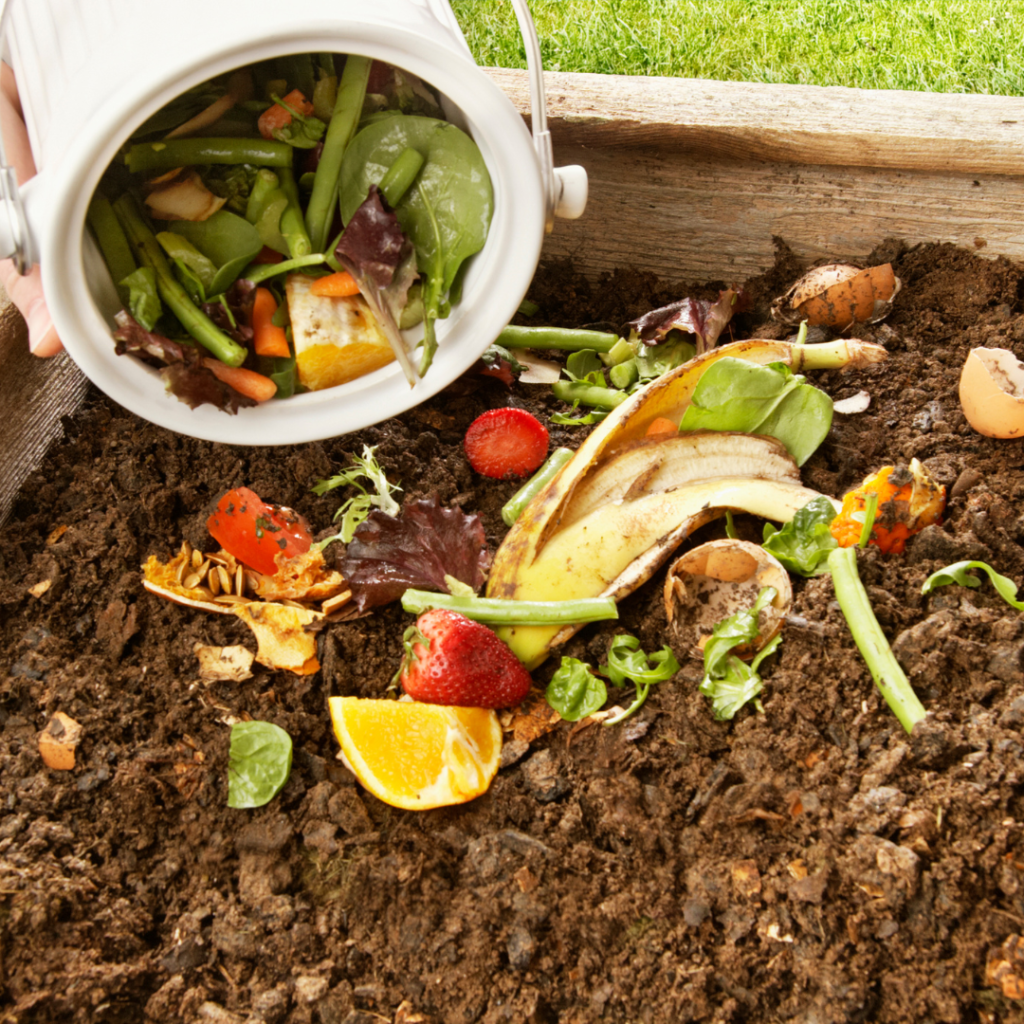
Add produce scraps, grass clippings, and plant debris but do not add meat, dairy, or oily and processed foods. Avoid using too many onions or citrus peels. They break down slowly and can kill off beneficial insects. Using kitchen scraps is a great way to reduce your indoor garbage and utilize things you would otherwise throw away. Keep a container with a tight-fitting lid in the kitchen where you store scraps until you’re ready to add it to your pile.
Any green plant matter can also be added but avoid adding weeds or leaves from diseases plants (such as tomato blight). These will remain in the finished compost and spread new weeds or disease when you use it next season.
Animal waste, or manure, is also a form of green compost. Avoid using dog or cat waste in gardens for crops meant for consumption. Their waste contains microorganisms that aren’t ideal for a healthy garden, especially ones growing food. For those of us that have fish, tank water is an excellent resource to use for your pile! Tank water is rich in nitrogen and phosphorus, both of which are important to maintaining your pile’s carbon cycle. Just be sure not to use too much water, as this can cause your compost to become overly soggy. Store excess in gallon jugs to use later!
Other excellent choices for the inclusion of animal waste are chicken, cow, horse, sheep and goat waste. Unless any of the animals are being medicated (aside from vaccinations), their waste is completely safe to use! Medications like antibiotics can be passed through the waste and into the crops. If the animals are sick, and/or on medication, avoid using their waste until they are healthy.
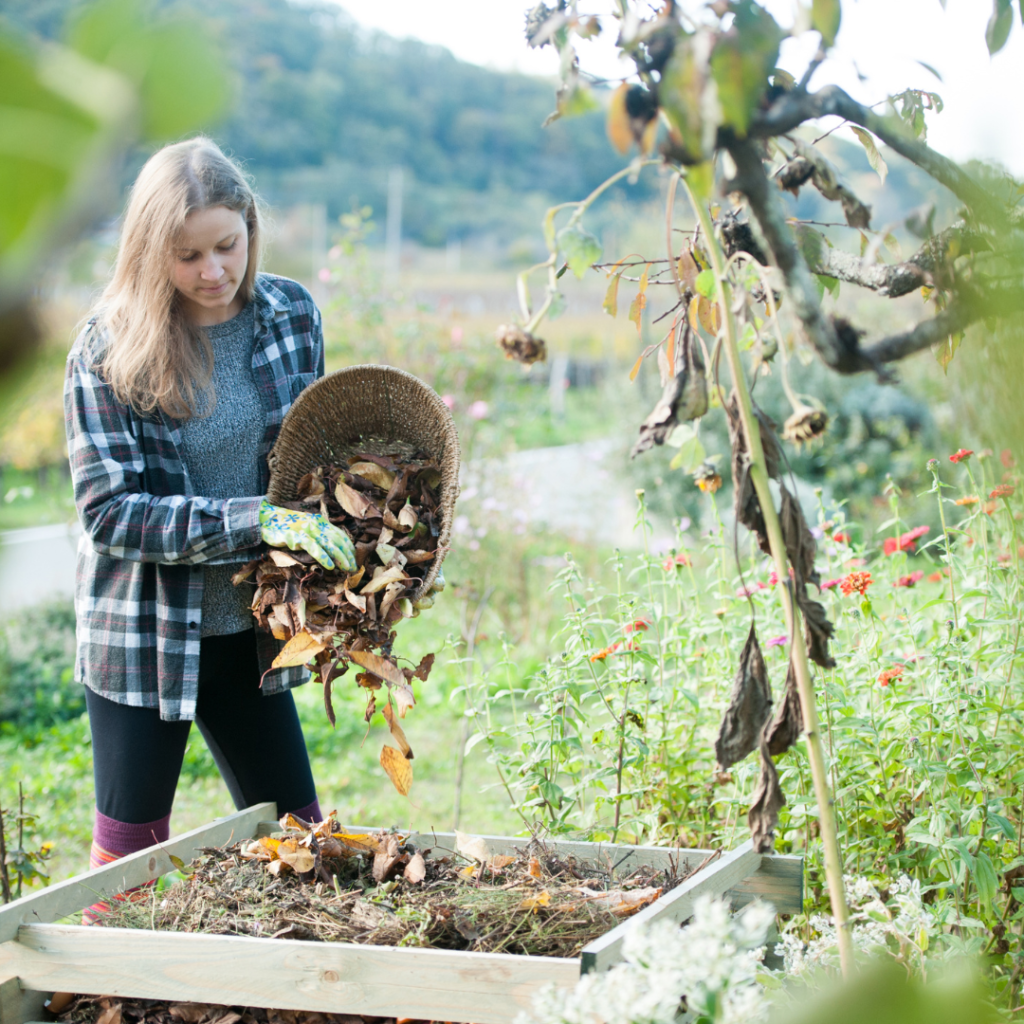
Brown scraps are usually found outside in the yard. Fallen leaves, dried grass clippings, chicken bedding, or small twigs. These materials are also the ideal foundation for your outdoor pile!
Maintaining Your Compost Pile
Having a good ratio of green scraps and brown scraps is the key to a successful compost. 50% green to 50% brown is a good ratio of each, and if layered correctly, there won’t be much maintenance. Composting, for the most part, will take care of itself. Checking on it occasionally and turning it with a pitch fork or shovel is about all that needs to be done to the pile – typically after adding scraps or at least twice per month. If the pile becomes overly soggy or starts to have a foul odor, toss in some brown scraps, make sure it gets mixed well and has plenty of aeration.
A healthy pile will stay at an average temperature of 150 degrees. This keeps things moving, including insects and microbes that all work together to help along the nitrogen cycle. Towards the end of the process, it will have cooled down significantly. If it’s cold out, the temperature will most likely be much lower depending on the size of your set up.
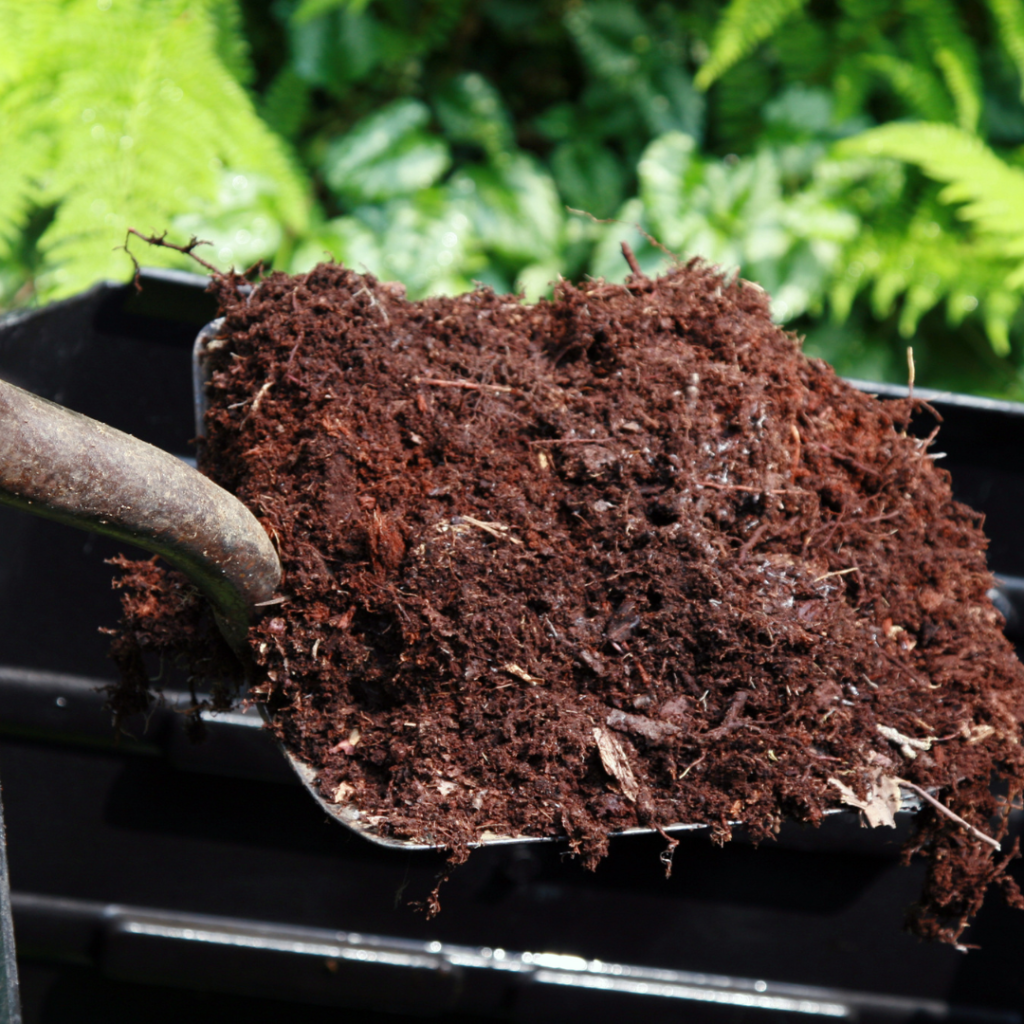
Once the compost turns a rich brown color and has an earthy smell, it’s ready to use! By this stage, everything you put in the pile should be completely broken down and unrecognizable. The pile will also have cooled down in temperature. Just scoop it out and mix it into your existing garden beds with a fork or shovel.
Composting in Winter
If you have a pile that isn’t finished and winter is nearing, don’t worry. Worst case scenario, the process is slowed down. Keep your compost taller and wider if you’re banking to keep your pile going during the winter. This will allow for the organisms breaking your compost down to stay alive and thrive in the winter months. If you live in an area that gets extremely cold during the winter, be sure to start it in a place where it stays sunny most of the day, and expect the process to be a bit slower.
Maintaining compost isn’t a difficult process and anyone can do it. It is an excellent addition to the garden, will yield beautiful crops, and is an awesome way to sustain the garden season after season!