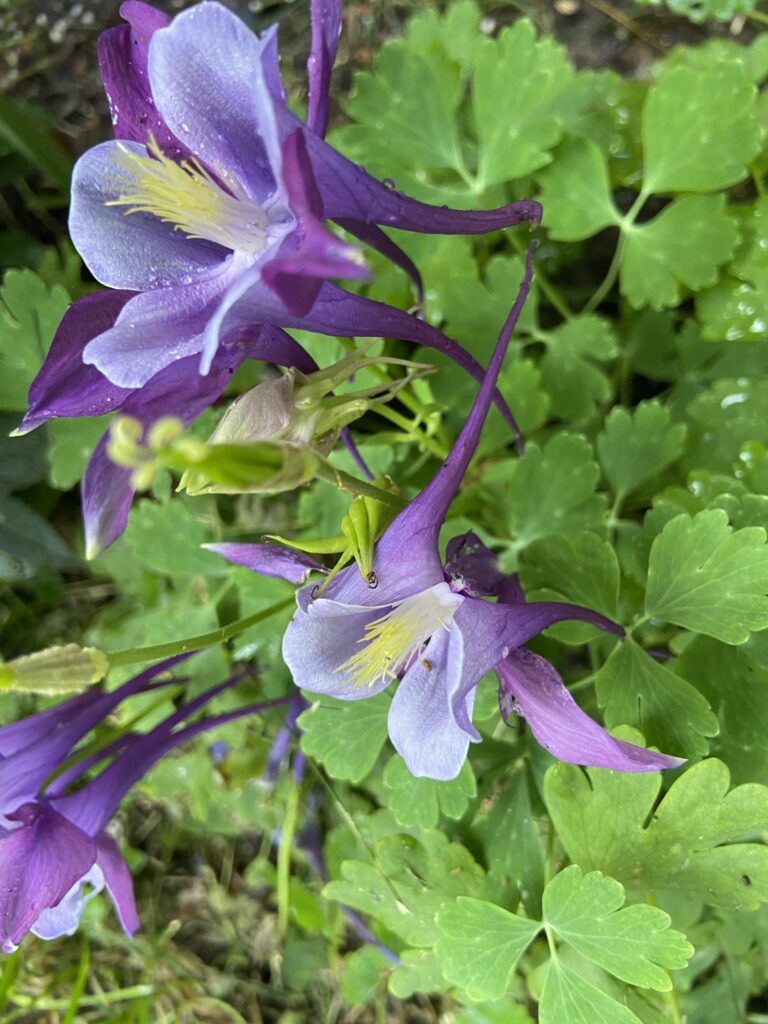
Perennial flowers and plants bring beauty, scent, and pollinators to your landscape. They only get bigger and better with each year; they’re naturally hardy and resistant to pests and critters; and eventually they can be divided to create even more gardens. Best of all, perennials require little to no maintenance after the first year of planting. This article will help you choose the best perennial plants for your garden and give tips on how to plant and care for them in the first season.
Step One: Choose your Location
While we don’t generally believe in gardening rules, you must follow this one rule when choosing perennials: pick plants suitable to your USDA Planting Zone. These plants can survive the coldest temperatures that come your way in the winter and the highest heat in the summer. (Find your zone here by zipcode.) Perennials can be planted outside of these zones – some people even plant them in containers – but the chances of survival to next year will be low.
In addition, if you’re planting perennials to support pollinators, choose plants that are native to your zone. Bees, butterflies, and birds will dine on just about any plant you put out but they also will come back looking for more. If their trusted food source from last season isn’t there, they have to use valuable energy searching for more.
Once you’ve found your zone, you’ll need to map out the area where you’ll be planting. You’ll need these three pieces of info to help choose plants:
- What kind of sunshine does this area get? Many perennials prefer full sun but can tolerate some shade (see the chart below). As you place your plants in your plan consider the mature height of each plant and plant the shortest at the front so taller plants will not shade them.
- How big is the garden space? This will help you space plants so they have the proper room to grow and spread with time.
- Water and drainage. Most perennials are not picky about water but all require good drainage and will not do well sitting in always-wet soils. For your own enjoyment, make sure you plant near enough a water source so you’re able to keep plants watered in the first season. Subsequent years you will be able water less.
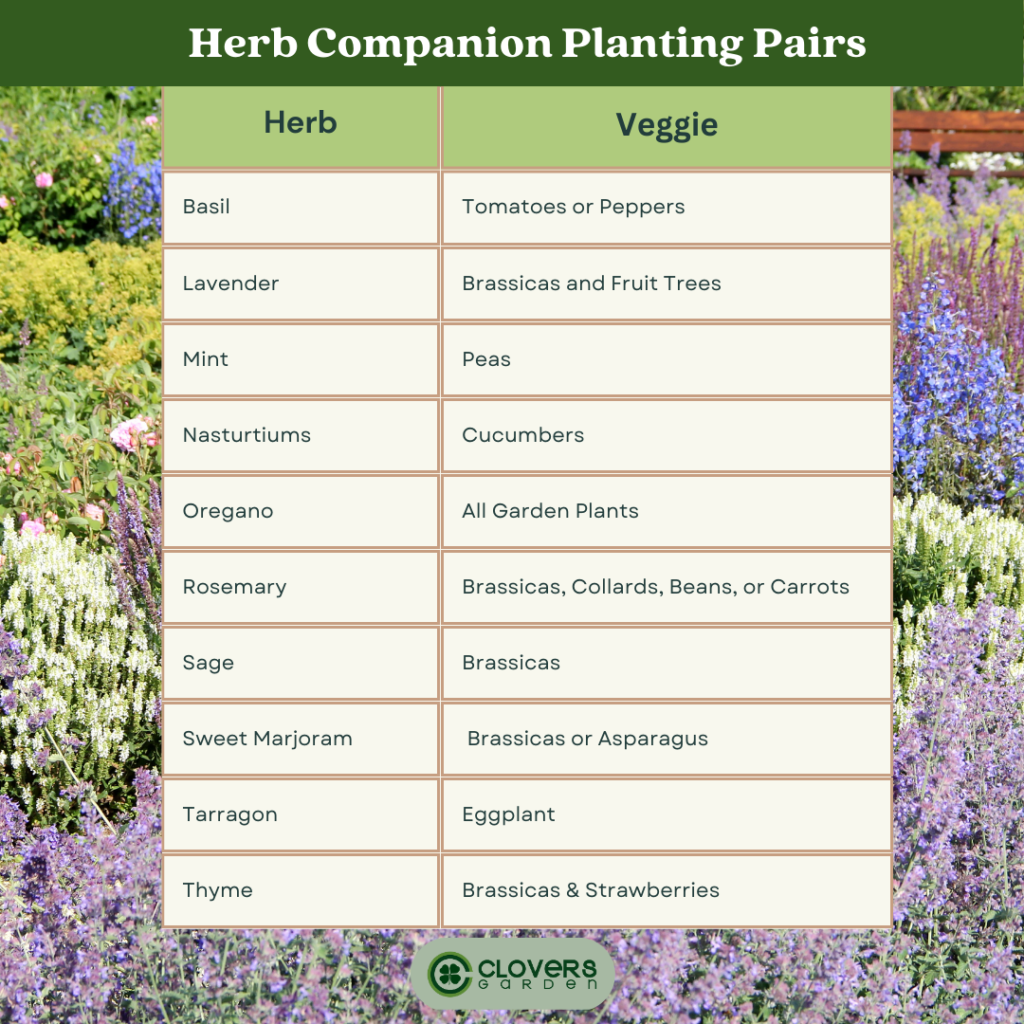
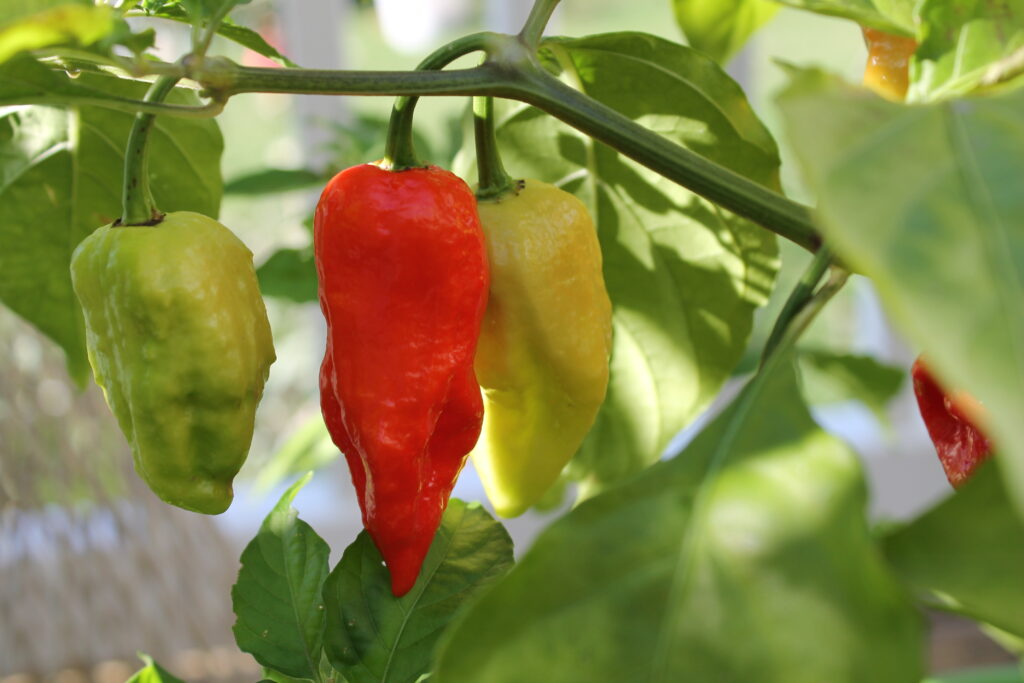
Bonus points if you can locate your new perennial bed near your vegetable garden or fruit trees! Pollinators will flock to these flowers and will naturally do their work on your veggies, berries, and fruit blossoms too.
Step Two: Decide on Design
This is where the “no rules” in gardening comes into play! You can plant your flowers however you like. Maybe you want all one color or every color possible. Maybe you want neat rows along your foundation or an entire front yard prairie look. If you like it, you can plant it. The only guideline here is to give each plant the room they need to grow and to combine plants with the same growing needs. For instance, you can’t put a sun-loving plant and a shade-loving plant together in the same garden!
If this is your first time planting a large flower bed, remember this: when you first plant your flowers, the bed will look not full enough. You will be tempted to plant your plants closer together. Resist this urge! These plants will quickly double in size (or more) and fill out your beds. And the more room you give them to grow, the healthier they’ll be in coming years.
As you plot out your garden, consider the blooming time of each flower – some will bloom in early spring, others in mid-summer and some all season long. Combine these so you’ll have blossoms from spring through fall. And don’t be afraid to pick flowers frequently during the season, they will only bloom more!
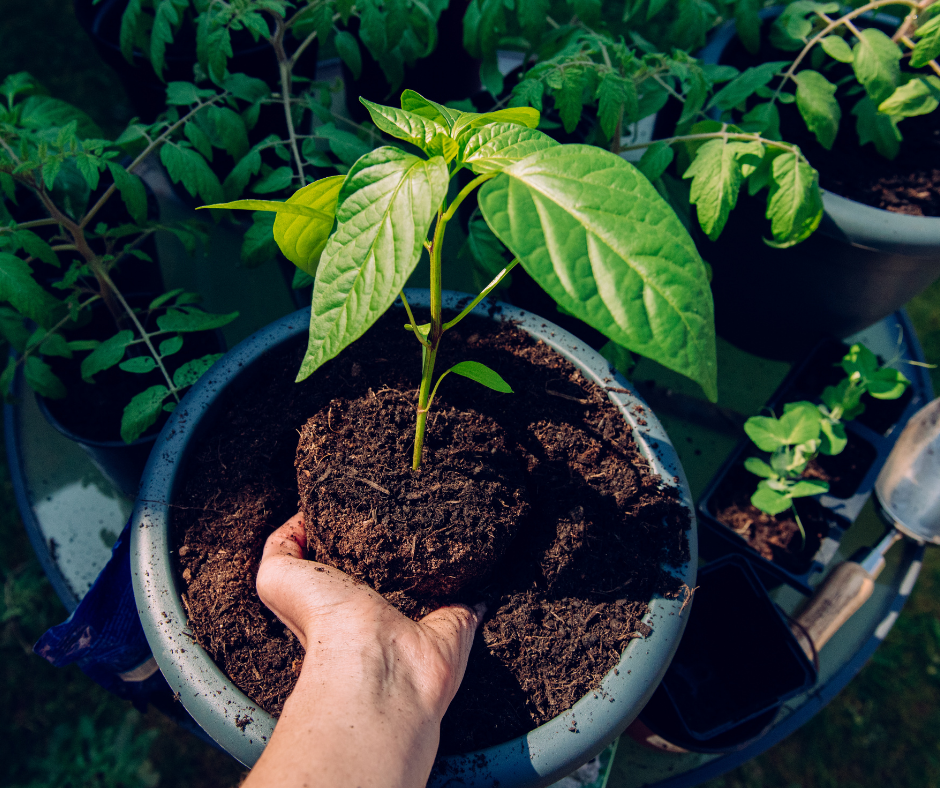
Step Three: Planting
Perennials can be planted from spring through early fall – as long as the plant has enough time to establish roots before winter. The first season of planting will be a growth year so don’t expect a lot of flowers. This first year, too, your plants need a little extra care in watering and fertilizer so they can put down good roots. Follow the planting instructions on depth and space included with each plant. After planting, give the plant a good drink of water and mulch around the base of the plant (keep mulch away from the stem) so moisture will stay around the roots. Mulching is helpful but not essential in following years.
Right after planting, your plants may look wilted. This is transplant shock and happens to most plants. Just keep watering on a normal schedule and the plant will quickly perk up as it adjusts to its new home. Be sure to put markers by each plant for the first season so you know what’s a plant and what’s a weed.
Journal Tip: Document the locations of each plant in your garden journal and take pictures of the new plants. This will help you identify next year as new leaves emerge. Keeping a journal of perennials is also helpful to future generations who enjoy your garden and is very much appreciated by potential owners if you ever sell.
Step Four: Fall and Winter Care
If you’ve chosen plants appropriate to your Zone, you do not need to do much when the season ends. Most plants can be left unpruned through fall and winter and many actually provide interesting winter structure and hibernation support for pollinators. They can be cut back in early spring before new growth emerges.
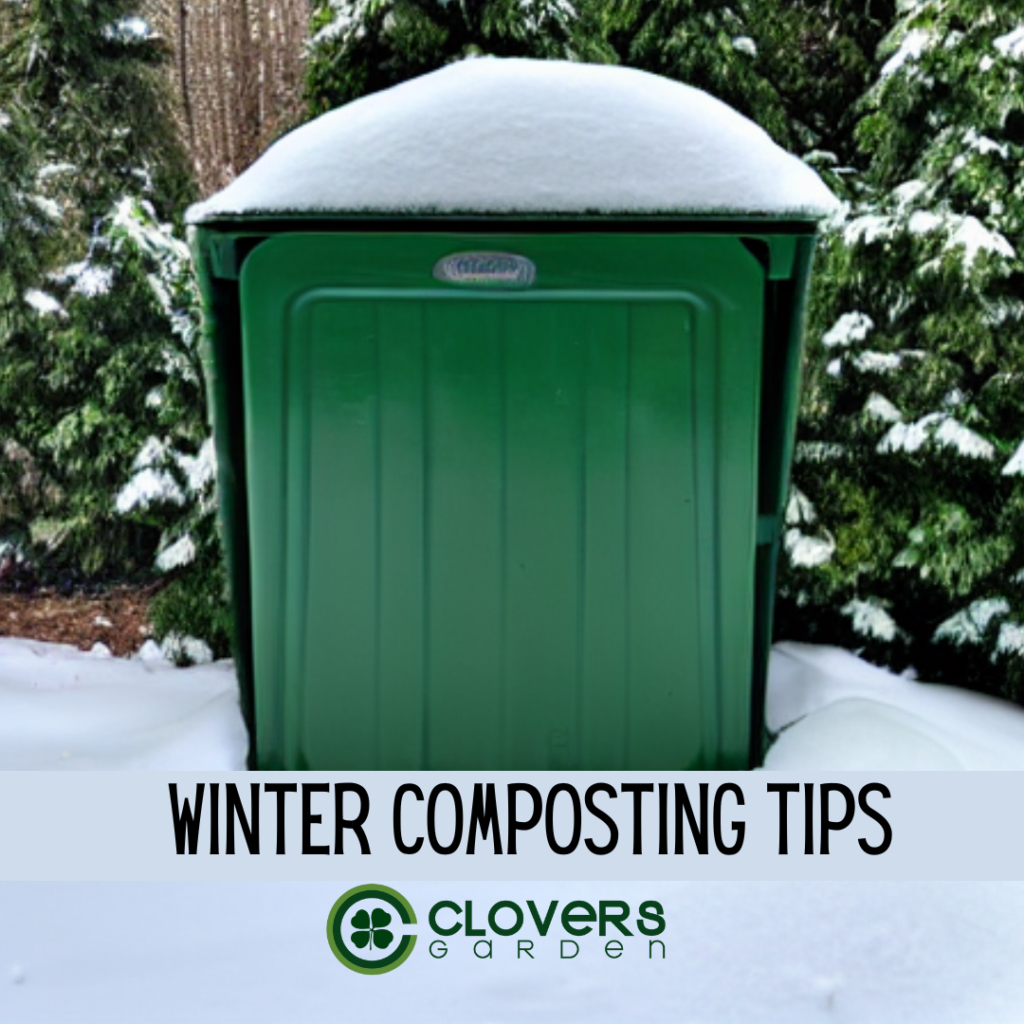
Do not cover your perennials with mulch or straw for the winter, this can lead to mold or rot of the plant and root crown. However, in years with no snow cover, plants can sustain wind damage if they are exposed. This will not kill the plant but it can damage branches – winterkill from wind is more common in large bushes such as spirea. If you have a dry fall, be sure to give them a good drink before the ground freezes. Refer to the specific plant you’re putting in, though, for detailed winter care.