How to Plant Hostas in Your Garden

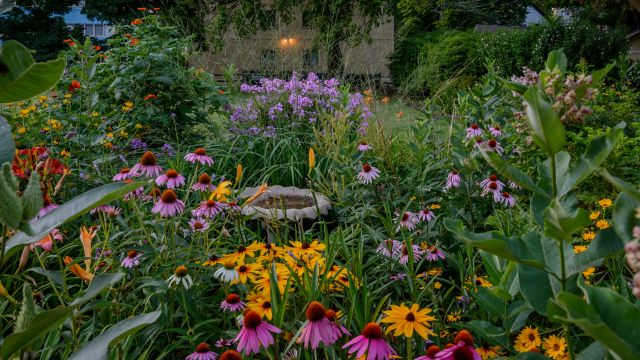
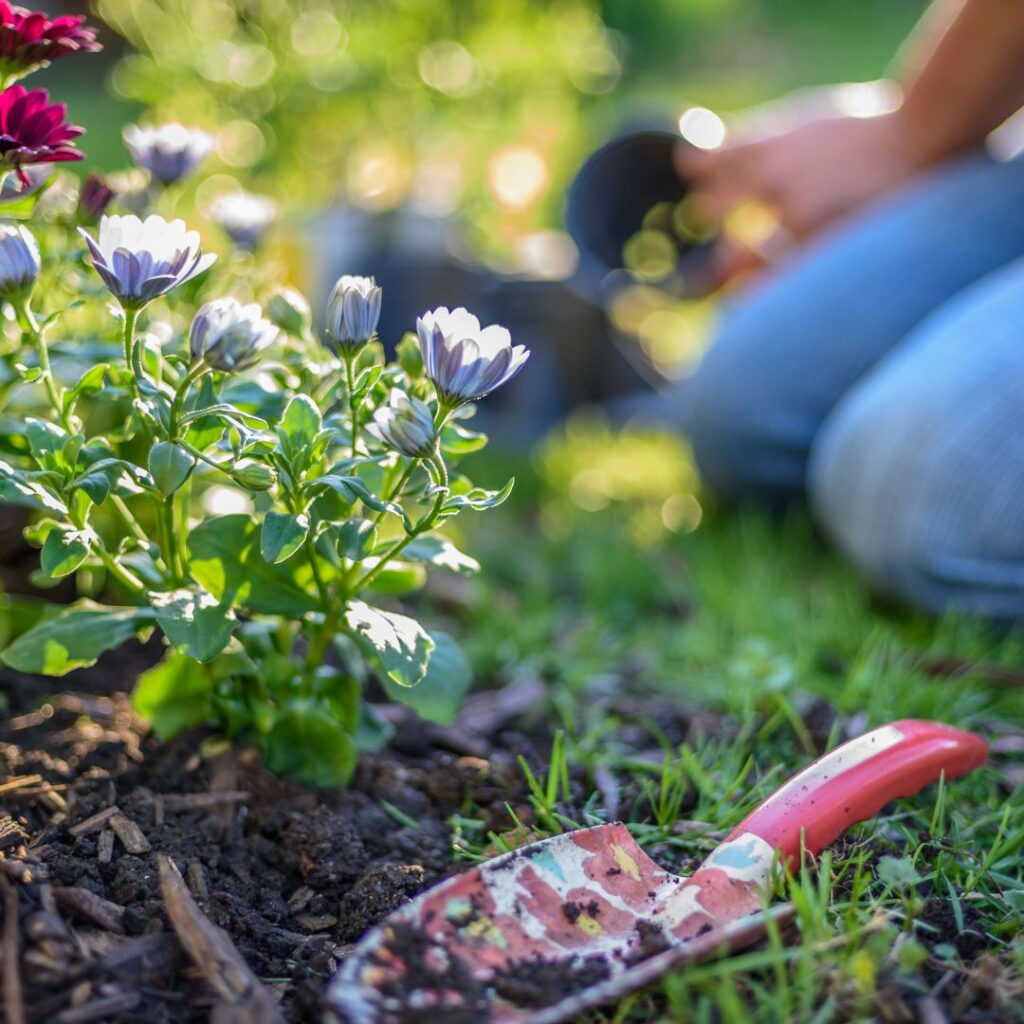
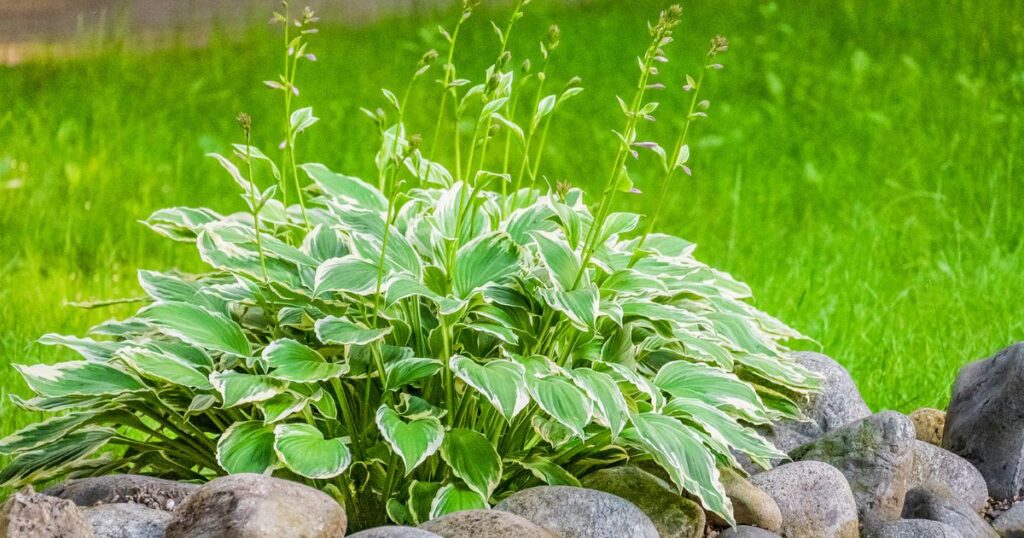
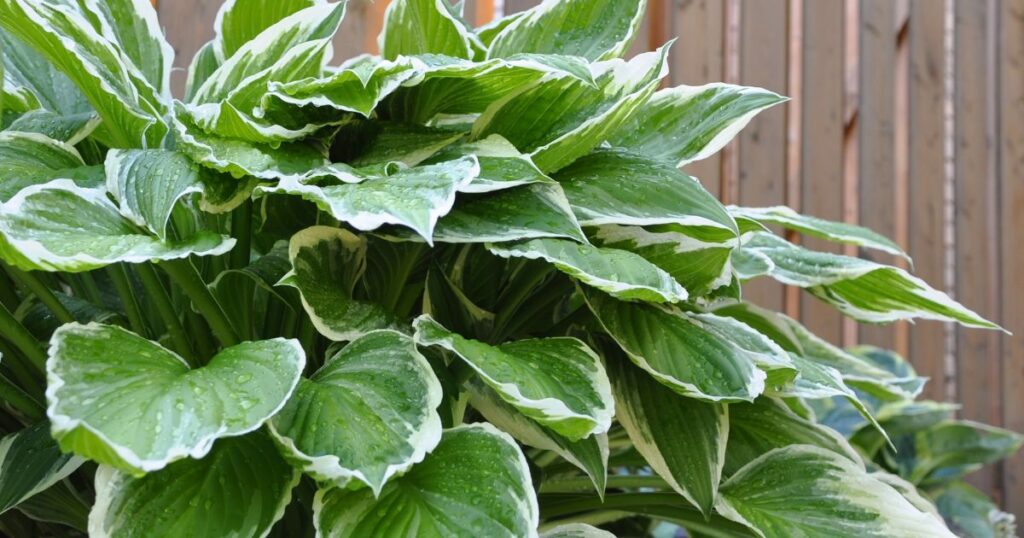
Hostas are a popular perennial choice for gardeners looking to add lush, leafy greenery to shady. Known for their resilience and minimal maintenance, hostas come in a variety of sizes and colors, making them a versatile addition to any garden. In this guide, we’ll cover everything you need to know about planting and caring for hostas, including selecting the right location, planting techniques, care tips, and how to protect your plants from common pests like slugs, deer, and rabbits.

Selecting the Perfect Location for Hostas

Choosing the right spot for your hostas is crucial for their growth and health. Here are some key factors to consider:

Light Requirements

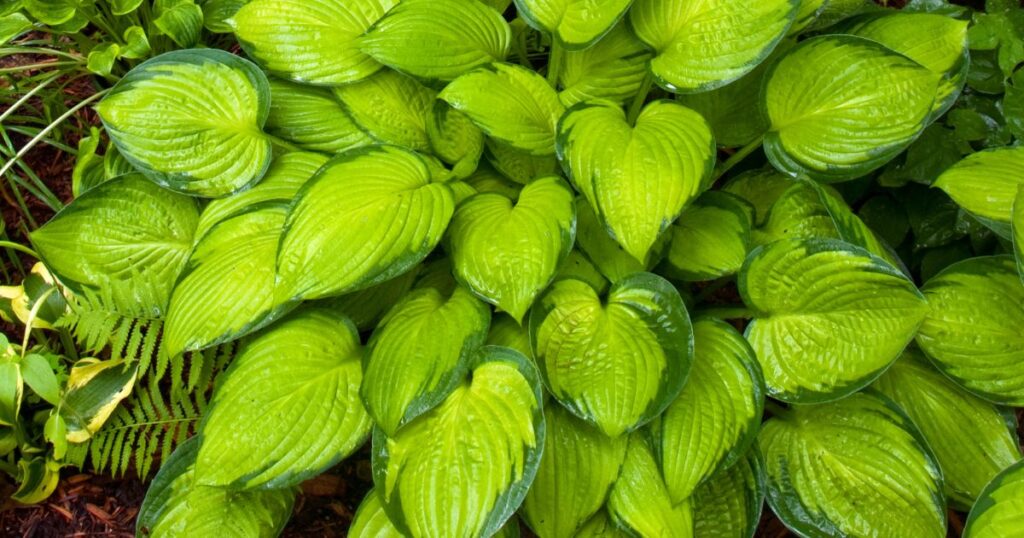
Hostas thrive in shady to partially shady areas. While some varieties can tolerate more sun, most hostas prefer a location that receives morning sun, filtered light, and afternoon shade. Too much direct sunlight can scorch their leaves, while too little light can result in slower growth and duller colors.

Soil Conditions

Hostas prefer well-draining soil that is rich in organic matter. The soil should be consistently moist but not waterlogged. Adding compost or aged manure to the planting area can improve soil health and drainage and keep your plants well fed and happy.
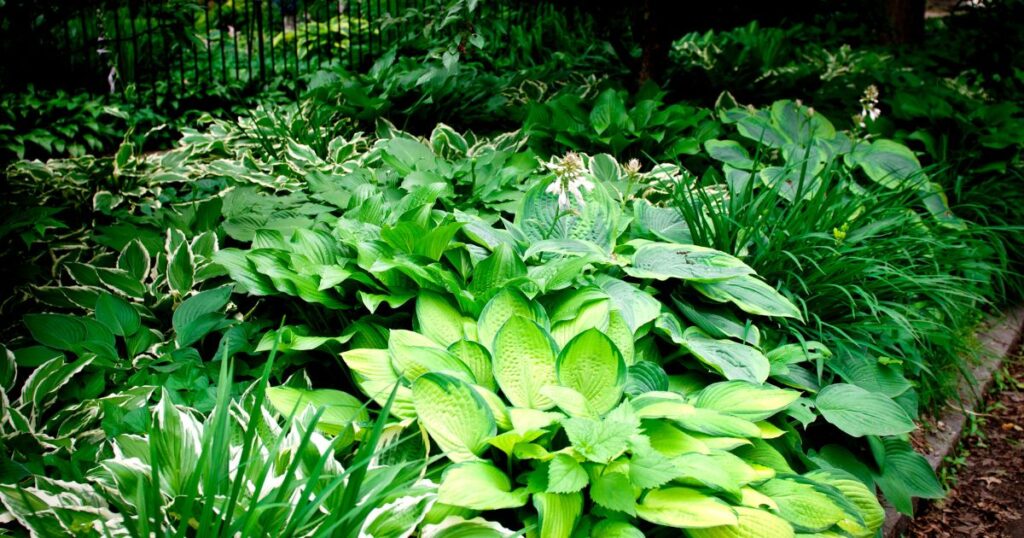
Space and Placement

Give your plant lots of space to grow! Hostas will quickly fill out, sometimes growing to five times their starting size. A crowded hosta garden not only stunts the plants’ growth, it keeps the plant from showing its full beauty in color and canopy. Proper spacing also allows for adequate air circulation, which helps prevent disease. In the first season of planting, mix in a low growth annual such as alyssum or add mulchy to fill in the gaps while your hostas get established.

How to Plant Hostas

Hostas are quite forgiving and can handle most transplanting conditions. Follow these steps for best success:

Preparing the Planting Site

1. Remove any weeds, rocks, or debris from the planting site.

2. Dig a hole that is twice as wide and just as deep as the root ball of the hosta.

3. Mix in compost or aged manure with the soil you removed from the hole to improve nutrient content and drainage.

Planting the Hosta

1. Place the hosta in the hole, ensuring that the top of the root ball is level with the surrounding soil.

2. Backfill the hole with the amended soil, gently firming it around the roots.

3. Water the newly planted hosta deeply to help settle the soil and eliminate air pockets.

Mulching

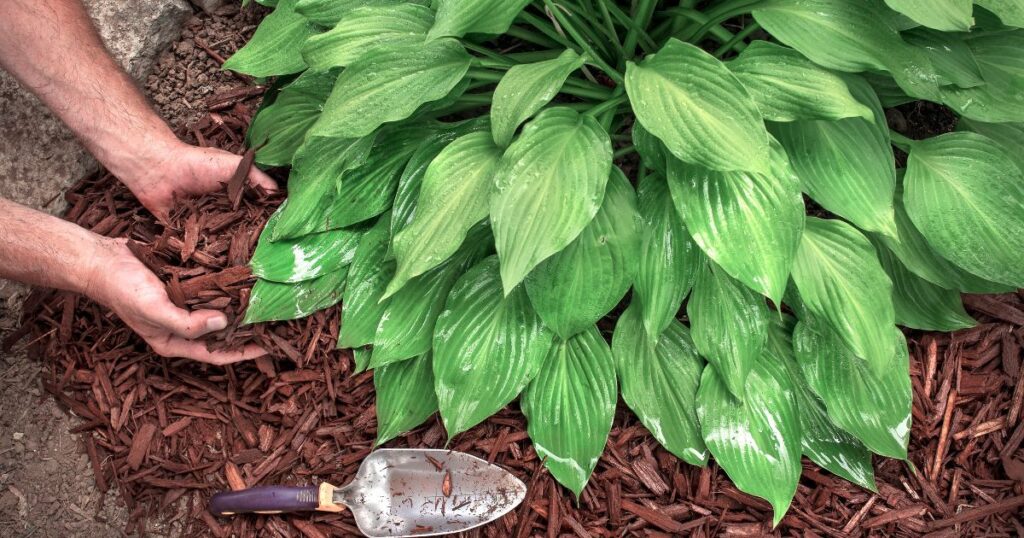
Apply a 2-to 3-inch layer of mulch around the base of the plant, keeping it a few inches away from the stems. Mulching helps retain moisture, regulate soil temperature, and suppress weeds.

Caring for Your Hostas

Hostas are relatively low-maintenance plants, but they do require some care to thrive. Here are some essential tips for maintaining healthy hostas:

Watering

Hostas need consistent moisture, especially during the growing season. Water deeply once a week, providing about 1 inch of water. In hot, dry periods, you may need to water more frequently. Avoid overhead watering, as wet foliage can encourage disease. Instead, water at the base of the plant and water in the morning so the plants have time to dry off before cooler evening air and dew settles around them.

Fertilizing

Feed your hostas with a balanced, slow-release fertilizer in the spring as new growth begins. You can also use a liquid fertilizer every 4-6 weeks during the growing season. Avoid over-fertilizing, as this can lead to lush foliage at the expense of flowering.

Pruning and Cleaning

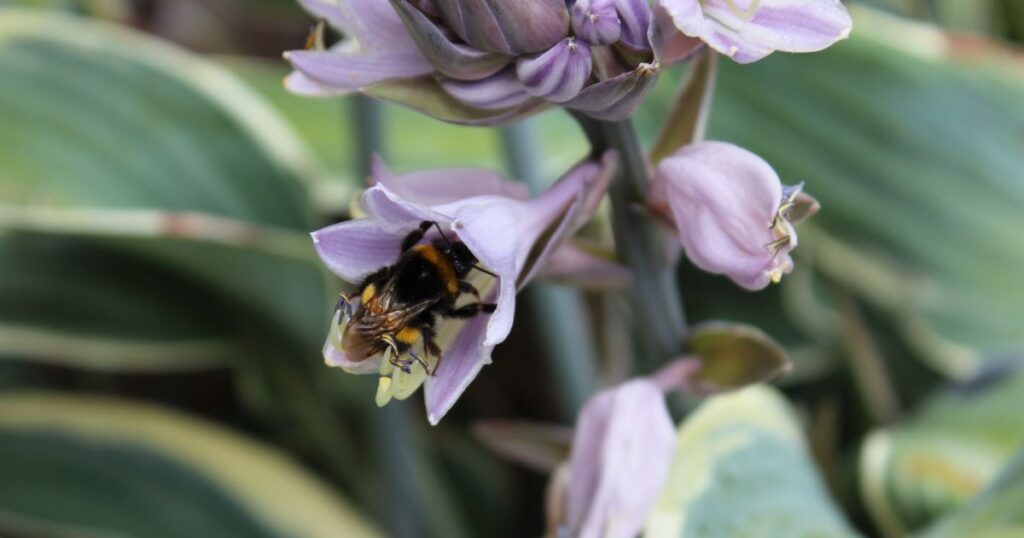
Remove any yellow or damaged leaves throughout the growing season to maintain the plant’s appearance and health. After the blooms have faded, trim back the tall flower stalk to the base. Some gardeners prefer to cut the flower off as soon as it emerges to give the leaves more growth energy. This is personal choice but pollinators will be attracted to the flowers of the plant. In the fall, after the first frost, you can cut back the foliage to ground level to prepare the plant for winter dormancy. Hostas do not need cover over the winter.

Dividing Hostas

Every 3-5 years, hostas may become crowded and benefit from division. The best time to divide hostas is in early spring or early fall. Dig up the entire clump, then use a sharp knife to separate it into smaller sections, each with a portion of the root system. Replant the divisions as you would new hostas.

Protecting Hostas from Pests

Hostas are a favorite target for pests such as slugs, deer, and rabbits. Here are some strategies to protect your plants:

Slugs

Slugs are notorious for chewing holes in hosta leaves. To control slugs:

Remove slugs by hand in the evening when they are most active.

Place shallow dishes of beer around the garden; slugs are attracted to the beer and will drown.

Use copper tape or crushed eggshells around the base of the plants to deter slugs.

Apply iron phosphate-based slug baits, which are safe for pets and wildlife.

Deer

Deer can quickly decimate a hosta bed. To keep deer at bay:

Use commercial deer repellents or homemade sprays made from garlic, hot pepper, or soap. Reapply regularly, especially after rain.

Surround hostas with deer-resistant plants like ferns, lavender, or ornamental grasses to make the area less appealing.

Rabbits

Rabbits also enjoy munching on hostas. Protect your plants with these methods:

Use a low fence made of chicken wire or hardware cloth around individual plants or garden beds.

Apply commercial rabbit repellents or sprinkle blood meal or crushed red pepper around the plants.

Plant clover or other rabbit-preferred plants away from your hostas to lure them elsewhere.

Uses for Hostas in the Garden

Hostas are not only attractive but also versatile in the garden. Here are some ways to use hostas in your landscape:

Ground Cover: The full canopy of a hosta plant makes a great weed suppressant! Use as ground cover in shaded areas, creating a lush, green, weed-free carpet that retains soil moisture.

Borders and Edging: Smaller hosta varieties make excellent borders and edging plants, defining garden beds and pathways with their neat, mounded forms. Combine different colors and sizes for an interesting garden that brightens up dark corners.

Companion Planting: Hostas pair well with other shade-loving plants such as ferns, astilbes, and heucheras. Their contrasting foliage textures and colors create a visually appealing garden design.

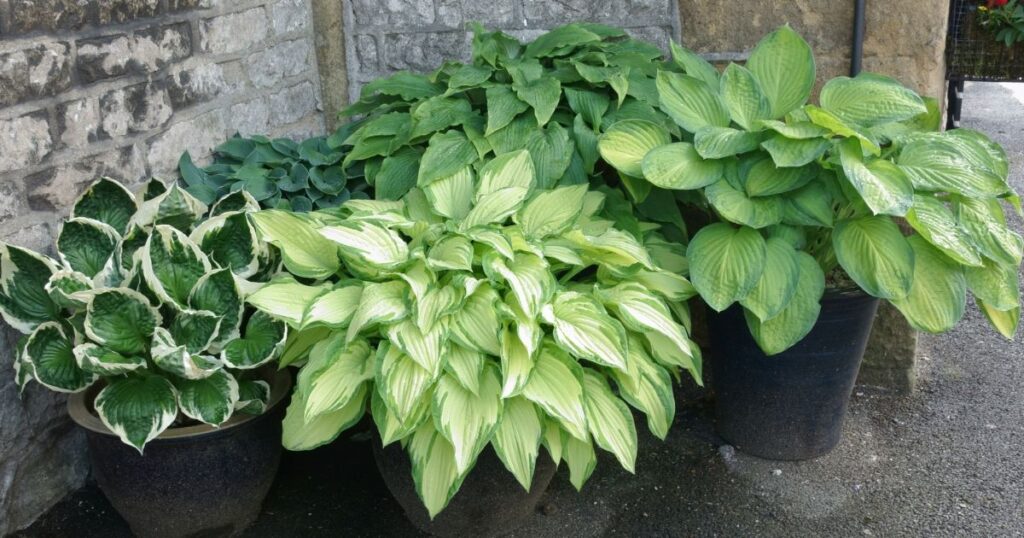
Containers: Hostas can be grown in containers, making them a great option for patios, balconies, or small gardens. Ensure the containers have adequate drainage and provide consistent moisture.

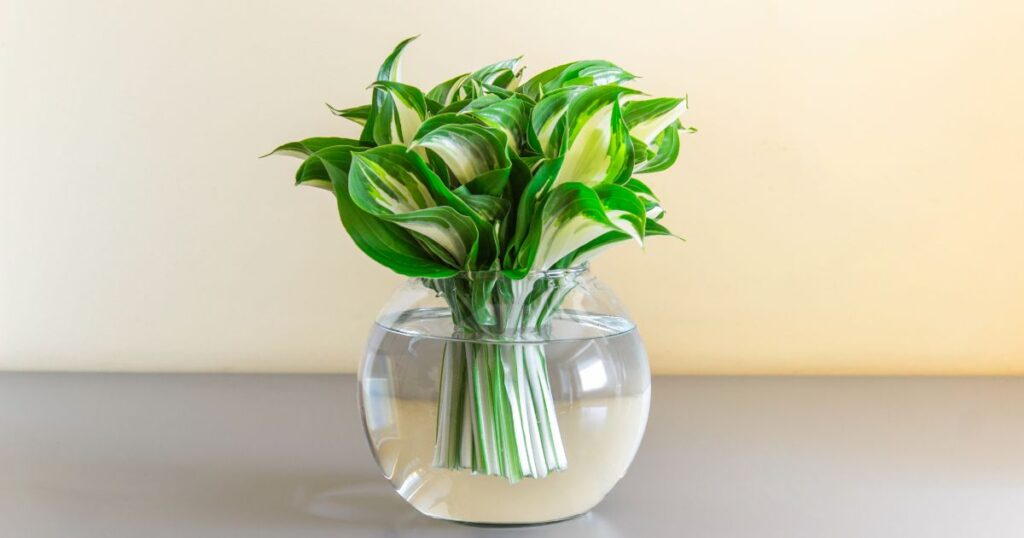
Cutting Gardens: Hosta leaves make a great, long-lasting addition to cut bouquets and look stunning on their own or as a backdrop to fresh cut flowers.

Shop our Hosta & Shade Plant Collection Here.

Planting hostas in your garden adds beauty and greenery to shaded areas. By selecting the right location, following proper planting techniques, providing adequate care, and protecting them from pests, you can enjoy healthy and vibrant hostas for years to come. Whether used as ground cover, borders, or container plants, hostas are a versatile and valuable addition to any garden.

How to Plant Perennials in the Fall

Late-summer and early fall is the best time of year to plant perennials if you live in zones that have a winter freeze. Fall planting forces the plant to put energy into root growth which builds a stronger plant with bigger blooms. The cooler days and nights also mean the plant doesn’t have to work as hard to stay cool or hydrated. The key is to give the plant enough time to get established before the first freeze. This article will teach you how to plant perennials in the fall (or winter if you live in warmer zones such as 8 to 10). So, roll up your sleeves, grab your gardening tools, and embrace the magic of fall planting!

Putting Down Strong Roots

One of the most compelling reasons to plant perennial flowers in the fall is the incredible boost it provides to root growth. During this time, the soil remains warm from the summer heat, creating the ideal environment for root establishment. As the air temperature cools down, plants shift their energy focus from producing flowers to building strong and extensive root systems.

One key thing to remember, though, you must keep the newly planted perennial well-watered. Most areas have less rainfall in the autumn so it’s up to you to provide that for your plant. After planting, use a thick layer of mulch to retain moisture (keep away from plant stem). Then when you water, use a gentle soaking stream of water about 3” away from the plant (but all the way around it) so the roots will reach down and out to get to the water. Do not fertilize the plant because this encourages leaf and blossom growth.

Choosing the Right Plants

Many cold hardy perennials, shrubs and trees are excellent candidates for fall planting. In general, plants with USDA cold hardiness ratings of 4, 5, and 6, are the best candidates for fall transplanting in cold winter climates. Be sure to choose healthy plants with lots of roots. Before planting, trim off broken branches or blossoms.

Once planted, treat like a regular transplant. Do not cut back before winter but you can trim any dead growth off in the spring. If the area where you plant will not get good snow cover, cover with straw or mulch after the first hard freeze. This will ensure the plant will not grow more but will protect the new root system.

Planting Time by USDA Hardiness Zones

To make the most of fall planting, it’s essential to consider the best times based on your USDA Hardiness Zone. You must plant at least six weeks before your typical first frost or freeze date. Find your zone on this map or by inputting your zip code into the USDA website (here):

The Promise of Future Blooms

When you plant perennial flowers in the fall, you are essentially making an investment in your garden’s future beauty. While these newly planted perennials may not display an abundance of blooms immediately, they are quietly preparing for a spectacular show in the next growing season. Come spring, the well-established roots will support vigorous growth and abundant flowering.

How to Plant a Perennial Flower Garden in Any Zone

perennial flower garden with birdbath surrounded by purple coneflowers, yellow rudbeckia, milkweed, purple phlox, blue fescue grass, and other green plants.

Perennial flowers and plants bring beauty, scent, and pollinators to your landscape. They only get bigger and better with each year; they’re naturally hardy and resistant to pests and critters; and eventually they can be divided to create even more gardens. Best of all, perennials require little to no maintenance after the first year of planting. This article will help you choose the best perennial plants for your garden and give tips on how to plant and care for them in the first season.

Step One: Choose your Location

While we don’t generally believe in gardening rules, you must follow this one rule when choosing perennials: pick plants suitable to your USDA Planting Zone. These plants can survive the coldest temperatures that come your way in the winter and the highest heat in the summer. (Find your zone here by zipcode.) Perennials can be planted outside of these zones – some people even plant them in containers – but the chances of survival to next year will be low.

In addition, if you’re planting perennials to support pollinators, choose plants that are native to your zone. Bees, butterflies, and birds will dine on just about any plant you put out but they also will come back looking for more. If their trusted food source from last season isn’t there, they have to use valuable energy searching for more.

Once you’ve found your zone, you’ll need to map out the area where you’ll be planting. You’ll need these three pieces of info to help choose plants:

  1. What kind of sunshine does this area get? Many perennials prefer full sun but can tolerate some shade (see the chart below). As you place your plants in your plan consider the mature height of each plant and plant the shortest at the front so taller plants will not shade them.
  2. How big is the garden space? This will help you space plants so they have the proper room to grow and spread with time.
  3. Water and drainage. Most perennials are not picky about water but all require good drainage and will not do well sitting in always-wet soils. For your own enjoyment, make sure you plant near enough a water source so you’re able to keep plants watered in the first season. Subsequent years you will be able water less.

Bonus points if you can locate your new perennial bed near your vegetable garden or fruit trees! Pollinators will flock to these flowers and will naturally do their work on your veggies, berries, and fruit blossoms too.

Step Two: Decide on Design

This is where the “no rules” in gardening comes into play! You can plant your flowers however you like. Maybe you want all one color or every color possible. Maybe you want neat rows along your foundation or an entire front yard prairie look. If you like it, you can plant it. The only guideline here is to give each plant the room they need to grow and to combine plants with the same growing needs. For instance, you can’t put a sun-loving plant and a shade-loving plant together in the same garden!

If this is your first time planting a large flower bed, remember this: when you first plant your flowers, the bed will look not full enough. You will be tempted to plant your plants closer together. Resist this urge! These plants will quickly double in size (or more) and fill out your beds. And the more room you give them to grow, the healthier they’ll be in coming years.

As you plot out your garden, consider the blooming time of each flower – some will bloom in early spring, others in mid-summer and some all season long. Combine these so you’ll have blossoms from spring through fall. And don’t be afraid to pick flowers frequently during the season, they will only bloom more!

Step Three: Planting

Perennials can be planted from spring through early fall – as long as the plant has enough time to establish roots before winter. The first season of planting will be a growth year so don’t expect a lot of flowers. This first year, too, your plants need a little extra care in watering and fertilizer so they can put down good roots. Follow the planting instructions on depth and space included with each plant. After planting, give the plant a good drink of water and mulch around the base of the plant (keep mulch away from the stem) so moisture will stay around the roots. Mulching is helpful but not essential in following years.

Right after planting, your plants may look wilted. This is transplant shock and happens to most plants. Just keep watering on a normal schedule and the plant will quickly perk up as it adjusts to its new home. Be sure to put markers by each plant for the first season so you know what’s a plant and what’s a weed.

Journal Tip: Document the locations of each plant in your garden journal and take pictures of the new plants. This will help you identify next year as new leaves emerge. Keeping a journal of perennials is also helpful to future generations who enjoy your garden and is very much appreciated by potential owners if you ever sell.

Step Four: Fall and Winter Care

If you’ve chosen plants appropriate to your Zone, you do not need to do much when the season ends. Most plants can be left unpruned through fall and winter and many actually provide interesting winter structure and hibernation support for pollinators. They can be cut back in early spring before new growth emerges.

Do not cover your perennials with mulch or straw for the winter, this can lead to mold or rot of the plant and root crown. However, in years with no snow cover, plants can sustain wind damage if they are exposed. This will not kill the plant but it can damage branches – winterkill from wind is more common in large bushes such as spirea. If you have a dry fall, be sure to give them a good drink before the ground freezes. Refer to the specific plant you’re putting in, though, for detailed winter care.

Shop Our Large Collection of Perennials Here.